Chapter 1: Temple Grounds
Scans
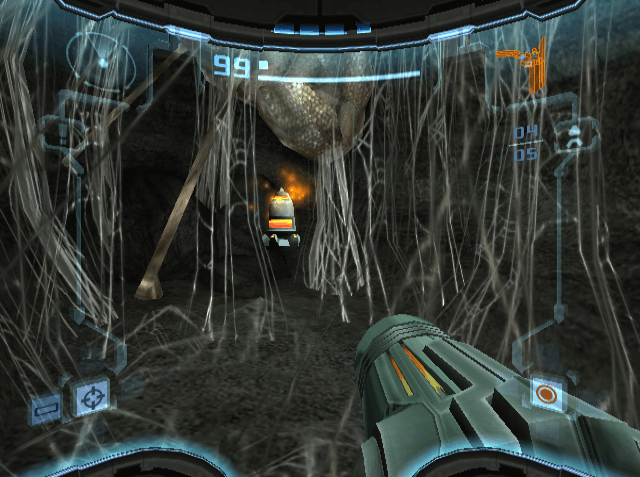
| Samus's Gunship |
After the opening cutscene, scan Samus's Gunship.
Scans
| GF Gate Mk VI |
Proceed to Hive Chamber A. Scan the gate in this room for the GF Gate Mk VI entry. Scan the panel to open the locks, then shoot them to open the gate. In the corridor, scan the panel that's hidden in the right wall to move the barrier. In this area you'll find a Map Station.
Scans
| Worker Splinter |
In Hive Tunnel, scan one of the Worker Splinters.
Scans
| GSGT C. Benet |
| SPC B. Reevs |
| Bomb Slot |
| Dark Trooper |
In the Command Center, scan the body that's next to the panel for the GSGT C. Benet entry. Then scan the body to the left for the SPC B. Reevs entry. Use the morph ball and bombs to go through the small space on the far side of the room. Scan and use the bomb slot in this area. Then scan one of the Dark Troopers that you encounter. Return to the main area and scan the panel to go to the next room.
Scans
| Green Kralee |
| Splinter Cocoon |
| Splinter |
| GF Bridge |
After the cutscene, enter the dark portal. After the second cutscene, go through the hidden small space in the right wall. A Save Station can be found through the door to the right. Take the other door and continue to the Industrial Site. Destroy the gate locks and scan the hidden panel to lift the large crate. Scan the Green Kralee and the Splinter Cocoons that are on the wall. Then scan the Splinters that appear. Follow the ledge and scan the GF Bridge. Scan the panel and destroy the locks to release the bridge.
Scans
| PFC M. Veroni |
Scan the body in the Collapsed Tunnel for the PFC M. Veroni entry.
Scans
| GF Gate Mk VII |
Continue to the Temple Assembly Site. Head to the area with the pillars and scan the panel. Shoot the cable and head through the nearby door. In the Dynamo Chamber, scan the gate for the GF Gate Mk VII entry.
Scans
| PFC L. Brouda |
In the Communication Area, scan the body that's about halfway through the room for the PFC L. Brouda entry.
Scans
| Growler Class Turret |
| SPC M. Angseth |
Scan the nearby panel and proceed to Trooper Security Station. Scan the Growler Class Turret here. Enter the small space in the right wall and scan the body for the SPC M. Angseth entry. Then scan the panel to lift the gate.
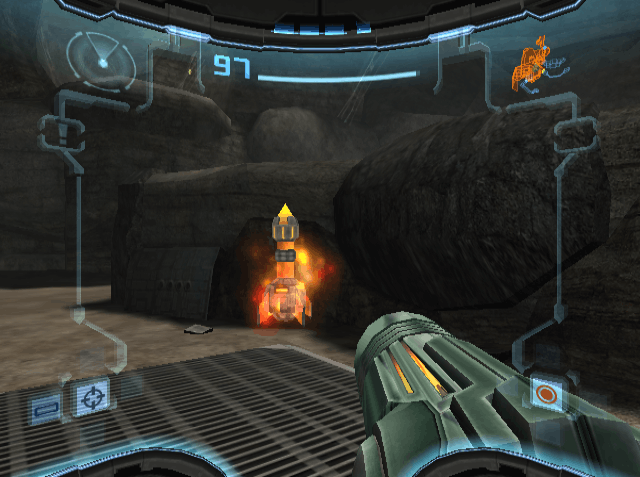
Missile Launcher
Scans
| GFS Tyr |
| CAPT A. Exeter |
| LCPL J. Brode |
| PFC G. Haley |
| PFC S. Milligan |
| SPC F. Triplette |
| PFC I. Crany |
| Dark Splinter |
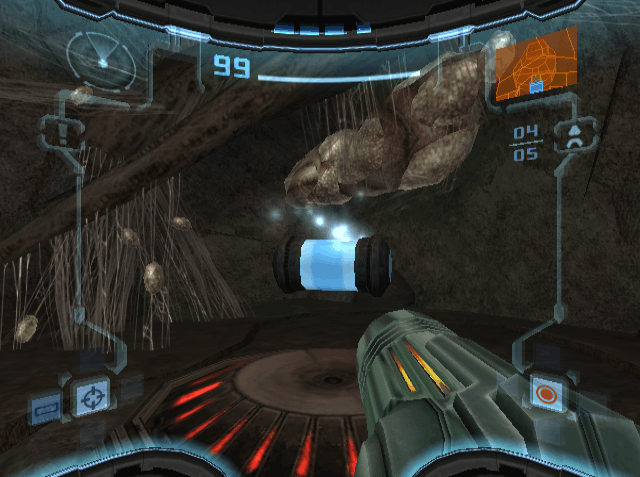
| Kinetic Orb Cannon |
Proceed to the GFMC Compound. After the cutscene, scan the ship for the GFS Tyr entry. There are 6 bodies that need to be scanned around the room. 5 of them are on the ground outside of the ship and 1 is found near the room's missile door. A Map Station can be found in the back of the ship. Shoot the yellow crate with a charge beam to get the Missile Launcher. Then scan one of the Dark Splinters that appear. Use the side of the ship to reach the ledge and scan the panel to activate the orb cannon, also scan the cannon itself. Use the cannon to go through the missile door.
Scans
| PFC E. Denys |
| War Wasp |
At the Sacred Bridge, scan the body to the left for the PFC E. Denys entry. Enter the small space to the right. Scan one of the war wasps as well as the panel at the top of the room. Use the orb cannon to continue.
Scans
| War Wasp Hive |
Scan one of the war wasp hives in the Sacred Path. Then scan the hidden panel at the far side of the room to activate the orb cannon. Shoot a missile at the cracked wall and then use the cannon to break that wall. Follow the small space to go through the next door.
Scans
| Sandbats |
Proceed to Transport A Access and scan the Sandbats that fly from the Save Station. They can be found again in Agon Wastes.
Scans
| Alpha Splinter (SCAN NOW) |
| Dark Alpha Splinter (SCAN NOW) |
In the Temple Sanctuary, scan the Alpha Splinter you encounter, which must be scanned now. It can be damaged with the power beam. Scan it again when it turns into the Dark Alpha Splinter. After defeating it, step into the light to get an unknown item.
Scans
| Energy Controller |
| U-Mos |
| Origins |
Go through the nearby door and continue to the Main Energy Controller. After the cutscene, scan the Energy Controller and U-Mos. Also scan the violet hologram for the Origins entry.
Scans
| Lightflyer |
Return to the Temple Sanctuary and head through the door behind the violet hologram. Scan the Lightflyer in Transport B Access.
Energy Tank #1
Take the elevator down to Temple Assembly Site. Head through the missile door to find an Energy Tank.
Scans
| J-Fme's Testament |
Return back to the Industrial Site. Scan the violet hologram to lower the gate. Then scan the body for the J-Fme's Testament entry.
Missile Expansion #1
Scans
| Our Heritage |
Head through the door and continue to Transport to Agon Wastes. Shoot the webbing to the left to find a Missile Expansion. Then scan the violet hologram by the cliff for the Our Heritage entry. Then take the elevator to Agon Wastes.