
Chapter 2: Volt Driver
UA Expansion #1
Scans
| History 07 |
| Stronghold Portal (SCAN NOW) |
| History 06 |
| History 05 |
| Alimbic War 10 |
| Psycho Bit v4.0 |
| Oubliette 08 |
| History 08 |
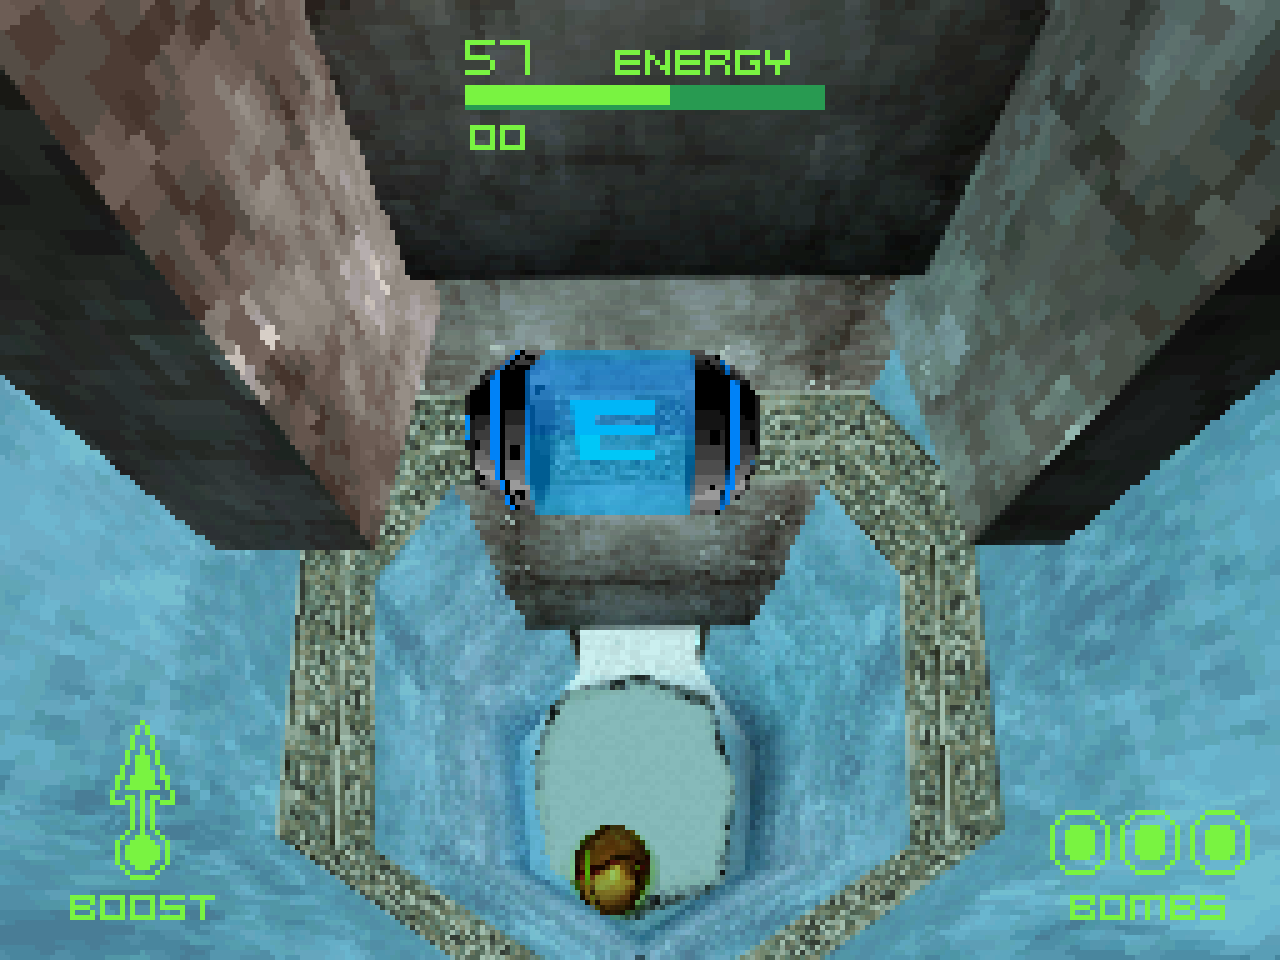
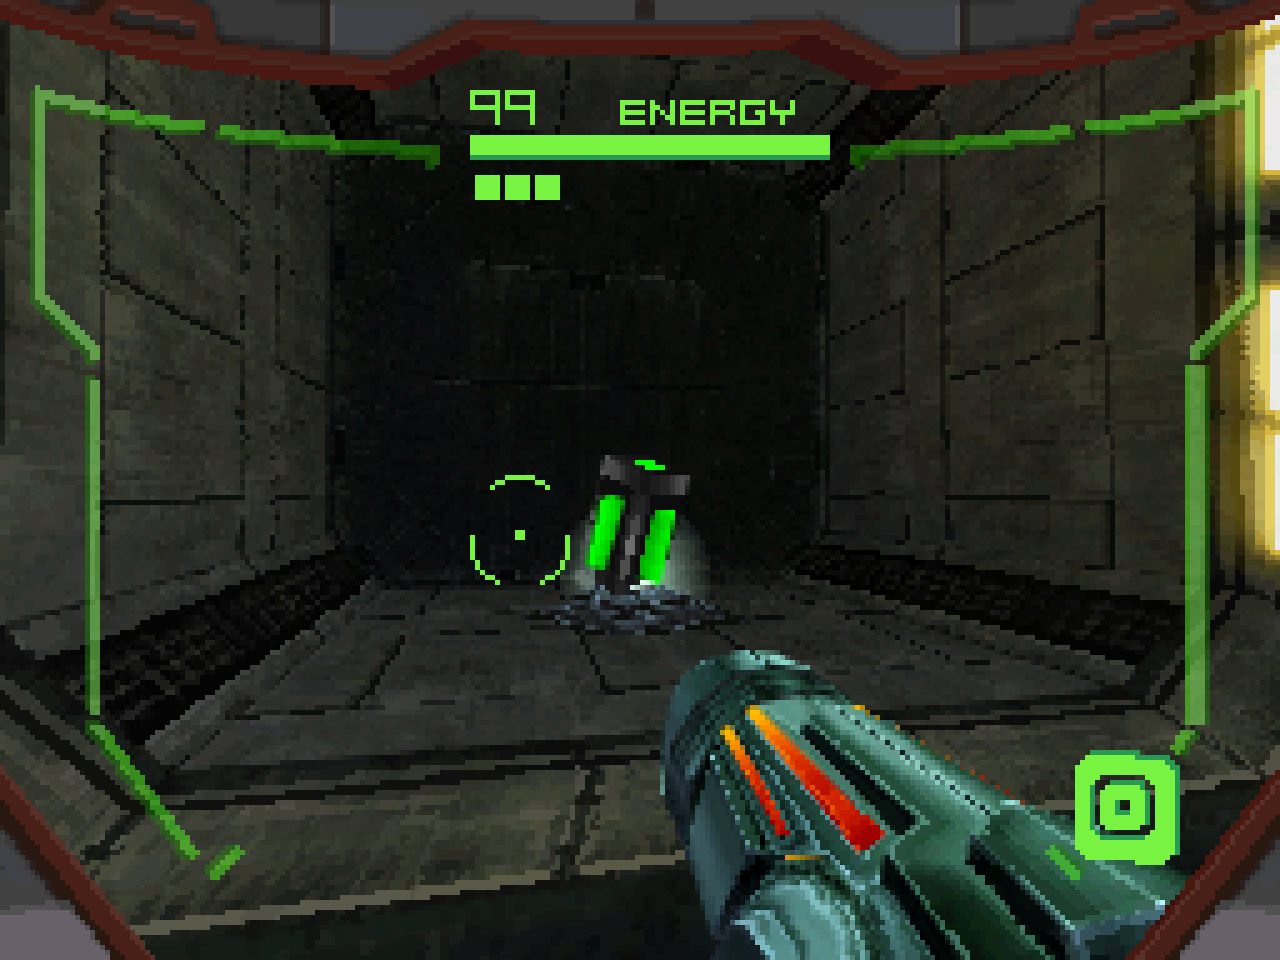
Return to the small space puzzle and go through the small space that's in the middle of the wall to go into the Compression Chamber. Upon entering, get the History 07 scan that's just to the right. Then scan the Stronghold Portal that's next to it, which must be scanned now. Destroy the green force fields and head into the next room. Scan the History 06 entry that's in the middle of the room. Go around the structure toward the back of the room to find the History 05 scan. Scan the symbol at the top of the structure for the Alimbic War 10 entry. Finally, scan the 2 switches in this room to deactivate the force fields below. Head back into the small space puzzle and exit it in the bottom left corner to go into the room that had the force fields. After entering, scan the Psycho Bit v4.0 before defeating them. Then grab the UA Expansion in this room, which must be grabbed now. Defeat all the enemies to get the key. Scan the icon just in front of the new small space to get the Oubliette 08 entry. Head through the small space to find the History 08 scan as well as the artifact.
Scans
| History 03 |
| History 04 |
| Octolith Safeguard |
| Crash Pillar (SCAN NOW) |
| Alimbic Prophecy |
| Sylux |
| Lockjaw |
| Delano 7 (SCAN NOW) |
| Gestation Tank |
Drop down and defeat the Guardian. After doing so, return back to the Weapons Complex. Defeat all the enemies in the central room to find the key, which leads to the artifact. In the corners of the room with the artifact, you'll find the scans for the History 03, History 04, and Octolith Safeguard entries. Proceed through the green force field and scan the Crash Pillar, which must be scanned now. To destroy it, get close and wait for the Pillar to jump into the air. Then hit the bottom of it with missiles. Scan the symbol above the red door to get the Alimbic Prophecy entry. Take the new elevator up to the next level, continue through the corridors and scan Sylux, also scan his morph ball form, Lockjaw. In the second phase of the battle, scan Sylux's ship for the Delano 7 entry, which must be scanned now. After the battle scan the blue Gestation Tanks in the outside corridor before grabbing the artifact.
Scans
| Cretaphid v2 (SCAN NOW) |
Return all the way back to the small space puzzle and enter the small space that's in the wall to find the Stronghold portal. Progress forward until you enter the room of the next boss. Scan the top of the boss for the Cretaphid v2 entry, which must be scanned now. This boss can be beaten in the same way as the first one. After the battle, grab the Octolith. Then evacuate all the way back to Samus' ship and launch it to go to Arcterra.
Scans
| Arcterra |
| Alimbic Prophecy 04 |
| Geemer |
| Alimbic Crest |
| Shriekbat |
After landing, scan the panel in front of the ship for the Arcterra entry. Then scan the symbol above the corridor's entrance for the Alimbic Prophecy 04 entry. Follow the path and scan the Geemers on the platform along the wall. Scan the X shaped crest along the wall for the Alimbic Crest entry. Finally, scan the Shriekbats who are hanging from the ceiling. Progress all the way down and head through the door to enter the Sic Transit.
Energy Tank #3
Scans
| Alimbic Emblem |
| Noxus |
| Vhoscythe |
| Damaged Bridge |
As soon as you enter, scan the emblem on the wall in front of you for the Alimbic Emblem entry. After the cutscene, scan Noxus. Deal some damage to him and he'll turn into the Vhoscythe, which will need to be scanned. Once Noxus is defeated, scan the Damaged Bridge that's at the top of the room. In order to progress, there are 6 proxy locks that need to be scanned. One is next to the force field, one is at the top of the pillar of the damaged bridge, which can be scanned from the platform below the bridge. In the corridor that's next to the door you entered through, there's a lock that's protected by a turret. There's another lock on the high platform that's to the right of the gray locked door. Finally, there are 2 more locks on the far side of the bridge. Grab the key that appears and then head through the newly unlocked door to find an artifact. Finally head through the small space for an Energy Tank. Then head through unlocked gray door that hasn't been explored yet.
Judicator
UA Expansion #2
Missile Expansion #5
UA Expansion #3
Scans
| Alimbic Pride 01 |
| Barbed War Wasp (SCAN NOW) |
| Blue Barbed War Wasp (SCAN NOW) |
| Ammolite Shard |
| Alimbic Insignia |
| Ice Bridge |
| Witherite Shard |
| History 09 |
| History 10 |
| History 11 |
| Heating System |
Head through the corridor to the right to find the Alimbic Pride 01 scan. Scan the Energy Router B to destroy a bunch of force fields. Then scan the rest of the energy routers. When the Barbed War Wasps appear, scan them as this is the only time do so. After defeating them, scan the panel up above, head through the new opening, and scan the Blue Barbed War Wasp, this is the only time to scan it. Scan the white crystals for the Ammolite Shard entry. Head into the next area. After cutscene, head up and scan the platform controller. Scan the large insignia on the wall for the Alimbic Insignia entry. Progress through the small space puzzle to obtain the Judicator. Fall down and use it to destroy the purple force field. Scan the Ice Bridge in front of you. Then scan the Witherite Shards that are on the ceiling. Cross the bridge and scan the History 09, History 10, and History 11 entries.
Turn around and destroy the purple force field to the left. Jump into the small room to the left for an UA Expansion. Turn around and scan the Heating System that's just above the turret. Grab the key and then drop down for the artifact. Proceed through the corridor and enter the small space in the left wall for a Missile Expansion. Drop down and destroy the purple force field for another UA Expansion. Then jump up and return through the door through which you entered.
Energy Tank #4
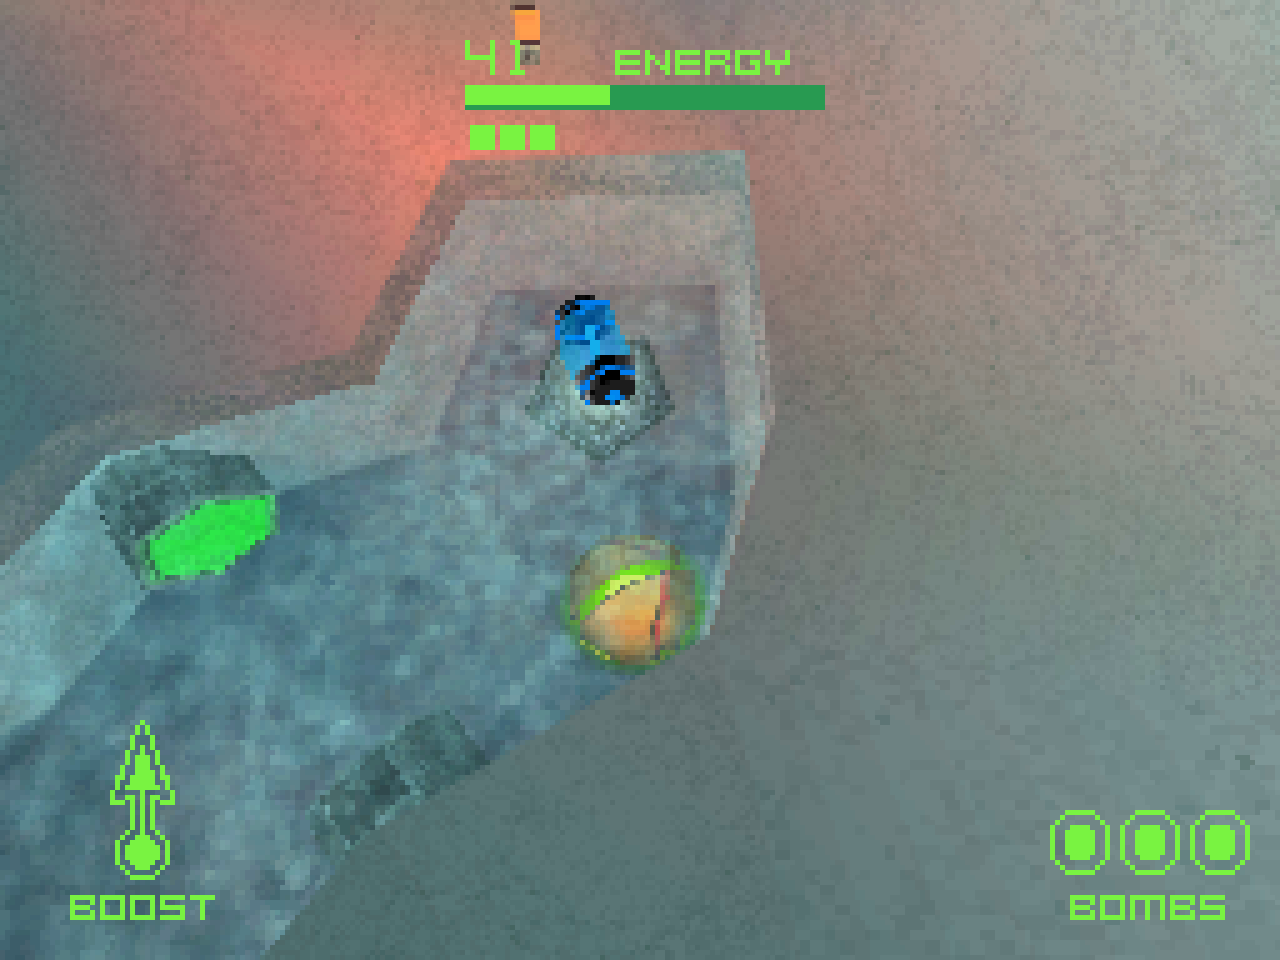
Take the purple door in Sic Transit. Head to the northern most section of the small space maze in Frost Labyrinth to find an Energy Tank. In the middle of the room there is a hole in the ice. Use a bomb to jump up and get the key. Head toward the newly opened door for the artifact. Return all the way back to the Ice Hive, head through the purple force field, and enter the Stronghold Portal that's near the portal to Samus' ship.
Scans
| Slench 2A (SCAN NOW) |
| Slench 2B (SCAN NOW) |
| Trace |
| Triskelion |
Head toward the room for the next boss. This Slench boss fight is nearly identical to the first one, meaning you'll have to get the Slench 2A and Slench 2B scans in the same way. After defeating the boss, grab the Octolith and begin the evacuation. In the Sic Transit, you'll encounter a hunter battle. Here you'll need to get the scans for Trace and Triskelion. Launch Samus' ship and head to the Celestial Archives.
UA Expansion #4
After the ship lands, go into the small space beneath Samus' ship. Destroy the green force field and drop down to find a UA Expansion.
Volt Driver
UA Expansion #5
Scans
| Literary Hub |
| Medical Hub |
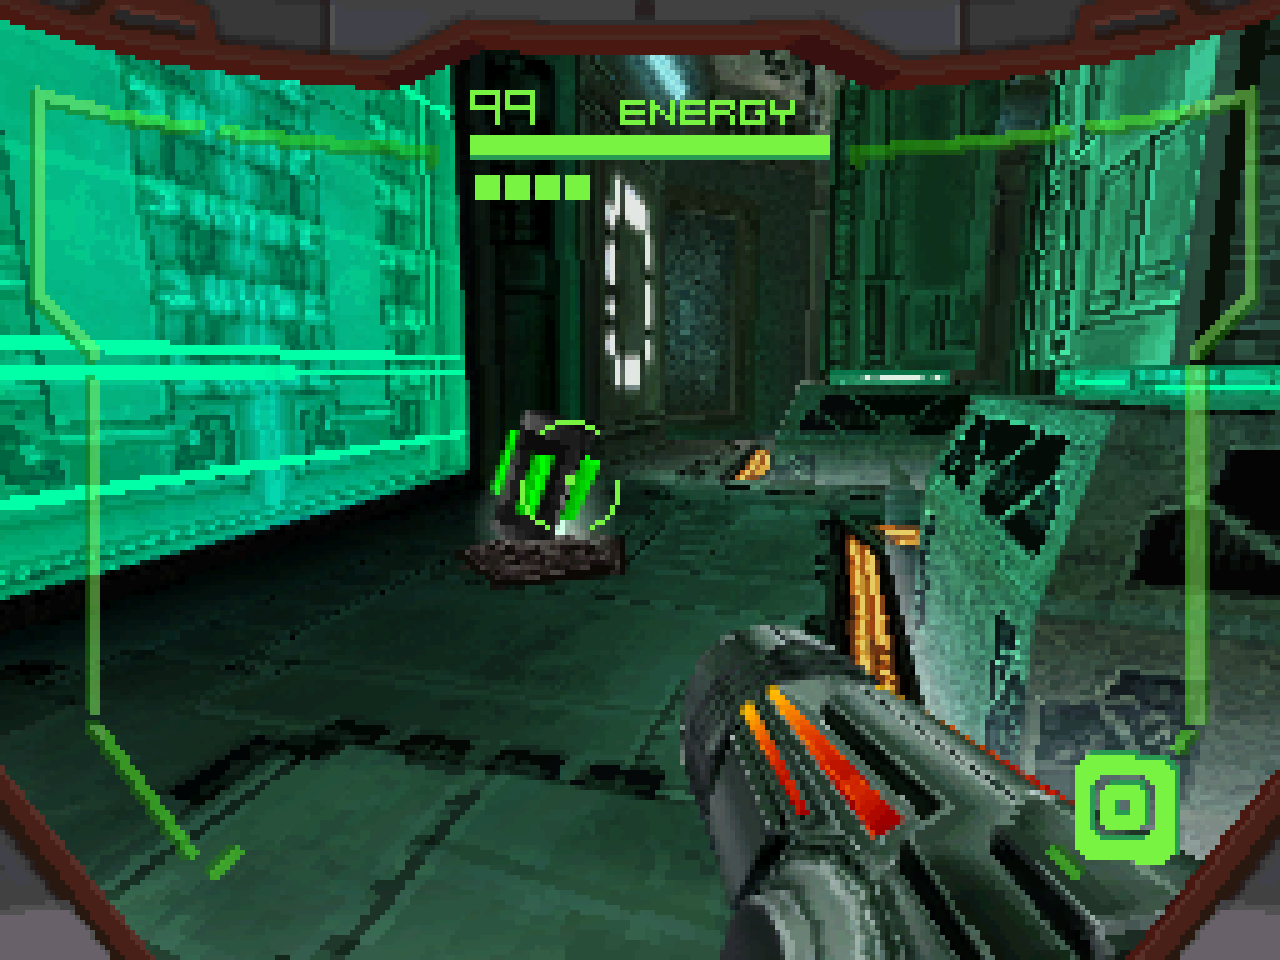
Head through the portal on the left to enter Data Shrine 03 and encounter Sylux. Then head down to main room of Data Shrine 02 and defeat the Guardians here. After the battle, take the UA Expansion on the pillar. Scan the 2 panels in here for the Literary Hub and Medical Hub entries. Then jump across the platforms and enter the small space in the wall for the Volt Driver.
