Chapter 1: Ice Missile
Scans
| Federation Marine |
| Halberd-Class Turret |
| Fleet Mechanic |
| Training Drone |
| Hunter-Class Gunship |
| Landing Beacon |
| Galactic Federation Crate |
| Heavy Galactic Federation Crate |
| Galactic Federation Blue Door |
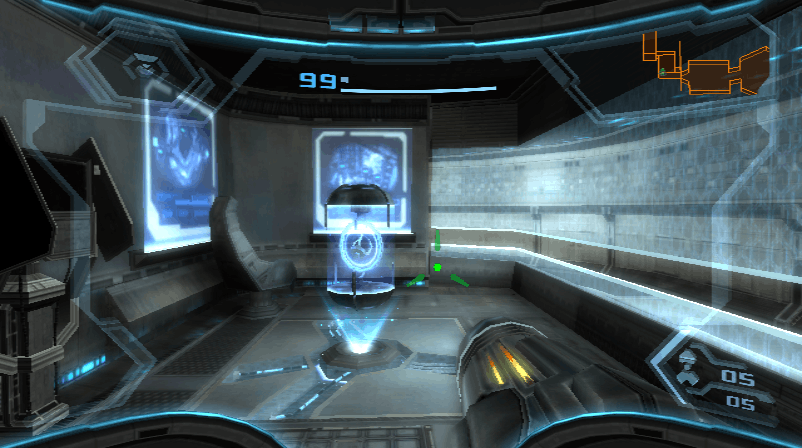
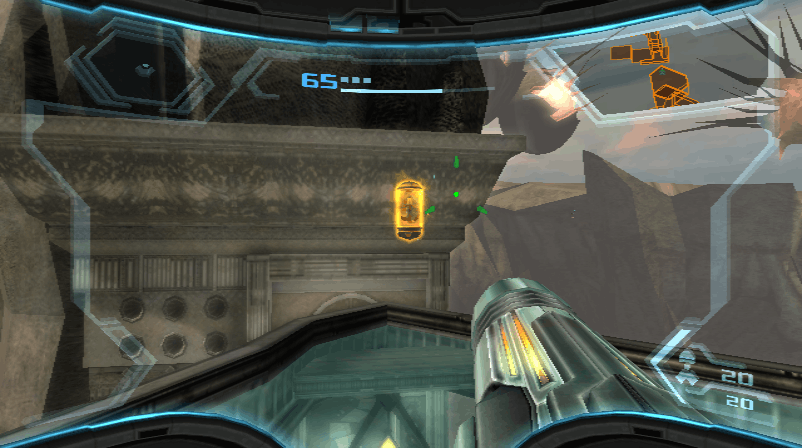
After the opening cutscene, use the wii remote to interact with Samus's ship and land on the G.F.S. Olympus. After landing, shoot the targets in front of you. Scan one of the federation marines in front of you, scan the halberd-class turret that's above the large door in the middle of the room, scan the fleet mechanic that's to the left, and scan the training drone that's to the left. Then scan Samus's gunship and the beacons next to her ship. Scan the small and large crates that are by the mechanic. Finally, scan the blue door. Then head through that door.
Scans
| Male Fleet Trooper |
| Female Fleet Trooper |
In Docking Bay Access, scan the male and female fleet troopers that ar by the window. Use charge beams on the red switches on the walls to lift the ramp.
Scans
| Blast Shield |
Continue to Docking Bay 4. Scan the blast shield of the locked door. Scan the panel that's in the central pillar to get the access code. Then use that access code to unlock the door.
Scans
| Hunter Ghor |
| Olympus-Class Battleship |
In the Security Station, scan Ghor as he's being monitored. Use the wii remote to get through security. Then scan the panel on the other side of the room for the Olympus-Class Battleship entry.
Scans
| Save Station |
Continue all the way to Lift Access and scan the Save Station that's next to the room.
Scans
| Fleet Admiral Dane |
Return to the Flag Bridge and go through the door with the trooper in front of it. After the cutscene, return to the Flag Bridge and scan Fleet Admiral Dane.
Scans
| Pirate Militia |
Return to Flag Bridge Access. Scan one of the pirate militia you encounter.
Scans
| Space Pirate Boarding Pod |
In the Port Observation Deck, scan the space pirate boarding pod that crashes through the windows.
Scans
| Crawltank |
Continue to the Xenoresearch Lab and scan the Crawltank on the wall.
Scans
| Armored Pirate Militia |
| Crawlmine |
Go into Lab Access. After the cutscene, return to the Xenoresearch Lab. Scan one of the armored pirate militia. After defeating the pirates, grab the energy cell. Return it to the lower level. Then scan one of the crawlmines that appear.
Energy Tank #1
Go through the small space in the floor to find an Energy Tank.
Scans
| Bomb Slot |
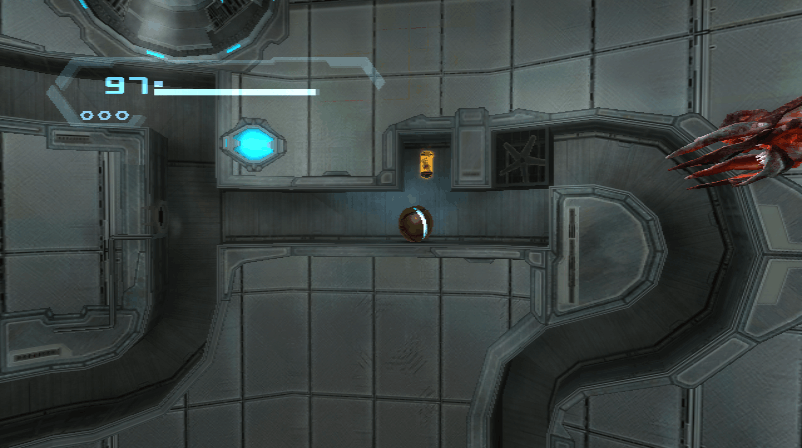
Use the panel to activate the bomb slot, which needs to be scanned. Then use the bomb slot.
Missile Launcher
Climb to the top of Repair Bay A and go through the blue door to find the Missile Launcher.
Scans
| Aeromine |
Back in Repair Bay A, use a missile at the bottom of the room to find a panel. Scan one of the aeromines you encounter in Repair Bay Shaft.
Scans
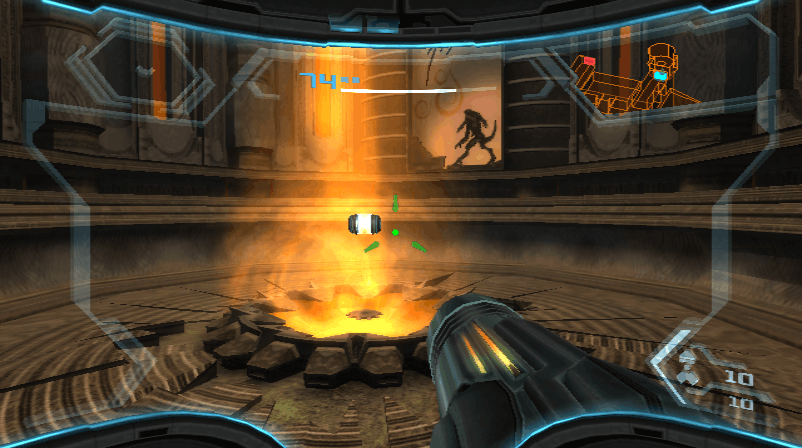
| Berserker Lord |
Continue to Docking Bay 5 and scan the Berserker Lord, which must be scanned now. Shoot the red joints to stun it. Then when it spits out purple orbs, shoot them to hit the Berserker Lord. Once the top of its head is red, shoot that spot to deal damage. After defeating it, use Samus's ship to go to Norion.
Grapple Lasso
Scans
| Planet Norion |
After landing shoot the targets to lower 2 doors. Scan the panel for the Planet Norion entry. Then grab the Grapple Lasso upgrade.
Scans
| Mounted Blast Shield |
Continue to Hub Access. Scan the mounted blast shield and use the grapple lasso to go through the door.
Missile Expansion #1
In the Cargo Hub, use the grapple lasso on the wall to the right of the entrance to find a panel. Use that panel to enter a small space in the floor. Use bombs to go through the small space and find a Missile Expansion.
Energy Tank #2
Use the grapple lasso to go all the way through the Cargo Hub. Go through the blue door to enter Substation East. Enter the small space to get an Energy Tank.
Scans
| Red Blast Shield |
Continue to Conduit A and scan the red blast shield to the right. Use a missile to go through.
Scans
| Hunter Rundas |
| Hunter Ghor |
| Hunter Gandrayda |
In Munitions Storage, scan the 3 panels for the entries for Hunter Rundas, Hunter Ghor, and Hunter Gandrayda.
Scans
| Jumpmine |
Return to Conduit A. Continue through the room and scan one of the jumpmines. Go through the other missile door.
Scans
| Pirate Trooper |
| Space Pirate ATC |
| Shield Pirate Militia |
| Aerotrooper |
In Cargo Dock A, scan one of the pirate troopers that you encounter. Then scan the Space Pirate ATC that flies in. After that, scan the shield pirate militia. They can be damaged by using the grapple lasso to destroy the shield. Then scan and defeat the aerotroopers. Then destroy the ATC by shooting its front. After the cutscene, you can land Samus's ship to save.
Scans
| "Jolly Roger" Drone |
Continue to Generator A. Scan one of the drones that appear. After defeating them, use a charge beam to clear the rubble. Use the panels throughout the room to activate the generator.
Scans
| Federation PED Marine |
Return to Cargo Dock A. After the cutscene, scan the marine.
Scans
| Shield Pirate Trooper |
Scan the shield pirate trooper in Conduit A.
Scans
| White Blast Shield |
Return the central area of the Cargo Hub. After the cutscene, go through the middle blue door. Scan the white blast shield in the Maintenance Station.
Scans
| Meta Ridley (SCAN NOW) |
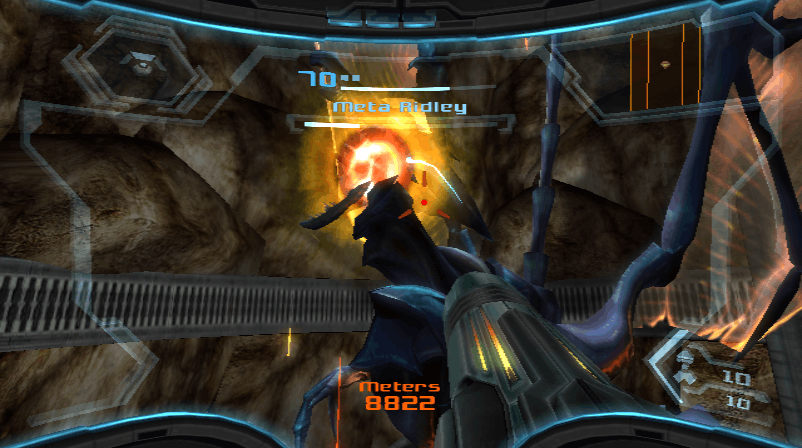
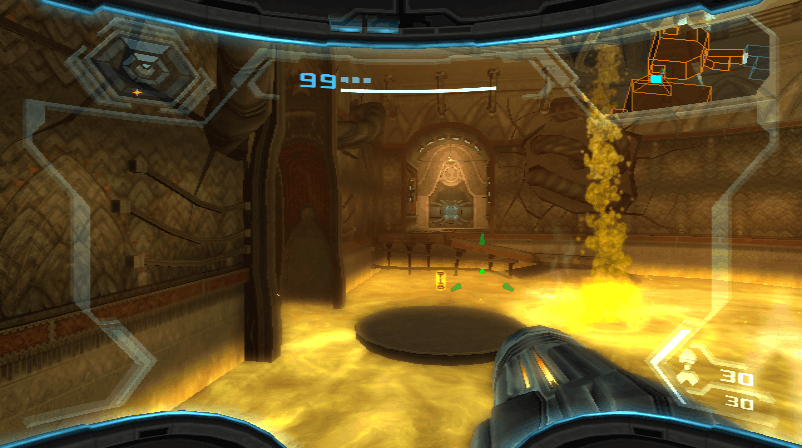
Continue to Cargo Dock C. Use a bomb to enter the small space. When Ridley blocks your path, use some bombs to hit it when it tries to bite you. Continue to Generator C. Cross the room and interact with the switch. Then enter the small space, use each of the bomb slots, and follow the small space to the top of the room. Use the bomb slot at the top to encounter Meta Ridley, who must be scanned now. To damage Ridley, you must shoot its mouth once open.
Scans
| Hunter Gandrayda |
| Hunter Rundas |
After defeating Ridley, interact with the panel by the door to activate the generator. Return back to the Cargo Hub, go through the small space on the right, and interact with the generator door. Continue to the Tower Elevator. Once inside, scan Gandrayda and Rundas.
Scans
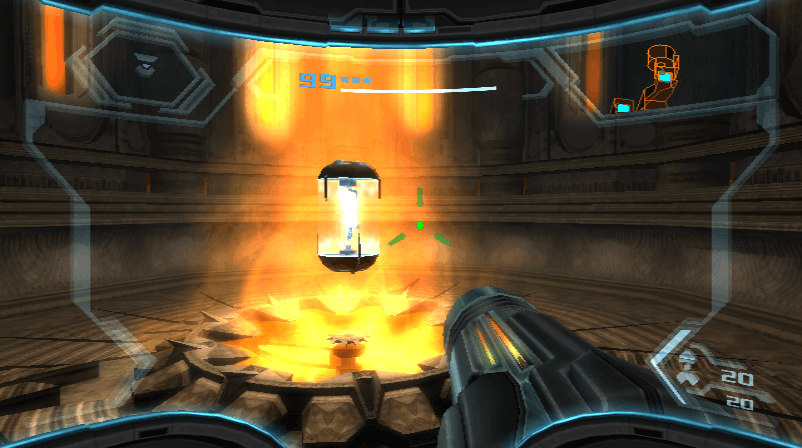
| Phazon |
| Phazon Enhancement Device |
After the cutscene, you'll have the PED Suit. Then scan the two consoles to the right for the Phazon and Phazon Enhancement Device entries.
Scans
| Kashh Plant |
| Mature Kashh Plant |
| Bryyo Blue Door |
Head to the Flag Bridge. Speak with the marine to enter the Aurora Chamber. After speaking with the AU, land on Bryyo. After landing, head toward the blue door. On the left wall, scan the Kassh Plant and Mature Kashh Plant. Then scan the blue door and head through.
Scans
| Gragnol |
In the Gateway Hall, scan one of the Gragnols that appear.
Scans
| Small Bryyo Coffer |
| Phazon Nightbarb |
| Gel Puffer |
| Hopper |
After the cutscene in the Gateway, scan the small bryyo coffer to the left. Follow the platforms around the room enter the small space in the middle structure. Follow the small space and use the bomb slot to lower some platforms. Then scan the phazon nightbarbs that appear. Enter the small space at the top of the central structure and use the bomb slot. Scan one of the gel puffers that appear. Enter the doorway that was just opened. Use the grapple lasso to remove the orb from the small space. Enter the small space and go right. Scan one of the hoppers here. Head through the door.
Energy Tank #3
Scans
| Golden Age |
Scan the wall for the Golden Age entry. Then grab the Energy Tank.
Scans
| Large Bryyo Coffer |
Return to the Gateway and head to the missile door. Scan one of the large bryyo coffers and go through the door.
Missile Expansion #2
Scans
| Shelbug |
In the Grand Court Path, scan one of the shelbugs on the wall. Use a charge beam to destroy the structure in the right wall. Follow the corridor to find a Missile Expansion.
Scans
| Reptilicus Hunter |
| Age of Science |
Use the PED to continue to the Grand Court. Scan one of the reptilicus hunters that appear. After defeating them, head through the pathway. On the left wall, shoot the red targets. Then scan the lore for the Age of Science entry.
Missile Expansion #3
Scans
| Snatcher |
| Korba |
In the Hillside Vista, drop down to the lower level. Scan the snatchers and korba in the small space. Then use a bomb to enter the small space. Use the snatchers to float up and reach a Missile Expansion.
Grapple Swing
Head out the right side of the small space. Then use the grapple lasso and charge beam to go through the door. Here you'll find the Grapple Swing.
Scans
| Grapple Swing Point |
Scan the grapple swing point in Hillside Vista.
Scans
| Reptilicus |
Return to the Grand Court Path and scan the Reptilicus you encounter here.
Scans
| Atomic |
In the Gateway, go through the last remaining door and use a bomb to enter G.F.S. Theseus. Scan the atomic in here. It can only be damaged with the charge beam. Use the charge beam to lower the door on a wall. Then use the grapple lasso to energy the room. Interact with the central structure to get the map.
Missile Expansion #4
Scans
| Gragnol Adult |
Go outside to the Crash Site and then go back into the small space. Use double jumps to go up through the small space. Once outside, scan one of the gragnol adults. They can only be defeated with the grapple lasso. Then grab the Missile Expansion.
Scans
| Alpha Hopper |
Head to the Gateway Hall and scan one of the alpha hoppers.
Scans
| Fuel Gel |
Return to Samus's ship and go to Fiery Airdock on Bryyo. Go into the Imperial Hall and scan the fuel gel in the floor.
Missile Expansion #5
Scans
| Age of Schism |
Use the charge beam to continue to the Main Lift. Scan the lore on the right wall for the Age of Schism entry. Float up and use the 2nd entrance on the left to find a Missile Expansion. Then go through the other entrance.
Scans
| Warp Hound |
| Age of War |
| Phazon Pillbug |
| Grab Ledge |
Continue to the Gel Processing Site and scan one of the warp hounds you encounter. After defeating them, scan the lore along the wall for the Age of War entry. Use the charge beam to activate the bomb slot and then use it. Jump onto the central structure and use the grapple lasso to create a small space. Head toward the east side and interact with the switch. Then use the charge beam to open the small space. Go through it and use the bomb slot. Jump on the top of the middle platform and use the charge beam to create another small space. Scan one of the phazon pillbugs in the small space. Also scan the grab ledge at the top of the room. Go through the small space and use the bomb slot to raise the platform. Then use the grab ledge to exit the room.
Missile Expansion #6
In the Gel Hall, hit the statue on the ceiling with a charge beam to lower a platform with a Missile Expansion.
Scans
| Gelbug |
Go through the blue door and continue to Temple Access. Scan one of the gelbugs in the corridor.
Ice Missile
Scans
| Armored Pirate Trooper |
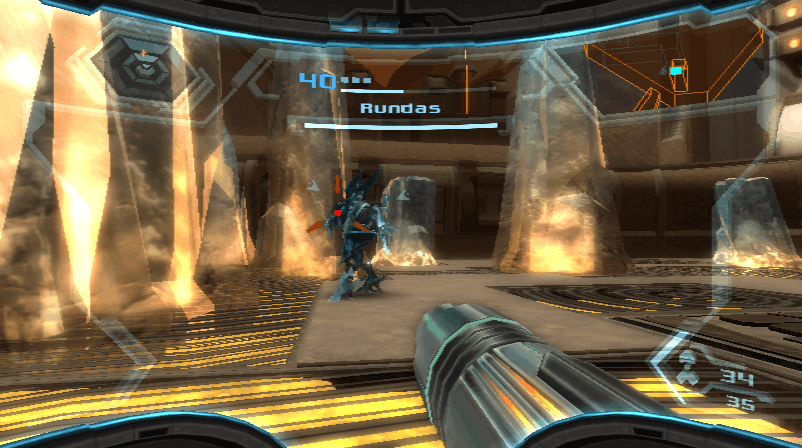
| Rundas (SCAN NOW) |
In the Temple of Bryyo, scan one of the armored pirate troopers. After defeating them, Rundas will appear, who needs to be scanned now. Start by shooting his armor to weaken it. Then use the grapple lasso to break the armor. After that, Rundas can take damage. When he's down to quarter health, he'll use his PED. To damage him, you'll need to use your PED as well. After defeating Rundas, you'll get the Ice Missile upgrade.