Chapter 5: Finale
Scans
| Space Pirate Green Door |
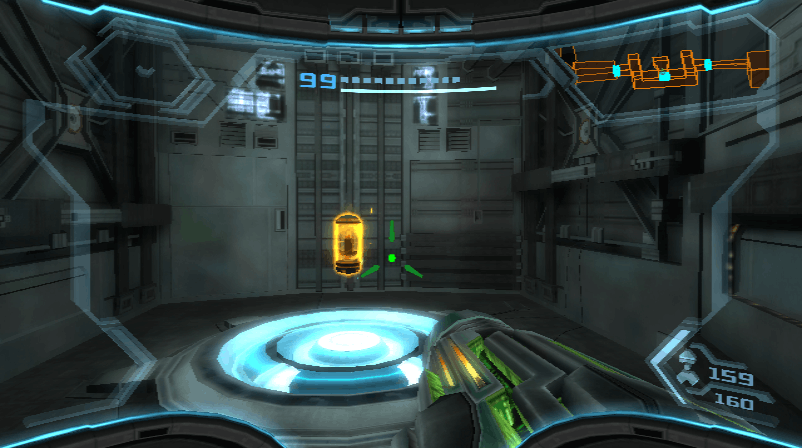
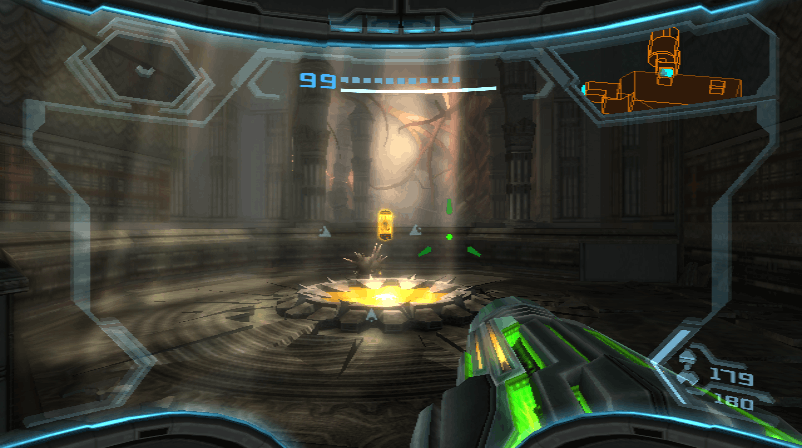
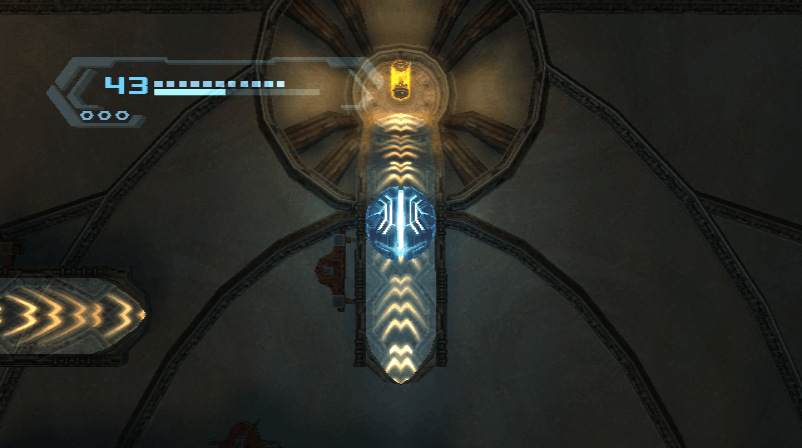
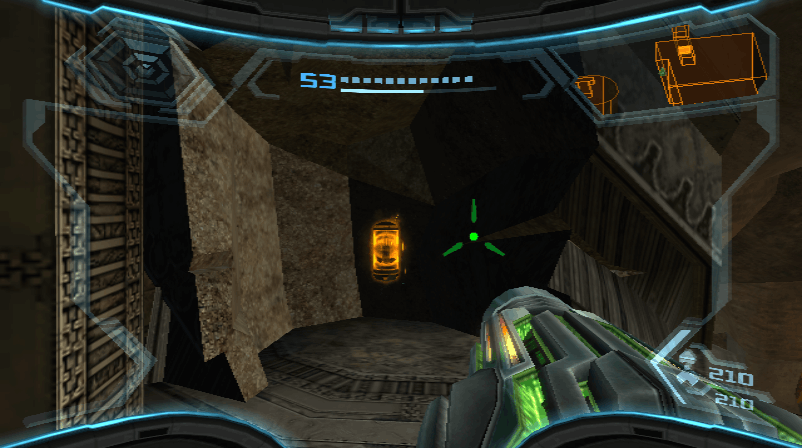
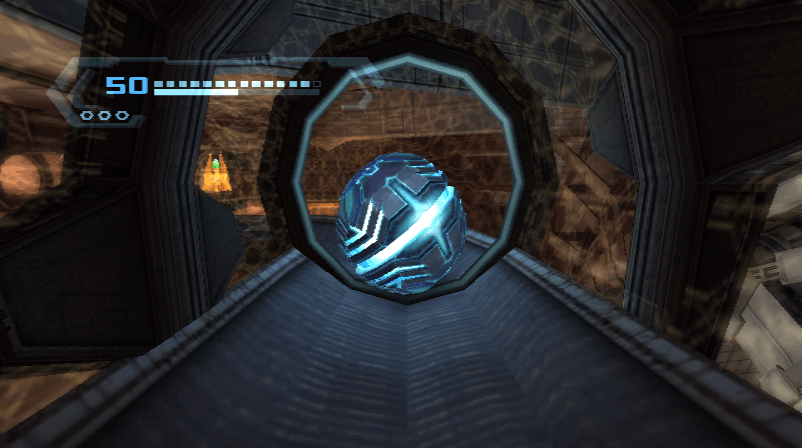
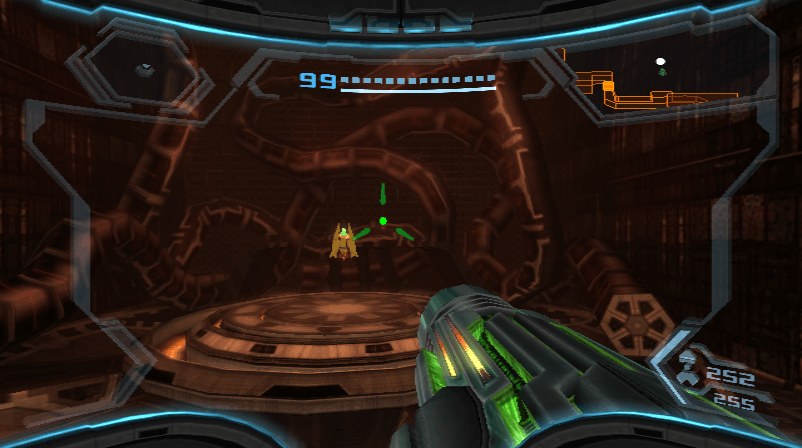
Use the x-ray visor to activate the phazite door. Take the elevator up and head through the phazite door. Then take the blue door. To loosen the drill, use the x-ray visor to shoot the central orb. Drop down, scan the green door, and head through.
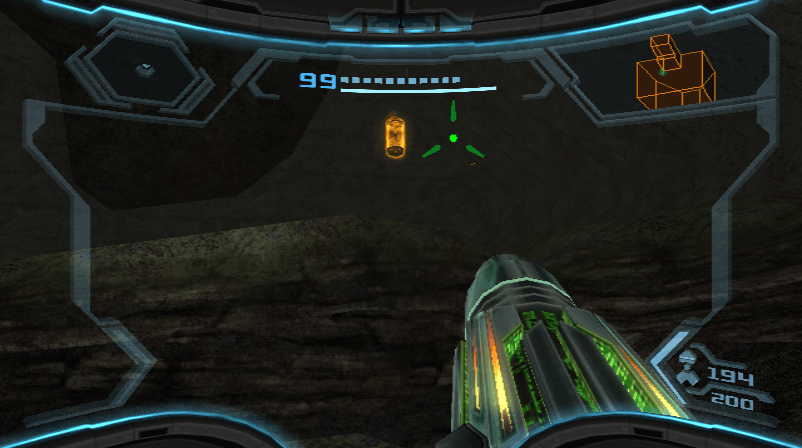
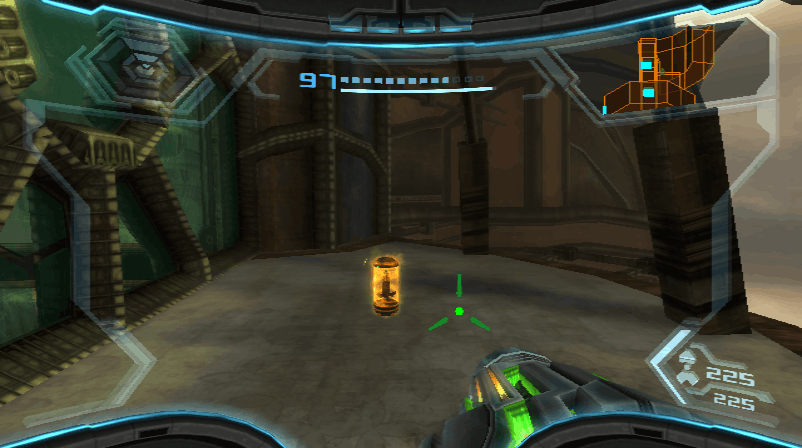
Energy Cell
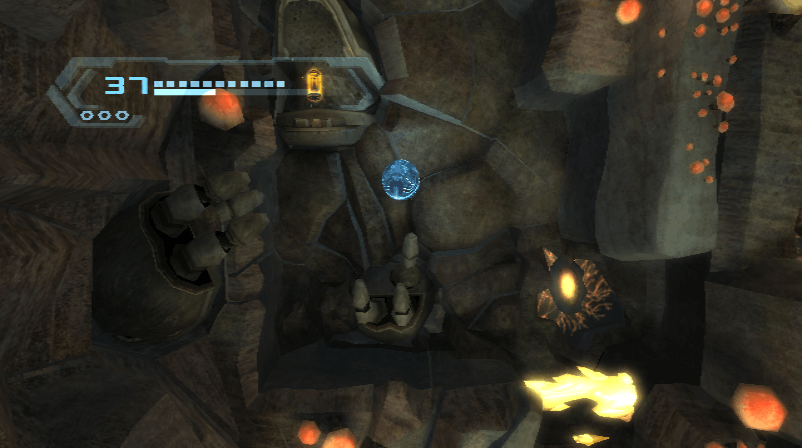
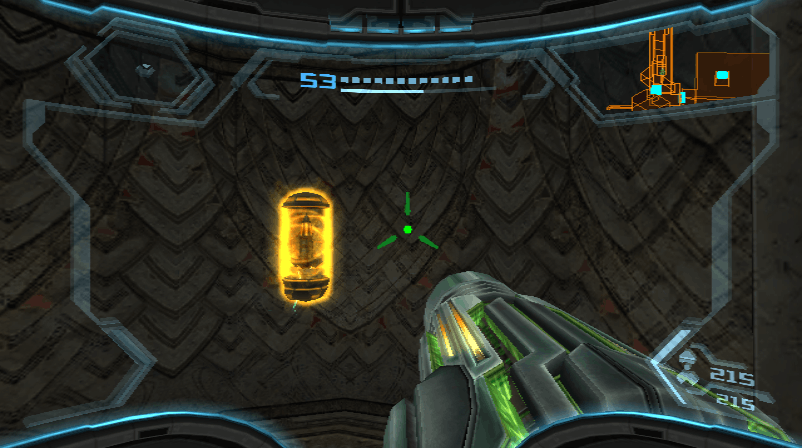
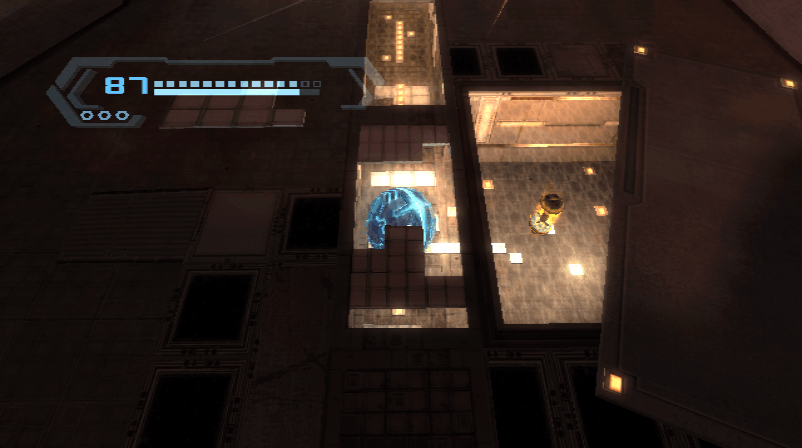
Grab the Energy Cell that's to the right.
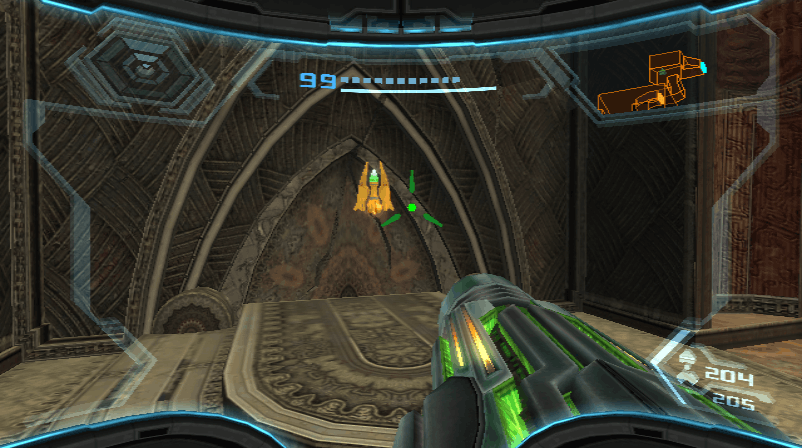
Missile Expansion #30
Scans
| Bryyo Falls |
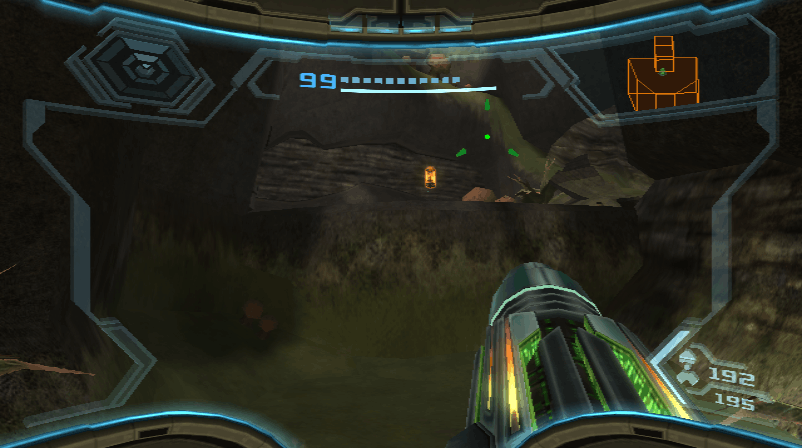
Return to the Main Cavern and take the green door. Use the x-ray visor to open the phazite door to the right and get a Missile Expansion. Also scan the lore in this room for the Bryyo Falls entry.
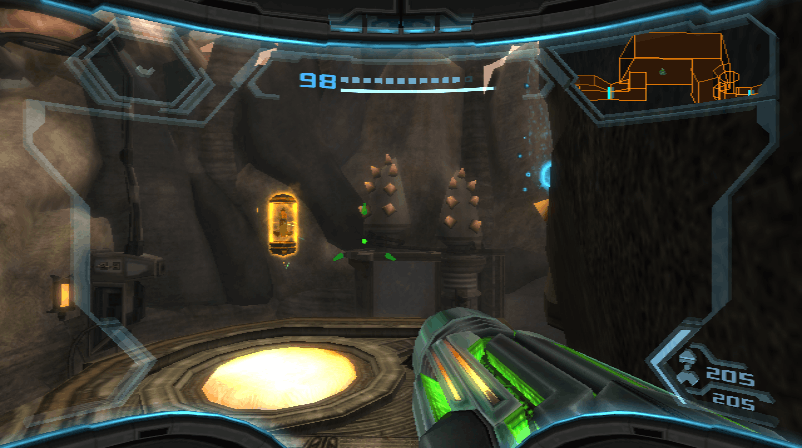
Missile Expansion #31
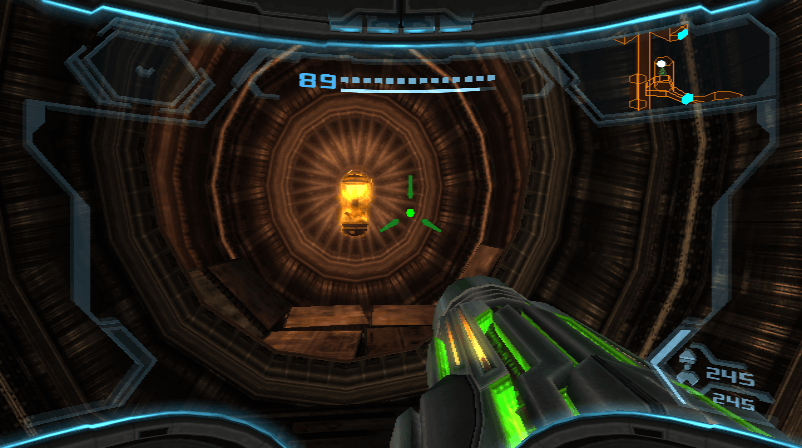
Continue to Landing Site Charlie. Clear all the obstacles and then fly Samus's ship to Cargo Dock A on Norion. Use the spider ball track along the wall to enter a small space and find a Missile Expansion.
Missile Expansion #32
Go to the Cargo Hub and then enter the Maintenance Station. Take the ice missile door to find a Missile Expansion.
Missile Expansion #33
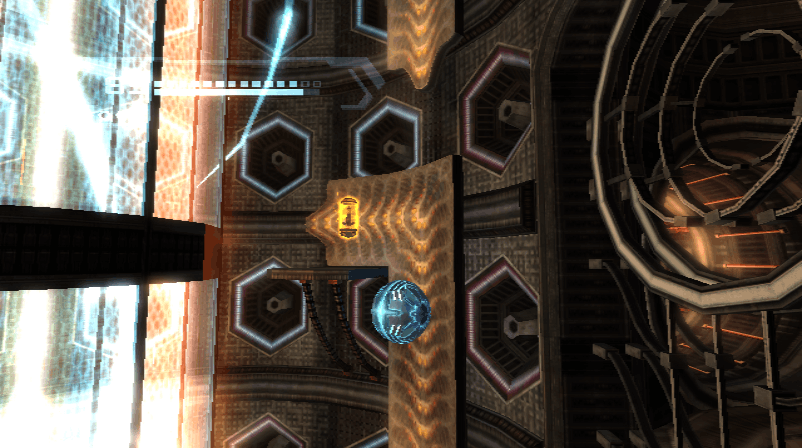
Return to the Cargo Hub. Go to the unvisited door. Use the nova beam on the panel to go through. In Substation West, enter the small space in the wall for a Missile Expansion.
Scans
| Liquid Phazon |
Scan the Liquid Phazon in Conduit B.
Scans
| Planet Bryyo |
| SkyTown |
Take the ice missile door. In Data Storage B, scan the two panels for lore entries.
Scans
| Hopping Metroid |
| Multi-Lock Blast Shield |
| Valhalla Incident |
Continue to Cargo Dock B. Scan one of the hopping metroids. After defeating them, scan the multi-lock blast shield across the room. Use the screw attack to reach a panel at the top of the room to be scanned for the Valhalla Incident entry. Use the seeker missile to go through the blast shield you scanned.
Energy Cell
Proceed to Generator B. Defeat the Metroid Hatcher. Then enter the small space and grab the Energy Cell.
Missile Expansion #34
Return to the Cargo Dock B, then fly Samus's ship to Docking Hub Alpha. Behind the ship is a platform that leads to a Missile Expansion. Use the grapple beam to reach it.
Missile Expansion #35
Scans
| Nightbarb |
Fly to Cliffside Airdock on Bryyo. Go to the Gateway. Enter the small space in the west side of the room and take the right path. Melt the ice that's in the right wall and enter the small space to find a Missile Expansion. Also scan the nightbarbs at the top of the room.
Missile Expansion #36
Scans
| Geemer |
Head to the Grand Court. Use the grapple beam to land on the left platform. Take the ice missile door to find a Missile Expansion. Also scan the Geemer in this room.
Missile Expansion #37
Scans
| Fargul Hatcher |
| Fargul Wasp |
| Victory |
Return to Samus's ship and fly to the Federation Outpost on Bryyo. Take the orange door and proceed to the Hall of the Golems. Scan the Fargul Hatcher on the cliff as well as wasps it hatches. The hatcher can only be damaged by shooting its open mouth. Shoot the red targets to scan the lore for the Victory entry. Use the grapple voltage and bomb slot on the nearest golem. Follow the spider ball tracks and use a double jump on the tracks to reach a Missile Expansion.
Missile Expansion #38
Fall down and use an ice missile and the bomb slot on the golem. Follow the platforms and take the blue door into the Burrow. Enter the small space and use bombs to ignite the fuel gel. Then use a double jump to reach a Missile Expansion.
Scans
| Salvation |
Proceed to the Hidden Court. Shoot the targets to lower the gate and then take the orange door. Enter the small space and scan the lore for the Salvation entry.
Missile Expansion #39
Continue to the Fuel Gel Pool. Freeze the waterfalls to jump to the top of the room and find a Missile Expansion.
Missile Expansion #40
Use Samus's ship to lift the statue. Drop into the fuel gel. Go through the hole in the wall to find another Missile Expansion.
Scans
| Struggle of Exiles |
Return to the Burrow. Shoot the red targets to scan the lore for the Struggle of Exiles entry.
Gunship Missile Expansion #5
Scans
| Decline |
Head to the Hall of the Golems. Melt the rock in the last golem with the nova beam and then use the bomb slot. Take the orange door. Scan the lore on the right wall for the Decline entry. Use Samus's ship to drop the statue that was picked up and then grab the Gunship Missile Expansion.
Energy Tank #12
Use the spinner in Machineworks Bridge, then use the wall jump surface to reach an Energy Tank.
Missile Expansion #41
Return to Samus's ship and fly to Thorn Jungle Airdock. Go to the Ancient Courtyard. Use the halfpipe to reach a Missile Expansion.
Missile Expansion #42
Energy Cell
Head to the Jungle Generator. Take the south path and continue to North Jungle Court. Use Samus's ship to lift the component at the top of the room. Enter the small space. Use the spinner to cross the bridge and continue to the Hidden Court. Use the halfpipe to reach a Missile Expansion. Drop the component that Samus's ship is holding. Then grab the Energy Cell.
Missile Expansion #43
Enter the Falls of Fire. Use the wall jump surface to reach a Missile Expansion.
Missile Expansion #44
Return to Samus's ship and fly it to Fiery Airdock. Go to the Temple of Bryyo. Use the x-ray visor to lift the phazite door. Enter the small space below the floor to find a Missile Expansion.
Energy Tank #13
Head to the Gel Processing Site. Then go through Warp Site Alpha. Continue to the Tower. Use the spider ball tracks to get an Energy Tank.
Scans
| Planet Tallon IV |
| Planet Aether |
Return to Samus's ship and fly to SkyTown Federation Landing Site on Elysia. Go to the Chozo Observatory. Use the x-ray visor and shoot the phazite panel at the bottom of the room. Then interact with the panel to launch the satellite. Use the spider ball tracks in the wall and then use both bomb slots to get the Planet Tallon IV and Planet Aether entries.
Missile Expansion #45
Go to Concourse Ventilation. Take the spider ball tracks to reach a Missile Expansion.
Energy Cell
Return to Samus's ship and fly to G.F.S. Valhalla. Grab the Energy Cell to the right.
Scans
| Phazon Shriekbat |
Use an Energy Cell to enter Hanger A Access. Scan one of the phazon shriekbats you encounter.
Scans
| Miniroid |
Scan one of the Miniroids in Repair Bay.
Scans
| Phaz-Ing |
| Tallon IV Incident |
Take the door in the right wall to enter the Stairwell. Use 2 energy cells to go up the ramp. Scan one of the phaz-ing that appear. Also scan the lore across the room for the Tallon IV Incident entry.
Missile Expansion #46
Take the blue door to find a Missile Expansion.
Missile Expansion #47
Return to the Repair Bay and take the top door. Continue to Security Access and take the door on the left. Use an energy cell to go up. Enter the small space in the wall and fall down to find a Missile Expansion.
Scans
| Galactic Federation Green Door |
Head to Port Observation Deck. Use an energy cell to take the door on the right. Scan the green door.
Energy Tank #14
Go through the blue door to enter the Munitions Locker and find an Energy Tank.
Scans
| Anhur Incident |
Head through the green door and continue to the Aurora Chamber. Head to the upper platform and shoot the control mechanism that's stuck in the wall. Then use 2 energy cells to summon the Metroid Hatcher. After defeating it, take the elevator to go through the blue door. Continue to the Control Room. Scan the lore to the right of the door for the Anhur Incident entry. Use the grapple voltage and x-ray visor to get the pirate code. In the Southeast corner of the room you'll find the passcode for the panel, which is 78356. Enter that code into the panel for the secret message.
Gunship Missile Expansion #6
Scans
| Phazon Hopper |
Return to the Port Observation Deck and take the unvisited door. In the Xenoresearch Lab, use a missile to enter the lab. Scan one of the phazon hoppers. Use the grapple lasso to insert 2 energy cells. Enter the small space to find a Gunship Missile Expansion.
Missile Expansion #48
Use a bomb to continue through the small space. In Security Access, take the western door to enter MedLab Alpha. Use missiles to destroy the debris. Use the grapple lasso to enter the small space and find a Missile Expansion.
Missile Expansion #49
Return to Samus's ship and fly to Landing Site Bravo on the Pirate Homeworld. Go to the Lift Hub. Use the grapple voltage on the right. Then shoot the cable with a charge beam to drop the elevator and find a Missile Expansion.
Missile Expansion #50
Head to the Command Courtyard and continue to Flux Control. Enter the right path for the small space at the bottom of the room. Climb the spider tracks to find a Missile Expansion.
Scans
| Demolition Trooper |
Continue up the spider ball track to return to the Command Courtyard. Head to Defense Access and use the x-ray visor to lower the phazite door. Climb to the top of the Command Station and use the x-ray panel. Use the x-ray visor to destroy the 3 phazite panels on the pillar. Then use the bomb slot. Head to Skyway Access. After the cutscene, scan one of the demolition troopers.
Scans
| Mistress Gandrayda |
Use the grapple voltage in Transit Station 1104 and follow the path to the right. You have to protect the troopers as you progress through the transit tunnels. Use the terminals in Transit Station 0205 to continue forward. In Transit Tunnel P70, scan the lore near the phazon for the Mistress Gandrayda entry.
Scans
| Pirate Commander |
In Transit Station Leviathan, climb to the top of the room. Scan the pirate commander that appears.
Gunship Missile Expansion #7
After defeating the pirates, climb back up to the room and use the switch. Use Samus's ship to create a path forward. Fly to Landing Site Alpha. Take Transit Station 1-A. Continue to Metroid Processing and enter the Processing Access. Use the x-ray visor to shoot the phazite panels. Jump up to the top of the room. Then shoot the barrier with missiles to get a Gunship Missile Expansion.
Gunship Missile Expansion #8
Continue to the Scrapvault. Enter the small space at the top of the room. Head left and take the spider ball track up. Then use the halfpipe to reach a Gunship Missile Expansion.
Hyper Grapple
Scans
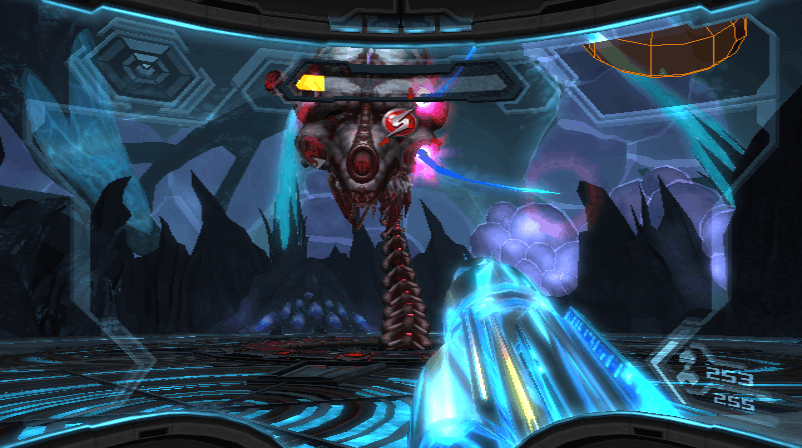
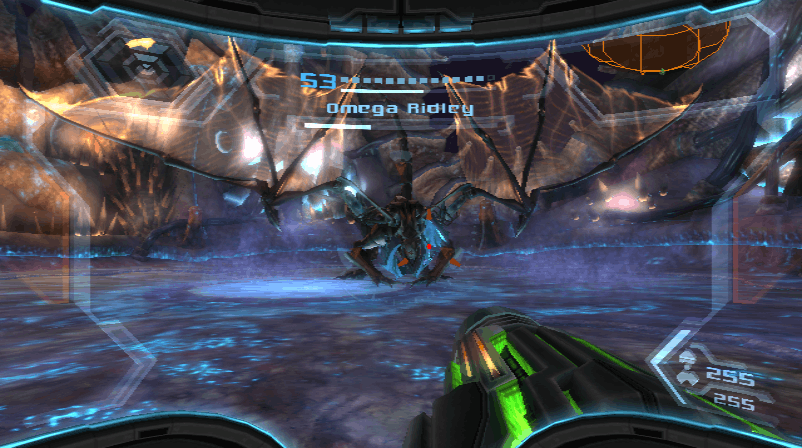
| Omega Ridley (SCAN NOW) |
Return to Samus's ship and fly to the Pirate Homeworld Seed. Continue to the Leviathan Core to encounter Omega Ridley, who must be scanned now. In the first phase, shoot its open mouth to stun it. Use the grapple lasso to open its chest. Then shoot its chest with the PED to deal damage. In the next phase, stun it again. Then use the x-ray visor to shoot the armor over its chest. In the final phase, stun it again. Then shoot its chest with the PED. After defeating Omega Ridley, you'll get the Hyper Grapple.
Scans
| Phaaze Door |
Return to Samus's ship and fly to Landing Site Bravo. Head to the Command Station, use the hyper grapple on the organism blocking the door, and take Transit Station 2-A. Head through the blue door. Use a bomb to enter the small space at the top of the room. Then use the grapple voltage to enter the spacecraft. Return to Samus's ship and fly to Phaaze. After landing, scan the Phaaze door.
Scans
| Jelsac |
Scan one of the jelsacs on the wall of the Entry Canyon.
Scans
| Black Phazon Crystals |
Use the morph ball to enter Cavern Alpha and scan one of the black phazon crystals.
Scans
| Phazon Puffer |
In Cavern Beta Access, enter the small space in the left wall. Use the hyper ball to go down. Scan the phazon puffer at the bottom of the room.
Scans
| Tangle Weed |
Continue to the Drop Shaft. Go through the small space and scan the tangle weed here. Then use the hyper ball to drop through the hole in the floor.
Scans
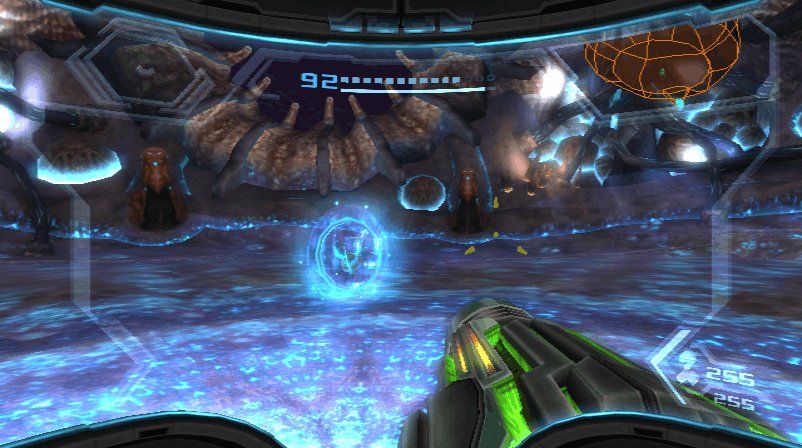
| Leviathan Infant |
In the Metroid Cavern, use the hyper ball to destroy the organism blocking the door. Proceed to the Genesis Chamber. Use the grapple lasso on the sides of the organ. Then scan the leviathan inside.
Scans
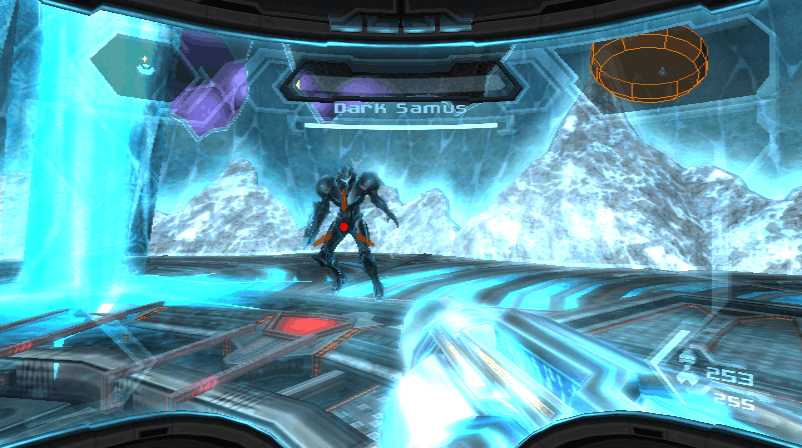
| Dark Samus (SCAN NOW) |
| Aurora Unit 313 (SCAN NOW) |
After destroying the leviathan fall down to encounter Dark Samus, who must be scanned now. Shoot her with a normal beam to deal damage. After defeating her, Aurora Unit 313 will appear, who must be scanned now. To stun the Aurora Unit, shoot one of the tentacles and then shoot the spot that the tentacle came from. Once stunned, use the grapple lasso on its head. Then shoot the head to deal damage. In the second phase of the battle, you need to shoot the spot on the back of its head to deal damage.