Chapter 2: Screw Attack
Scans
| Scorchbug |
| Gel Ray |
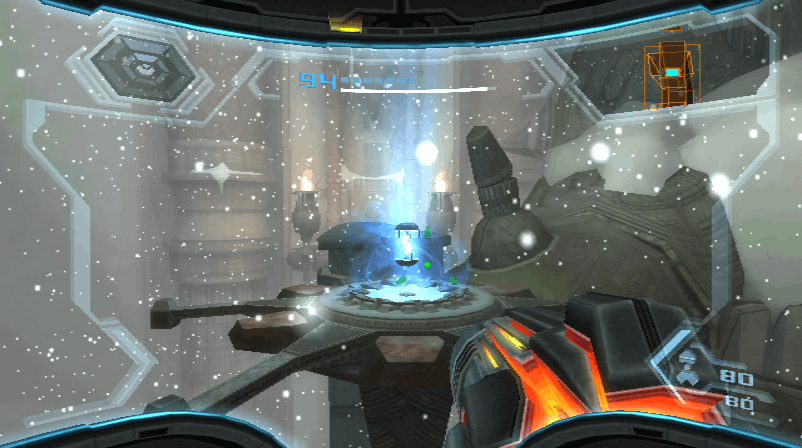
Take the elevator down to the Temple Reservoir. Scan the scorchbugs on the wall. Also scan one of the gel rays that jump out of the fuel gel. Shoot ice missiles at the gel to make platforms and cross the room.
Scans
| Downfall |
Continue to the Temple Generator. Scan the lore on the right wall for the Downfall entry. Then interact with the console in the middle of the room.
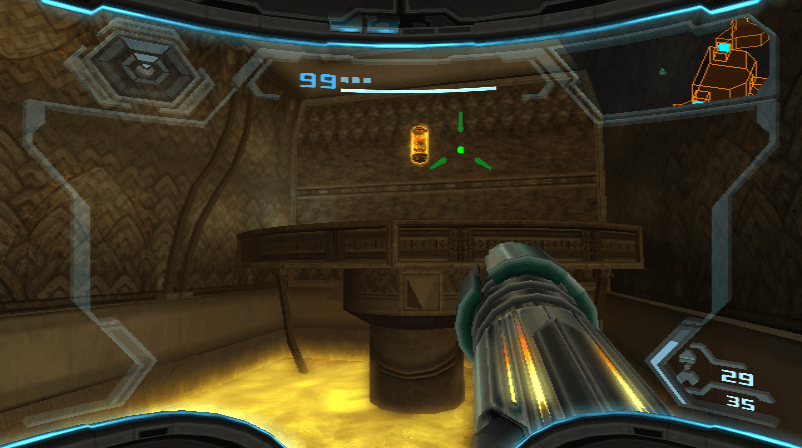
Missile Expansion #7
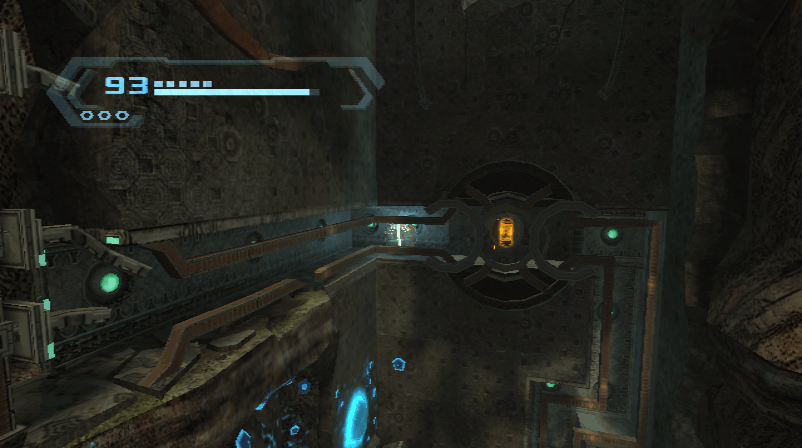
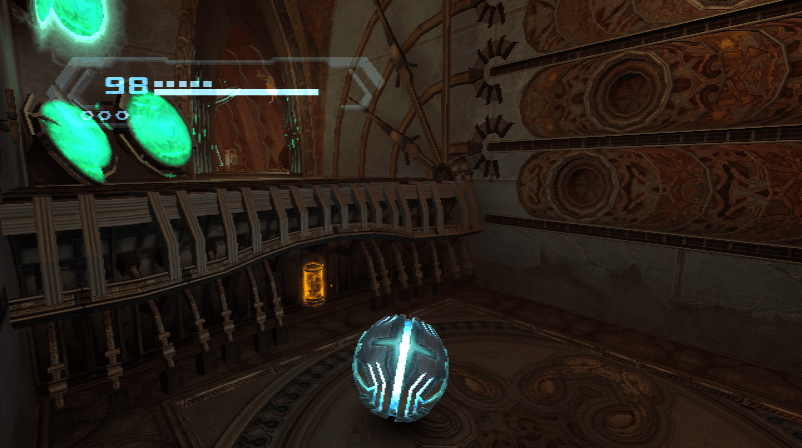
Return to the Gel Hall. Use ice missiles to go into the corridor near the circular platform and find a Missile Expansion.
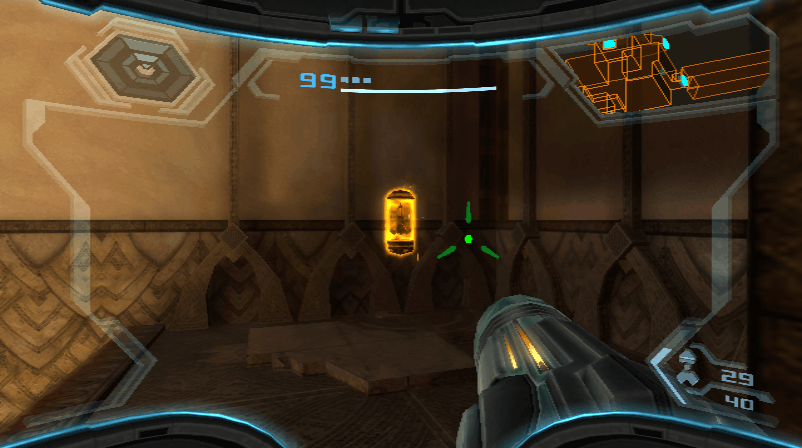
Missile Expansion #8
Go through the ice missile door and proceed to the Gel Refinery Site. Before dropping down, use the grapple lasso to get the Missile Expansion to the right.
Scans
| Bryyonian Shriekbat |
Scan one of the Bryyoninan shriekbats in the Imperial Hall.
Energy Tank #4
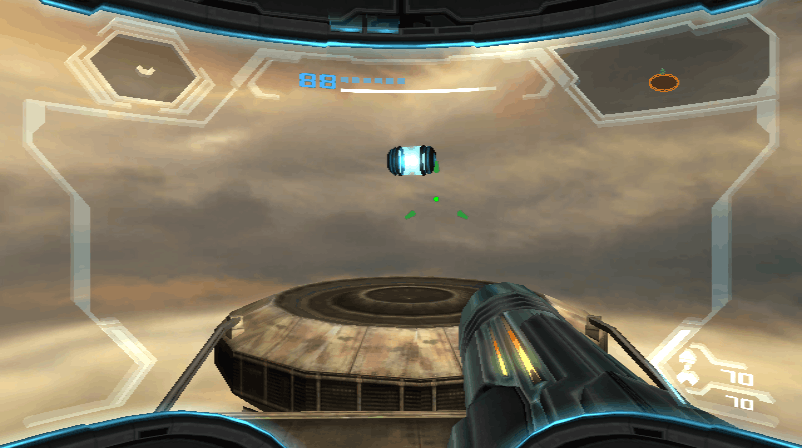
Return to Samus's ship and fly to Cliffside Airdock. Proceed to G.F.S. Theseus and take the unvisited door. In the Hidden Court, defeat the warp hounds. Then use the new bomb slot. Use a charge beam to destroy the cord to the golem's right leg. In the right wall, use an ice missile to freeze the gel. Then go into the small space and use a bomb to destroy the cord for the other leg. In the northeast corner of the room is another cord. Destroy it by shooting the gel with the charge beam. Use a missile on the south wall to destroy the final cord. Then use the bomb slot again. In the Ruined Shrine, use the charge beam to hit the fuel gel and knock over one of the statues. Before going up, drop to the bottom and use a bomb to get an Energy Tank. Jump to the top of the room. Then shoot the hardened fuel gel with charge beams to knock over a stone pillar. Continue through the blue door.
Energy Cell
Gunship Missile
Scans
| Energy Cell |
| Galactic Federation Orange Door |
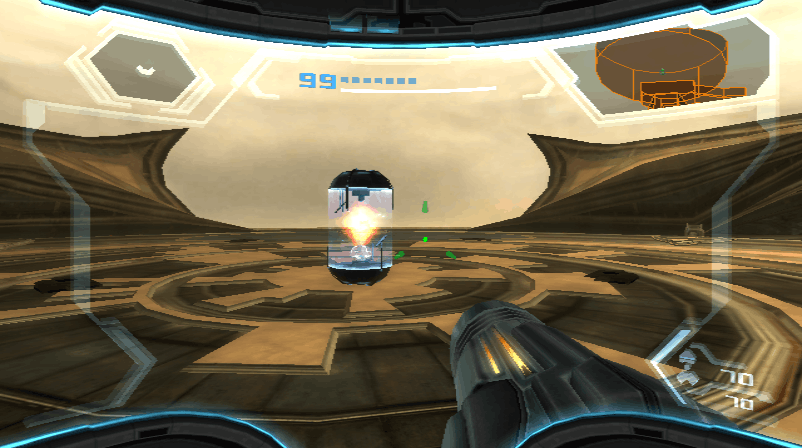
In the Federation Landing Site, defeat all the enemies. Take the elevator up and enter the small space. Scan the energy cell and then retrieve it. Then drop down and scan the orange door. Use the panel on the ground floor to raise the apparatus. Then take the elevator to where the small space entrance was and jump onto the top of the apparatus. Use the grapple lasso on the east wall to create another platform. Enter the small space in the northwest corner of the room. Interact with the switch to open the roof. Return to the ground level, lower the apparatus, and then land Samus's ship. Raise the apparatus again and then use the panel to get the Gunship Missile upgrade.
Scans
| Armored Aerotrooper |
| Space Pirate Crate |
| Large Space Pirate Crate |
Go into Samus's ship and fly to Fiery Airdock. Return to the Temple of Bryyo. Scan the armored aerotroopers you encounter, as well as the small and large space pirate crates. The pirates will keep coming until the large cannon is destroyed. Use the grapple lasso to disrupt the 2 jammers and then use the ship visor to use a gunship missile on the cannon.
Scans
| Advanced Shield Trooper |
Continue to the Temple Generator. Use a gunship missile to destroy the generator. Return to the Temple of Bryyo and scan the advanced shield trooper here.
Energy Tank #5
Go to Gel Cavern and take the shortcut in the northern corridor by freezing the gel waterfall. Return to Samus's ship and fly to Thorn Jungle Airdock. In the Overgrown Ruins, shoot the hardened fuel gel in the right wall. Go through the missile door to get an Energy Tank.
Scans
| Assault Pirate Trooper |
| Advanced Pirate Trooper |
| Berserker Knight |
Return to the Overgrown Ruins. In the upper left wall next to the force field is a small space. Interact with the switch to lower the force field. In the Ancient Courtyard, deactivate the jammer and then use a gunship missile on the wall. Then scan the assault pirate trooper, advanced pirate trooper, and berserker knight that appear. Focus on the berserker knight because it will destroy the other enemies.
Scans
| Pirate Hussar |
| Korakk Beast |
Continue to the Jousting Field. Defeat the aerotroopers. Then scan the pirate hussar and korakk beast, both must be scanned now. Focus on defeating the pirate hussar first. Then shoot the korakk beast's mouth when open. When the belly is glowing, use bombs to stun it. After the beast falls over, use the grapple lasso to pull it up and expose its belly. Then shoot the belly with charge beams to deal damage.
Missile Expansion #9
Scans
| The Hunted |
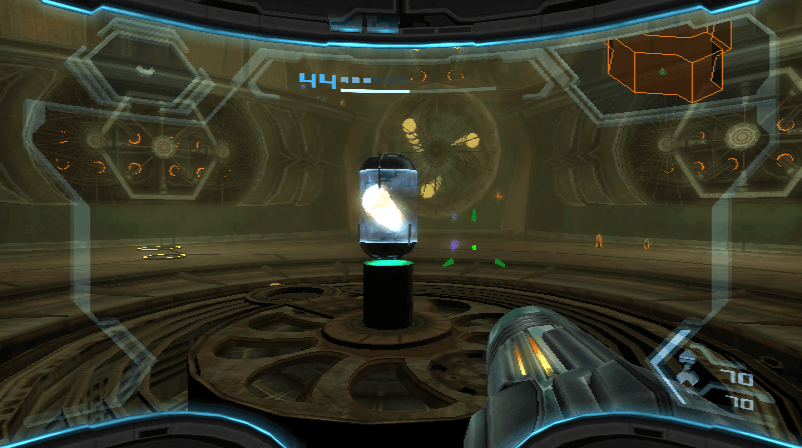
Proceed to Jungle Generator. Shoot the red targets to get a Missile Expansion and scan the lore for the The Hunted entry. Attempt to use the gunship missile.
Scans
| Remorse-Class Turret |
| Space Pirate Blue Door |
After the cutscene, take the right door to Generator Hall South. Climb to the upper level. Head to the room's exit. Scan the remorse-class turret and space pirate blue door.
Scans
| Phazon Fungus |
In the South Jungle Court, use the grapple lasso to lower the bottom of the cannon. Then shoot the 3 fuel gel tanks with charge beams to destroy the cannon. Scan the phazon fungus that's on the wall in South Jungle Hall.
Gunship Missile Expansion #1
In the Auxiliary Dynamo, use the grapple lasso to lower the platform in the small space. Then enter the small space to get a Gunship Missile Expansion.
Missile Expansion #10
Continue to North Jungle Court. To destroy the cannon's fuel gel tanks, you'll have to use the grapple lasso on the 3 switches around the top of the room. After destroying the cannon, go to Generator Hall North. Shoot one of the fuel gel tanks on the cord to lower the bridge. Interact with the switch across the bridge to get a Missile Expansion.
Scans
| Leviathan Door |
Return to the Jungle Generator. Use a gunship missile to destroy the generator. Then return to Samus's ship and go to the Bryyo Seed. After landing, scan the leviathan door.
Hyper Ball
Scans
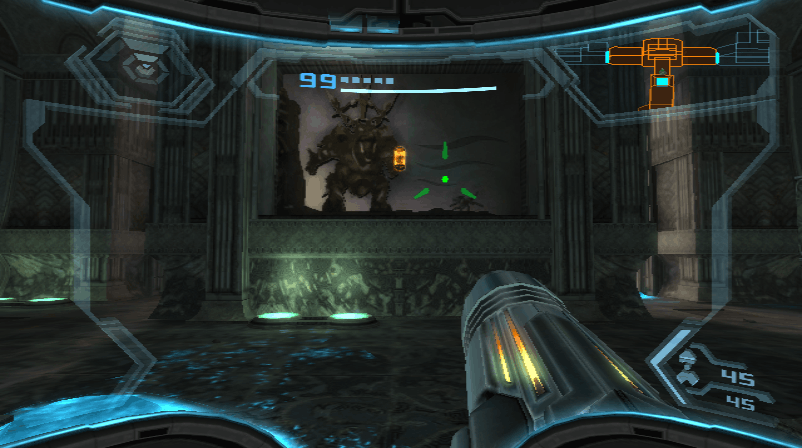
| Mogenar (SCAN NOW) |
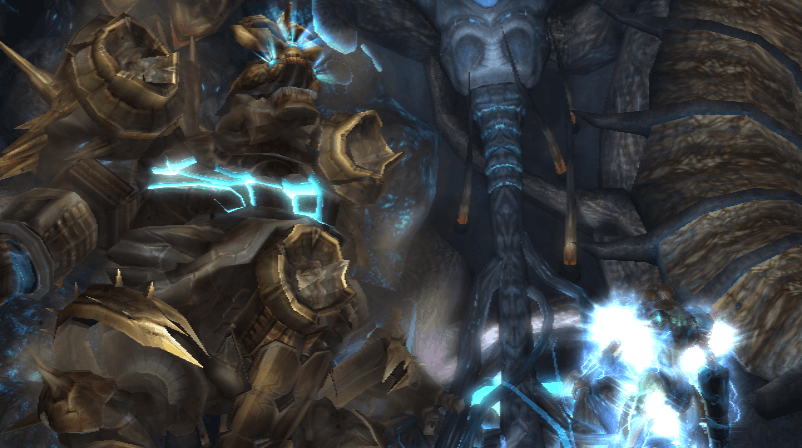
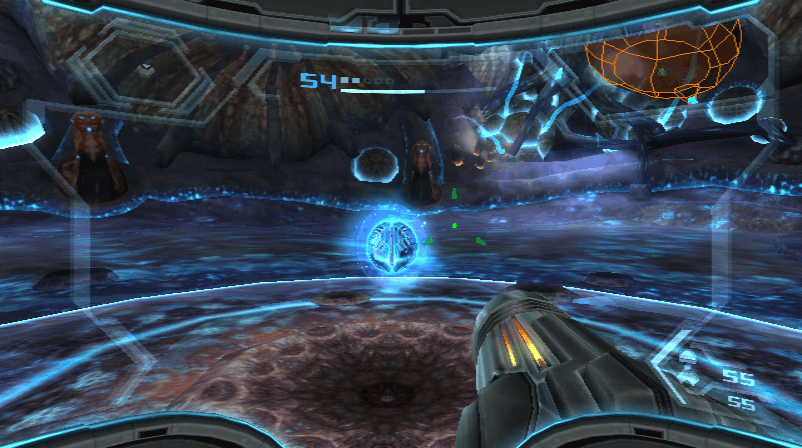
Continue to the Leviathan Core to encounter Mogenar, who must be scanned now. At the start of the battle, shoot one of the red orbs. Once the orb is destroyed, shoot that spot with the PED to deal damage. Then use bombs to destroy the phazon at its feet. Repeat this process for the other 2 orbs on its front side. Then shoot the orb on its back after every time it charges. Finally, use the PED to destroy that spot. After defeating Mogenar, you'll get the Hyper Ball.
Scans
| Transportation Drone |
| SkyTown Storage Unit |
| Heavy SkyTown Storage Unit |
| Aerial Repair Drone |
| Databot |
| Creators |
| SkyTown Blue Door |
While in hyper mode, use the hyper ball to destroy all the seeds. Then destroy the leviathan that appears. After the cutscene, fly to Elysia. After landing, scan the transportation drone as well as the heavy Skytown storage units they're carrying. Then scan one of the small storage units next to Samus's ship. Enter the building and scan the aerial repair drone inside. Scan the databot that's floating near the door. Then shoot it and scan it again for the Creators lore entry. Finally, scan the blue door.
Scans
| Zipline Cable |
Use the hyper ball to progress through Main Docking Access. In Zipline Station Alpha, scan the zipline cable. Then use the grapple beam to cross it.
Scans
| Tinbot |
| Gift |
In the Arrival Station, scan one of the tinbots. Then scan the databot near the next blue door for the Gift entry.
Missile Expansion #11
Scans
| Kinetic Orb Cannon |
Proceed to the Transit Hub. Scan and then use the kinetic orb cannon. Then enter the small space for a Missile Expansion.
Missile Expansion #12
Follow the zipline and enter Barracks Access. Use the morph ball to find a Missile Expansion.
Energy Tank #6
Scans
| Steambot |
| Steamlord |
In Steambot Barracks, take the elevator down and then enter the small space. Scan the steambots and steamlord that appear. Focus on defeating the steamlord as he will revive the steambots. After defeating the steamlord, you'll get an Energy Tank.
Scans
| Discovery |
Use the grapple lasso to open the gate. In Barracks Lift, scan the databot for the Discovery entry.
Scans
| Repair Drone |
Take the elevator up and continue to the Aurora Lift. Scan the repair drone here.
Scans
| Sky Puffer |
Take the elevator down, proceed to Maintenance Shaft AU, and scan one of the sky puffers.
Missile Expansion #13
Scans
| “Dragoon” Battle Drone |
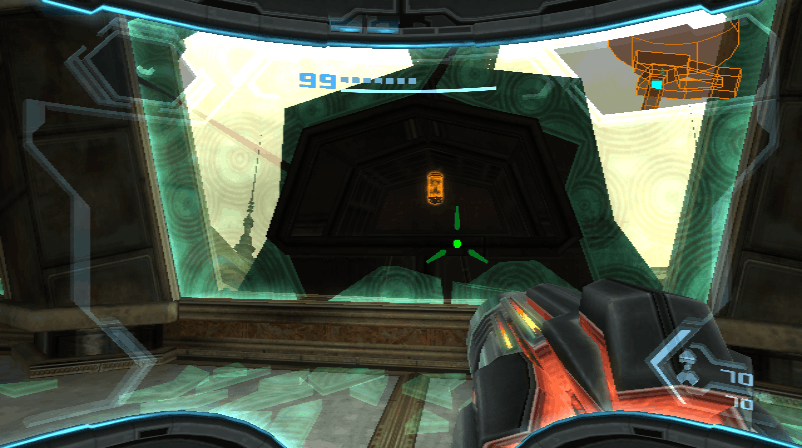
Proceed to Spire Dock. Take the right door to the Junction. Then take the ice missile door to Skybridge Hera. Scan one of the battle drones you encounter here. Before progressing, enter the hole in the small pillar to find a Missile Expansion.
Scans
| Slumber |
Continue to the Construction Bay. Shoot the fuel gel on the structure with the grapple points to lower a platform. Enter the small space and use all the bomb slots. Continue to Ballista Lift and scan the databot for the Slumber entry.
Boost Ball
Scans
| Defense Drone (SCAN NOW) |
| Spinner |
Scan the Defense Drone you encounter in Ballista Storage. Start by shooting its three antennae. When it's stunned, use the grapple lasso to expose the red weakness on its head. Shoot that to damage it. After defeating it, you'll get the Boost Ball. Then scan the spinner in the floor.
Scans
| Half-Pipe |
Return all the way back to the Aurora Chamber. Use the spinner to interact with the AU. Enter the small space to the left and defeat all the bots. Then give the AU the vaccine. Head back up and interact with the AU again. Return to the Steambot Barracks. Use the vertical spinner and then scan the half-pipe that appears.
Energy Tank #7
Continue to the Arrival Station. Use the grab ledge and then use the spinner. Enter the orb cannon to cross the gap and find an Energy Tank.
Plasma Beam
Scans
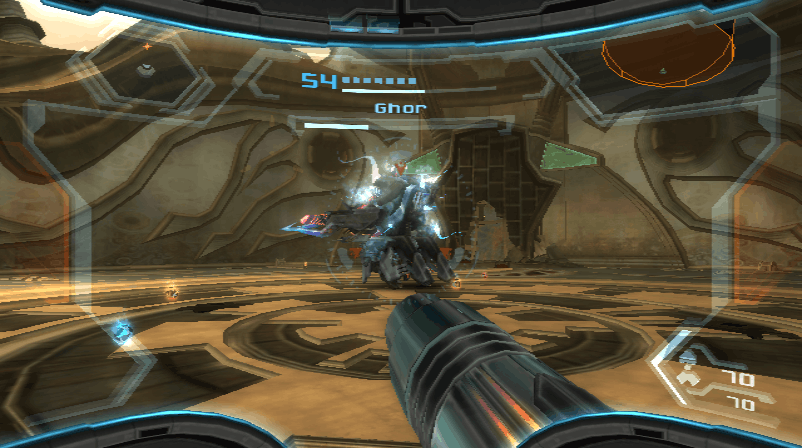
| Ghor (SCAN NOW) |
Return to Samus's ship, where you'll find Ghor, who must be scanned now. In the first phase of the fight, you must shoot his back side to destroy his shield. When his shield is down, shoot his mouth area to deal damage. In the second phase, hit Ghor from underneath with the boost ball to stun him. Then shoot his mouth area again. In the final phase, use your PED to deal damage to Ghor. After defeating him, you'll get the Plasma Beam.
Missile Expansion #14
Head up near the door. Use the plasma beam to melt the rock leading to a Missile Expansion.
Scans
| Elysian Shriekbat |
Scan one of the Elysian shriekbats in Main Docking Access.
Scans
| Aurora Unit 217 |
Go into the chamber that's below the Aurora Unit. Use the plasma beam to restore power to some of the panels. Go back up and scan the Aurora Unit. Then interact with the panel.
Gunship Missile Expansion #2
Scans
| SkyTown Orange Door |
Continue to Spire Dock and use the left zipline to enter the Security Station. Scan the orange door here. Go down the curved corridor and enter the small space on the platform. Interact with the switch here and then go through the small space that's just to the right of it to get a Gunship Missile Expansion.

Scans
| Alone |
Go through the southern door to Landing Site A. Scan the databot for the Alone entry. Use the bomb slot and then land Samus's ship.
Scans
| Bryyo Orange Door |
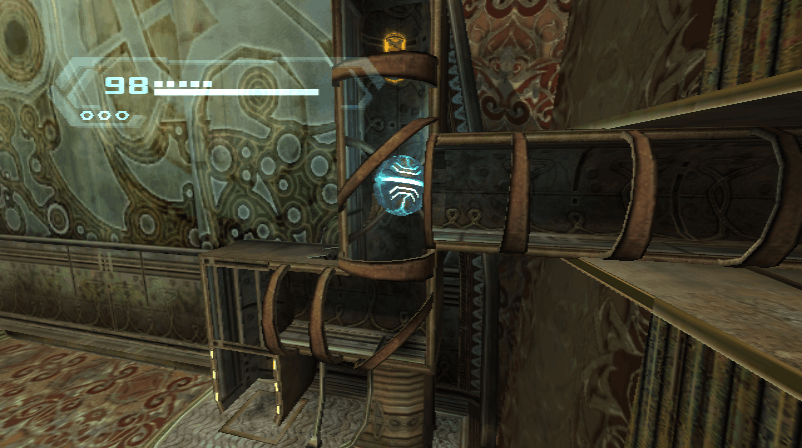
Fly Samus's ship to Fiery Airdock on Bryyo. Continue to the Gel Refinery Site. Use the plasma beam to melt the ice blocking the small space in the wall. Go through the small space and melt the ice blocking the orange door. Scan the door before going through.
Scans
| Prophecy |
In Refinery Access, shoot the red targets to scan the lore for the Prophecy entry.
Missile Expansion #15
Proceed to the Imperial Hall. Enter the small space to the right. Then use the grapple lasso to create a platform leading to a Missile Expansion.
Screw Attack
Go through the orange door in the Main Lift. Melt the ice in the ceiling of Warp Site Alpha to progress. Use the plasma beam to melt all the ice on your way to the Hall of Remembrance. Here you'll find the Screw Attack.