Chapter 3: Grapple Voltage
Scans
| Wall Jump Surface |
Use the screw attack to continue to the Tower. Scan the wall jump surface and then use the screw attack to go up it.
Gunship Missile Expansion #3
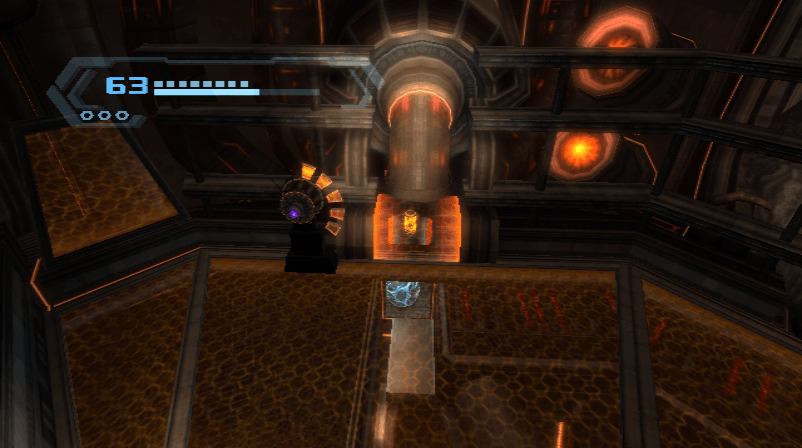
At the top of the Hall of Remembrance, shoot the Chozo hand with a charge beam to rotate it. Use the screw attack to land on the hand, then jump onto the statue to the left for a Gunship Missile Expansion.
Scans
| Our Plea |
Continue to the Imperial Caverns and scan the lore for the Our Plea entry.
Scans
| Advanced AeroTrooper |
Return all the way back to Samus's ship and fly to Landing Site A on Elysia. Go to the Security Station, use the wall jump surface, and continue to the Concourse. After defeating all the pirates, enter the corridor that's directly above the orange door. Use the charge beam to go through some walls. Take the elevator up and defeat some more pirates. Follow the corridor around the upper edge of the room and take the blue door on the upper level. Use the bomb slots in Concourse Ventilation to continue to the Chozo Observatory. Scan one of the advanced aerotroopers you find here.
Scans
| Swarmbot |
Take the elevator down and continue to Gearworks. Scan one of the swarmbots you encounter here.
Scans
| Federation |
Use the screw attack to cross the room and head to the Turbine Chamber. Use a charge beam to break the glass window. In the turbine, use a charge beam to break each of the cords. Go forward to Maintenance Shaft TR. Scan the databot for the Federation lore entry.
Ship Grapple
Scans
| Agreement |
Proceed to SkyTown Federation Landing Site. Scan the databot for the Agreement lore entry. Use the bomb slot and land Samus's ship. Then use the nearby panel to get the Ship Grapple upgrade.

Missile Expansion #16
Return back to Gearworks and use the screw attack to get a Missile Expansion.
Scans
| Ship Grapple Point |
Continue to the Chozo Observatory. Scan the ship grapple point and then use the ship to lift the component. Use the plasma beam on the panel to restore power to the bomb slot, lower Samus's ship, and then use the bomb slot. Jump up the platforms to take the upper orange door.
Missile Expansion #17
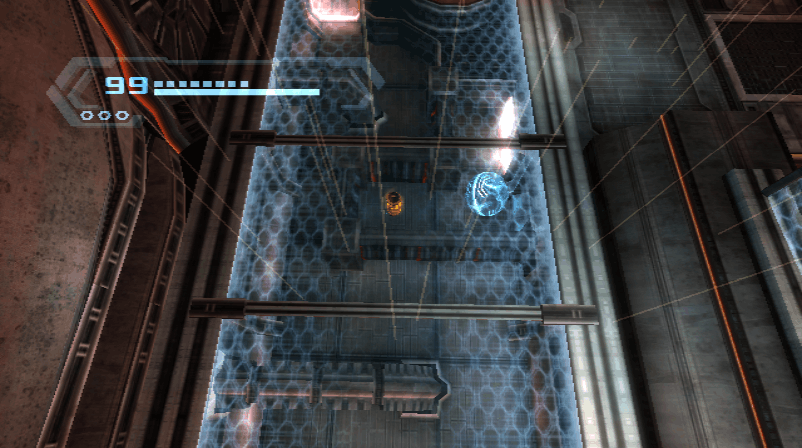
In Botanica, use the grapple lasso to make some platforms. Then use the screw attack to reach a hidden Missile Expansion.
Scans
| Aurora |
Go through the ice missile door and scan the databot for the Aurora lore entry.
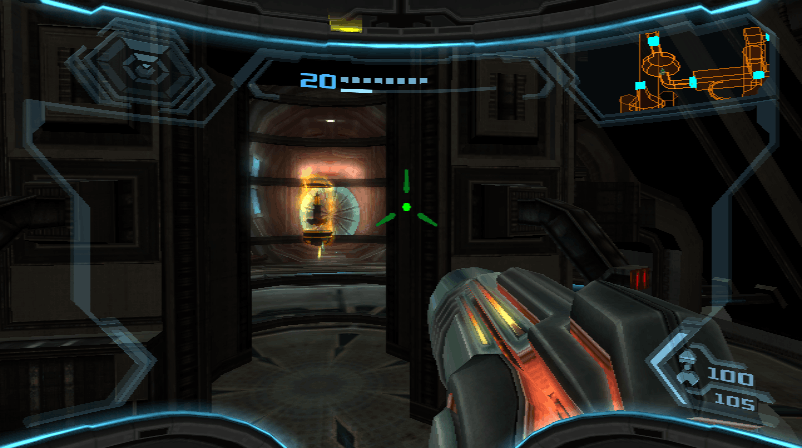
Energy Cell
Seeker Missile
Scans
| Steamspider |
| Phazon Metroid |
Proceed to the Turbine Chamber. Defeat the berserker lord here. Then use all of the spinners, interact with the switch, and lift the component up with Samus's ship. Enter the small space and continue to the Concourse. Use the plasma beam on the panel and then go through the orange door. Use the grab ledge to enter the upper small space. Follow the straightforward path until you get all the way to Xenoresearch B. Enter the small space in the wall. Then use a bomb to go down another small space. Go down this corridor, to the right, and use a bomb to enter a small space in the left wall. Follow this corridor and scan the steamspiders in the last room. Use the grapple lasso to rip off the panel and then take the Energy Cell. Break the glass barrier to get the Seeker Missile. Go through the seeker missile door and scan one of the phazon metroids on your way out.
Energy Tank #8
In Xenoresearch A Lift, use a charge beam on the glass barrier to get an Energy Tank.
Scans
| Loss |
Proceed to Research Pod Lift and go through the seeker missile door. Continue to Concourse Access B and scan the databot for the Loss lore entry.
Missile Expansion #18
In the Concourse, take the small space to the left to find a Missile Expansion. Then shoot the four cords on the component with the seeker missile. Go back through the small space and use the seeker missile to activate the elevator. In the first opening in the left, shoot the four cords on the component with the seeker missile. Cross the room, turn around, and shoot the last four cords on the component. Then use Samus's ship to lift the component.
Scans
| Space Pirate Assault Skiff |
| Armored Shield Trooper |
Head to Skytram East. Then go to the Junction and take the door to the right. Follow this path to Zipline Station Bravo. Cross the zipline, then use the seeker missile to unlock the cannon. Enter the cannon to go to the Transit Hub. Use the seeker missile to unlock the last component and then lift it with Samus's ship. Use the cannon to go back to Zipline Station Bravo, then return to Spire Dock and place the components. Return to the AU and take to it. After the cutscene, go back to Spire Dock. You'll have defend it against a pirate attack. Be sure to scan the assault skiff as well as an armored shield trooper. After defeating them, interact with the panel and then enter the escape pod. Interact with panel and then enter the small space below. Use the plasma beam on the three panels to give power to the escape pod. Then head back up and interact with the panel to escape.
Scans
| Phazon Leech |
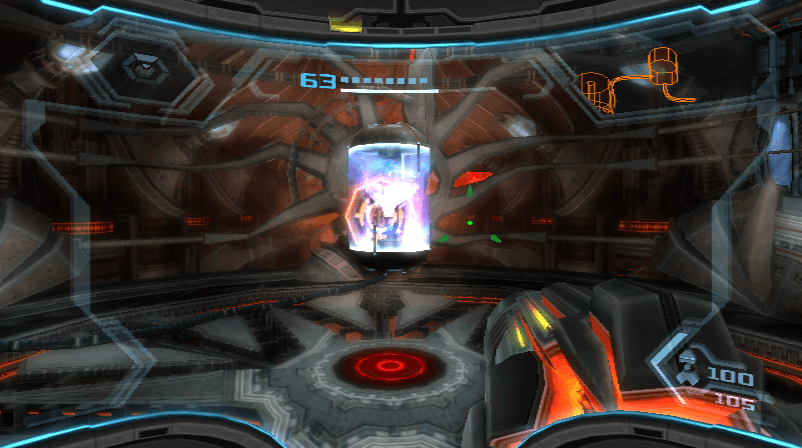
After the cutscene, go to Landing Site A and fly Samus's ship to the Elysia Seed. After landing, scan the phazon leech on the bottom floor.
Hyper Missiles
Scans
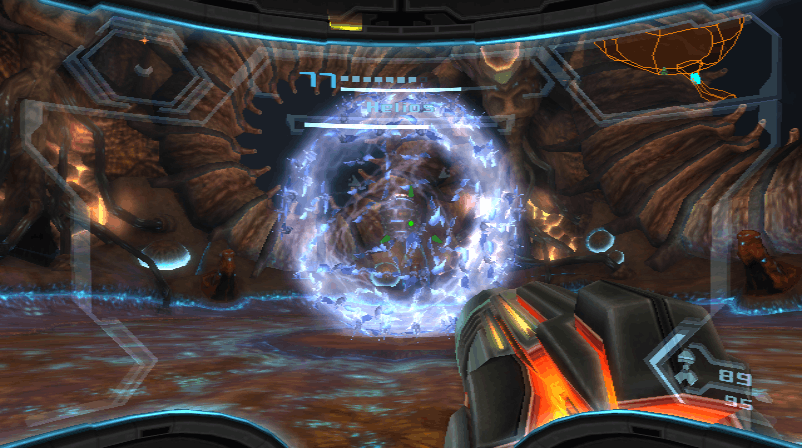
| Helios (SCAN NOW) |
Continue to the Leviathan Core to encounter Helios, who must be scanned now. Shoot through the swarmbot sphere and hit Helios to stun it. When the swarmbots form a disc, use the seeker missile to hit all the weak points and open Helios' shield. Then use your PED to deal damage. When Helios uses the swarmbots to create limbs, shoot the red spots on the legs to knock it over. Then shoot Helios to lower its shield again. After defeating Helios, you'll get the Hyper Missiles.

Scans
| Pirate Cargo Drone |
After the cutscene, fly to the Pirate Homeworld. After landing, scan one of the drones flying through the air.
Scans
| Our Mission |
| Space Pirate Orange Door |
In the Lift Hub, defeat the turret. Then scan the lore on the right wall for the Our Mission entry. Take the elevator to the top level. Scan the orange door and go through.
Missile Expansion #19
Energy Cell
Scans
| Acid Rain (Automatic Entry) |
In the Command Courtyard, enter the room that's in the right wall. Use the grab ledge to enter the small space. Follow the left path to get a Missile Expansion. Take the other path to leave the small space and grab an Energy Cell.
Missile Expansion #20
Progress through the newly opened small spaces. Continue down the Flux Control. Take the small space path that goes left. When you're in the small space maze, follow the path to find a Missile Expansion.
X-Ray Visor
Take the orange lift up and follow the small space into the Command Vault. Shoot the seeker missile targets at the top of the room to get the X-ray Visor.
Scans
| Stowaway |
Use the x-ray panel to lower the track. Then shoot a phazon tank to open a small space. Use the x-ray panel to take the elevator up and go to the Command Station. Scan the lore on the wall for the Stowaway entry.
Missile Expansion #21
Return back to Defense Access and take the other blue door to enter the Security Air Lock to get a Missile Expansion.
Scans
| Heavy Phazon Canister |
Use the x-ray visor to hit all of the red targets and unlock the gate. Return to the Lift Hub. Go down to the lowest level. Use the x-ray panel to access the Map Station. Then return to Samus's ship and fly to Landing Site Alpha. After landing, scan one of the phazon canisters being carried.
Missile Expansion #22
Scans
| Urtrugian Shriekbat |
| Phazon Grub |
Go to the top of Scrapvault Lift. Enter the small space in the left wall. Shoot the switch through the gap in the wall with a charge beam. Scan one of the Urtrugian shriekbats in the entrance of the Scrapvault. Then scan one of the phazon grubs that come out of the vents. Follow the platforms and then use the screw attack to reach a grab ledge leading to a Missile Expansion.
Energy Tank #9
Head back to the lower platforms and use the grab ledge to enter the small space. Use the bomb slot and then go through the small space to get an Energy Tank.
Scans
| Commando Pirate |
Use the last bomb slot to leave the small space. Use the plasma beam on the panel. Then interact with the x-ray panel. Use the small space to return to the main area of the Scrapvault. Then scan one of the commando pirates that appear.
Scans
| First Disciples |
Head through the orange door. In Processing Access, scan the lore on the left wall for the First Disciples entry.
Energy Cell
Missile Expansion #23
Scans
| Assault Shield Trooper |
In Metroid Processing, scan one of the assault shield troopers. After defeating the pirates, use the x-ray visor to activate the elevator switch. Take the elevator down and grab the Energy Cell. Then use the plasma beam on the panel to the right. Go back up and defeat the metroids. In one of the metroid tanks is a Missile Expansion. Then take the lift to the upper level and go through the orange door.
Scans
| Puffer Mine |
| The Source Discovered |
Unlock the jump surface with the seeker missile. Then scan one of the puffer mines that appear. Use the jump surface and scan the lore at the top of the room for the The Source Discovered entry.
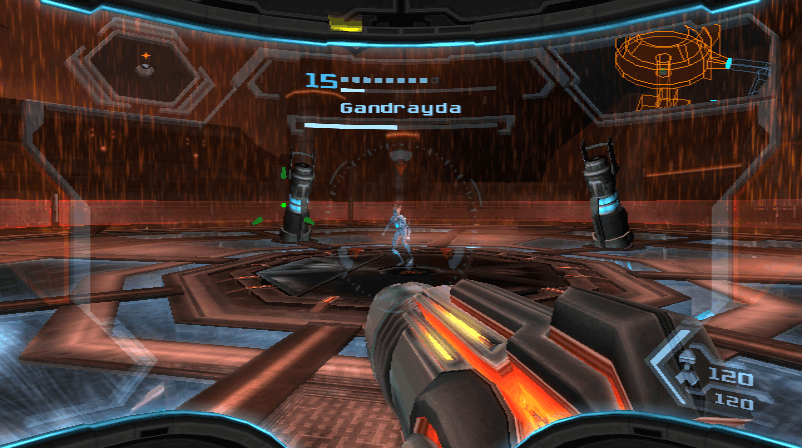
Grapple Voltage
Scans
| Gandrayda (SCAN NOW) |
Continue to the Proving Grounds to encounter Gandrayda, who must be scanned now. In the first half of the battle, she'll transform into different enemies you've faced. Damage her in the same way you would damage those enemies. In the second half of the battle, she'll transform into Samus and she can be damaged with the plasma beam. In the final phase, Gandrayda will use her PED. Use your PED to damage her. After defeating Gandrayda, you'll get the Grapple Voltage upgrade.