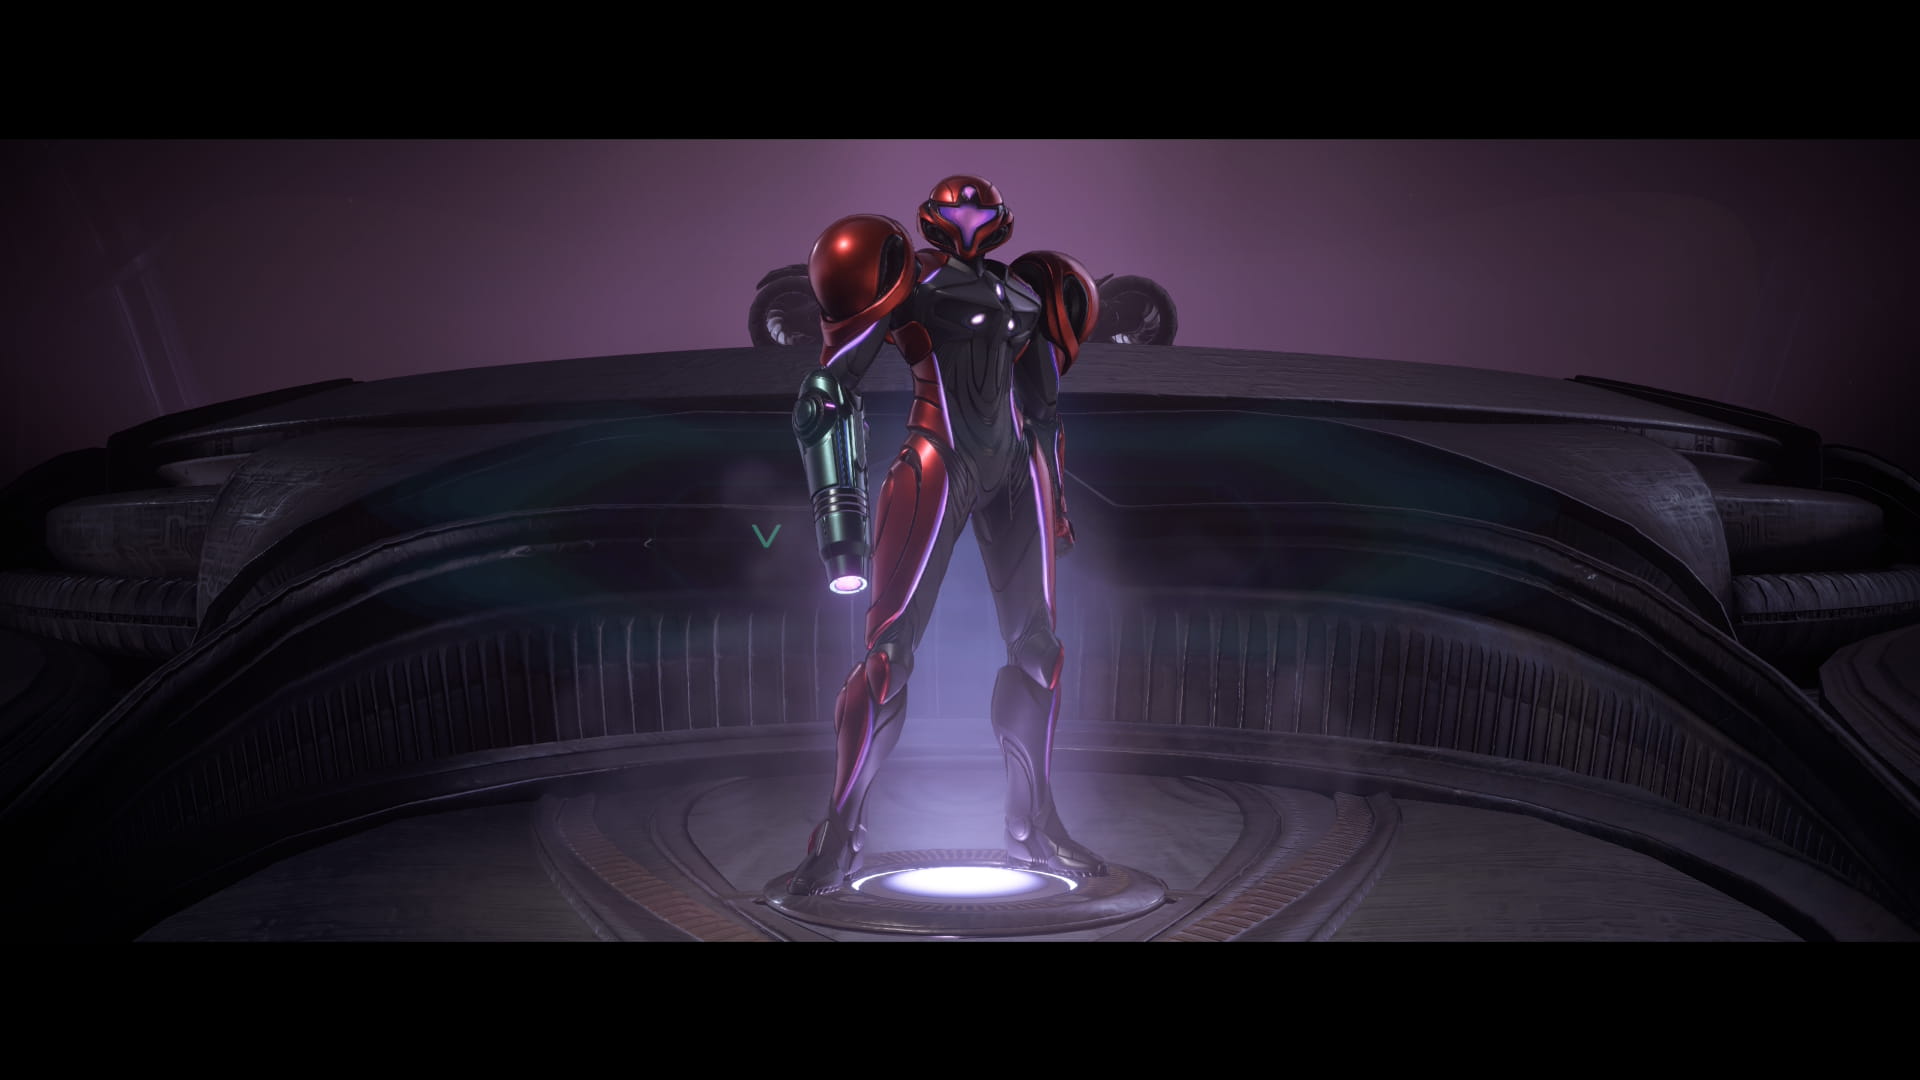
Chapter 1: Vi-O-La Suit
Scans
| Galactic Federation Trooper |
After the opening cutscene, follow the path forward and through the first door. Another cutscene will play and then you'll get the area map. Scan the Galactic Federation Trooper who gave you the map. Then scan the door to go through.
Scans
| Space Pirate |
Defeat the pirates in this room. Then take the door in the northeast corner. Proceed through the next door for another cutscene. Scan one of the Space Pirates you encounter before defeating them. Then take the northern door.
Energy Tank #1
Shoot the gate to enter the small space. Use bombs to progress forward and grab Energy Tank #1.
Scans
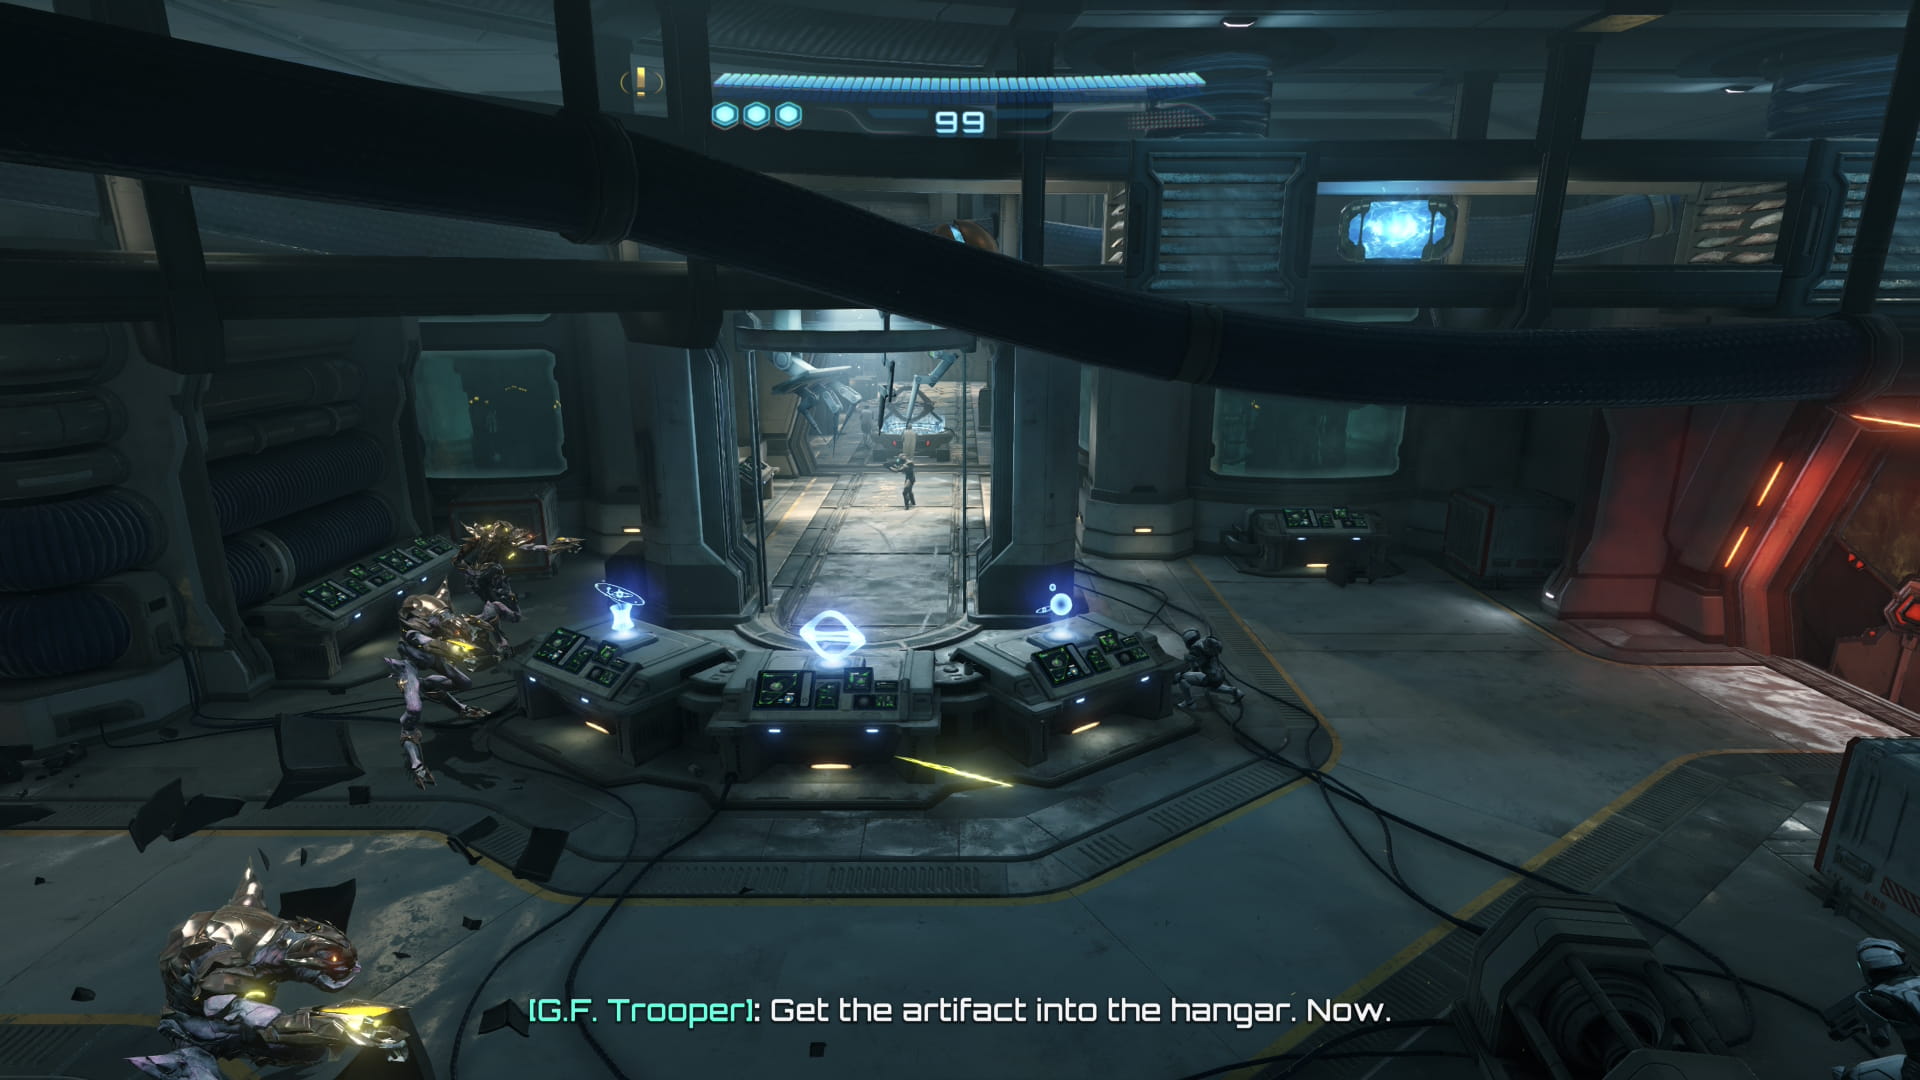
| Aberax (SCAN NOW) |
Drop down and defeat the pirates. Scan the west door and then shoot the locks to go through. Proceed through the next door to begin the boss battle against Aberax, who must be scanned now. Throughout the battle, Aberax will have glowing orbs on his body. When they turn blue, you can shoot them to deal damage. Defeating him will start a cutscene which sends Samus to Chrono Tower.
Psychic Crystal
Walk forward to have a floating orb follow you. Proceed forward until you enter the Central Chamber. The orb will create a staircase. Take the outer ramp downward and enter the purple energy to find another orb. Then head through the east door. Walk forward and stare at the eye of the center statue to be warped. Follow the orb to get the Psychic Crystal, which gives you the Psychic Beam and Psychic Visor.

Scans
| Empress Aleu |
| Mireworm |
| Sicklefly |
| The First Steps |
| Red Relic Ants |
| Aurengh Crane |
| Shimmerstrap |
Use the Psychic Visor to create a bridge. Return to the Central Chamber. Scan the elevator to take it up. Scan the statue to begin a cutscene. Then interact with the orb of light to be transported to Fury Green. Quickly scan one of the Empress Aleus before they fly away. Then scan the Mireworm in the dirt. A cluster of Sicklefly should fly overhead. Scan them as well. To the east is a slab on the ground which can be scanned for the The First Steps entry. Head to the northwest corner and scan one of the Red Relic Ants on the wall. To the left are some flying Aurengh Cranes that need to be scanned. Finally, scan the Shimmerstrap near the west door before heading through that door.
Scans
| Glister Beetle |
| Homing Spore |
Scan the Glister Beetle on the left wall. Then scan the Homing Spore floating in the air. Proceed to the next room.
Scans
| The Sacred Tree |
| Glottagropper |
After the cutscene, scan the slab in front of you for the The Sacred Tree entry. Then scan one of the Glottagroppers near the large tree. Then proceed through the nearby door.
Scans
| Rootspur |
Scan the Rootspur that comes out of the ground. Continue to the next room.
Scans
| Ghaspore |
| The Ablution |
Take the left path and scan the Ghaspore on the structure. Then scan the slab just to the left for the The Ablution entry. Then take the north door.
Scans
| Scout Bot |
Scan the Scout Bot on the ground. Proceed to the next room.
Psychic Glove
Scans
| Bristlewort |
| Sacred Relic |
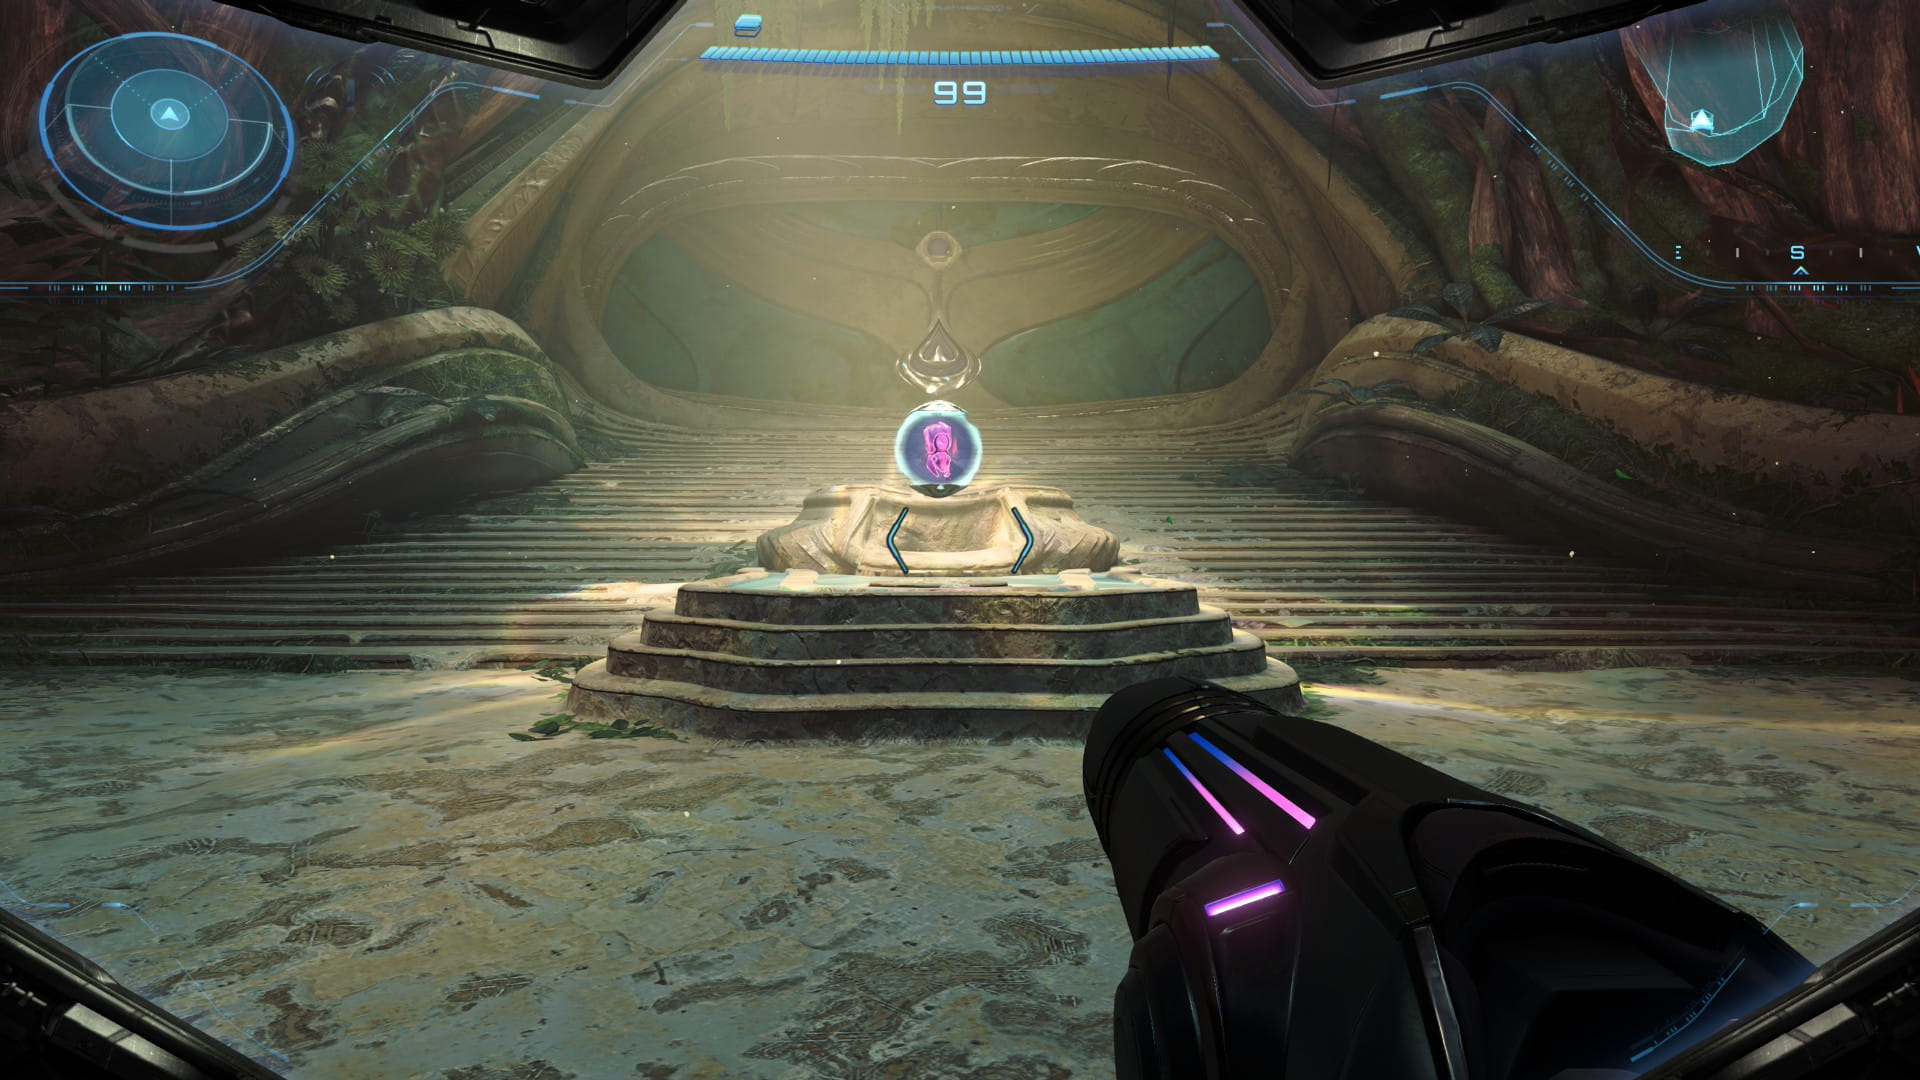
Scan the Bristlewort. It can be defeated with a charged shot once its shell is open. Take the small space path to the left and scan the light above the door to open it. Scan the slab to the right for the Sacred Relic entry. Then grab the Psychic Glove upgrade.
Energy Tank #2
Scans
| Psychic Container |
Grab the mote off the statue and launch it at the door to open it. Continue south 2 more rooms. Grab the mote from the statue to the right and put it in the nearby slot. Do the same thing for the statue to the left. Scan the Psychic Container. Then move the node along its path to get Energy Tank #2.
Scans
| Shren |
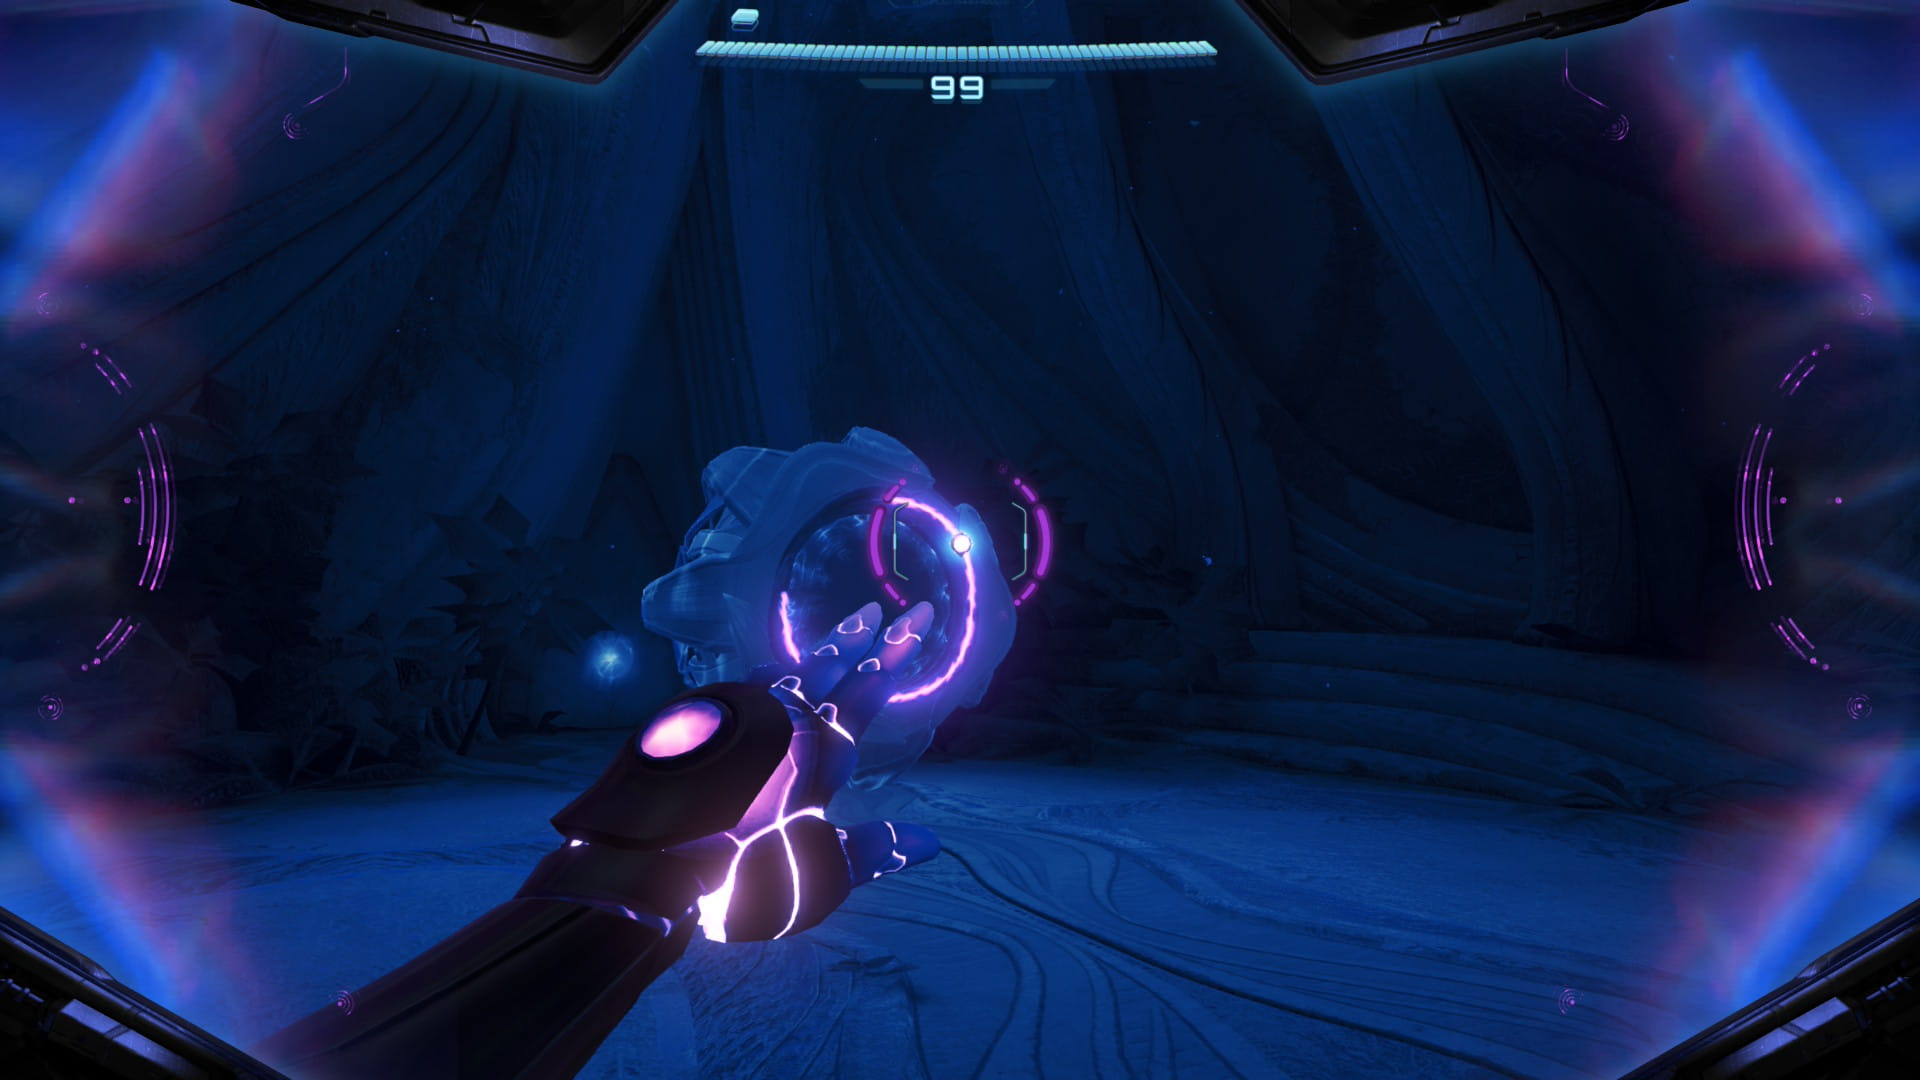
Proceed through the nearby door and scan the Shren. Take the next door.
Missile Launcher
Scans
| Jungle Griever |
| Myles MacKenzie |
Go through the small space in the southwest corner, then continue along the path, shooting nests with charged shots along the way, until you find Myles MacKenzie. Shoot the vines to release the ship, which will summon some Jungle Grievers. Scan them before defeating them. Afterwards, scan Myles MacKenzie. Shoot the latch to enter the ship and grab the Missile Launcher.
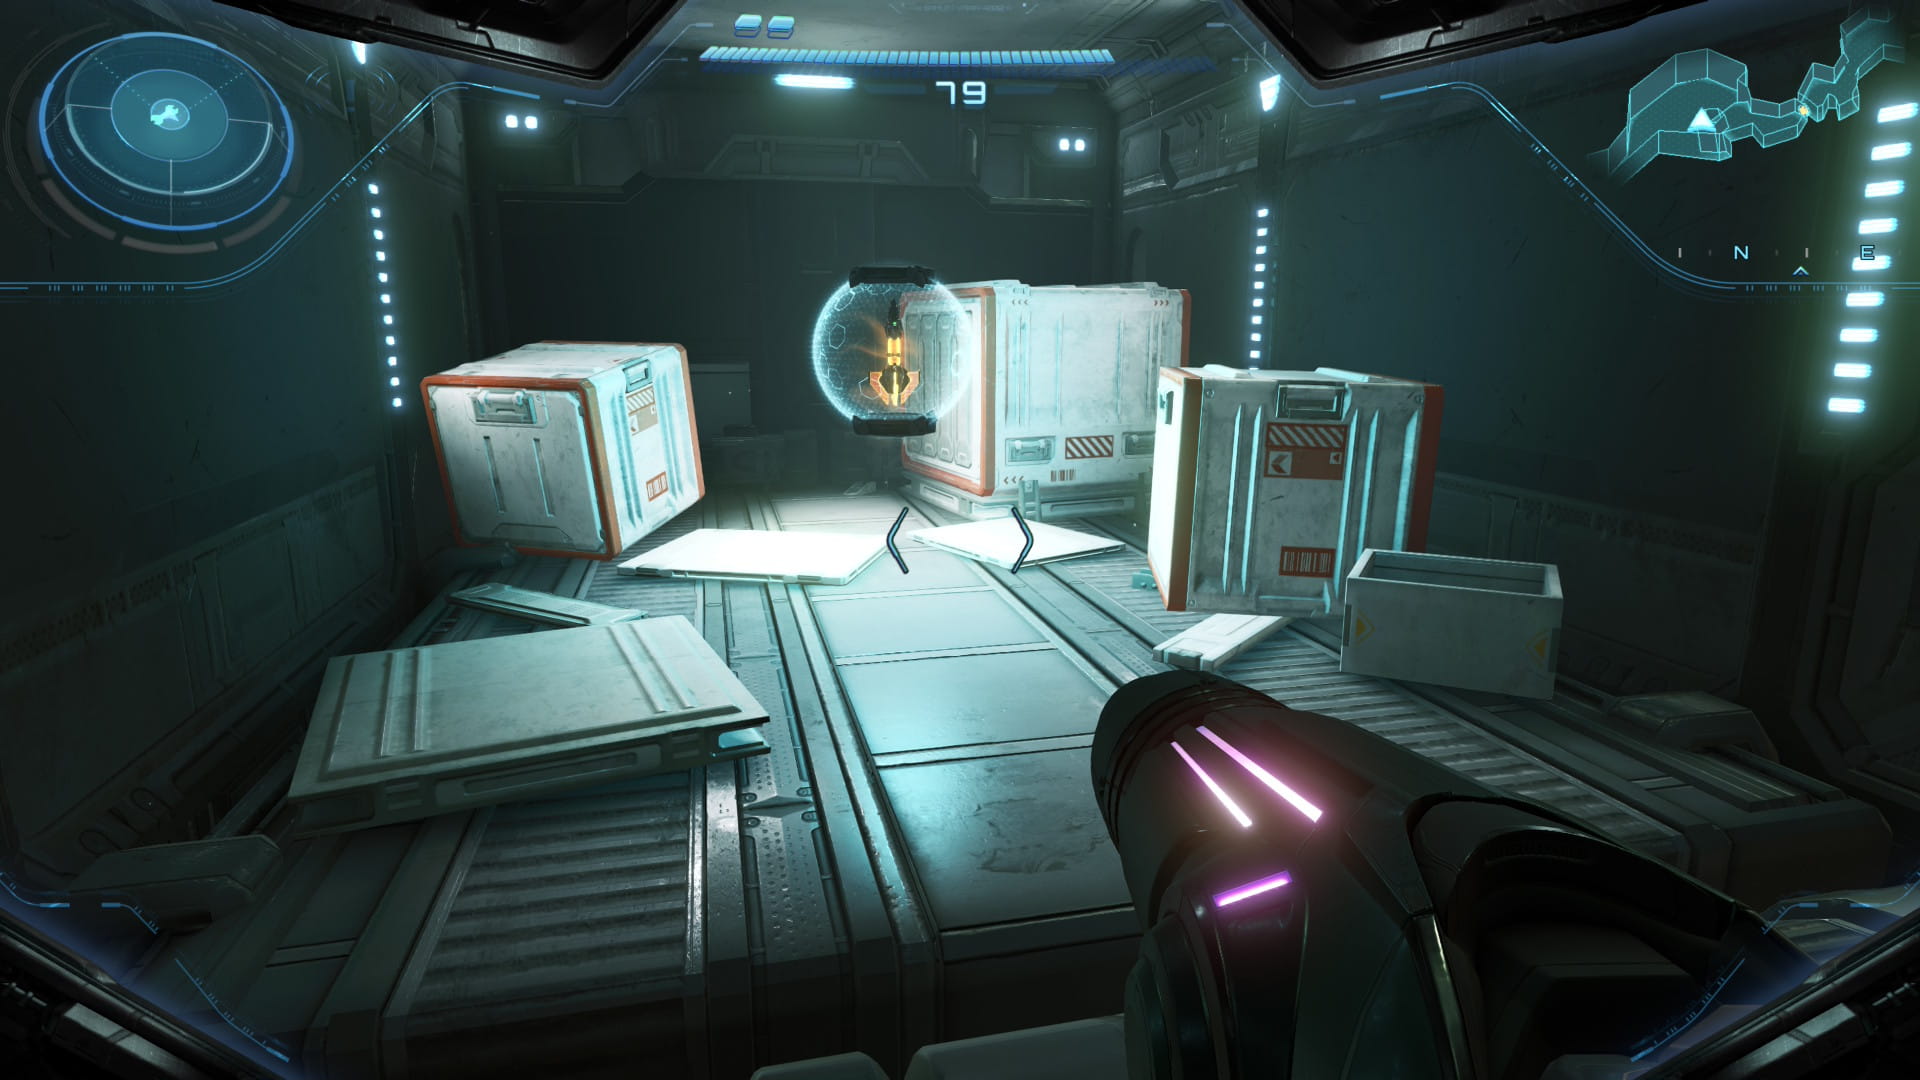
Missile Expansion #1
Use the ship to jump up to the southwest corner. Fire a missile to break the wall and go through the door. Use missiles to go through the walls and continue through the next door. Use a missile on the wall in the southeast corner to find Missile Expansion #1. Then go through the nearby door.
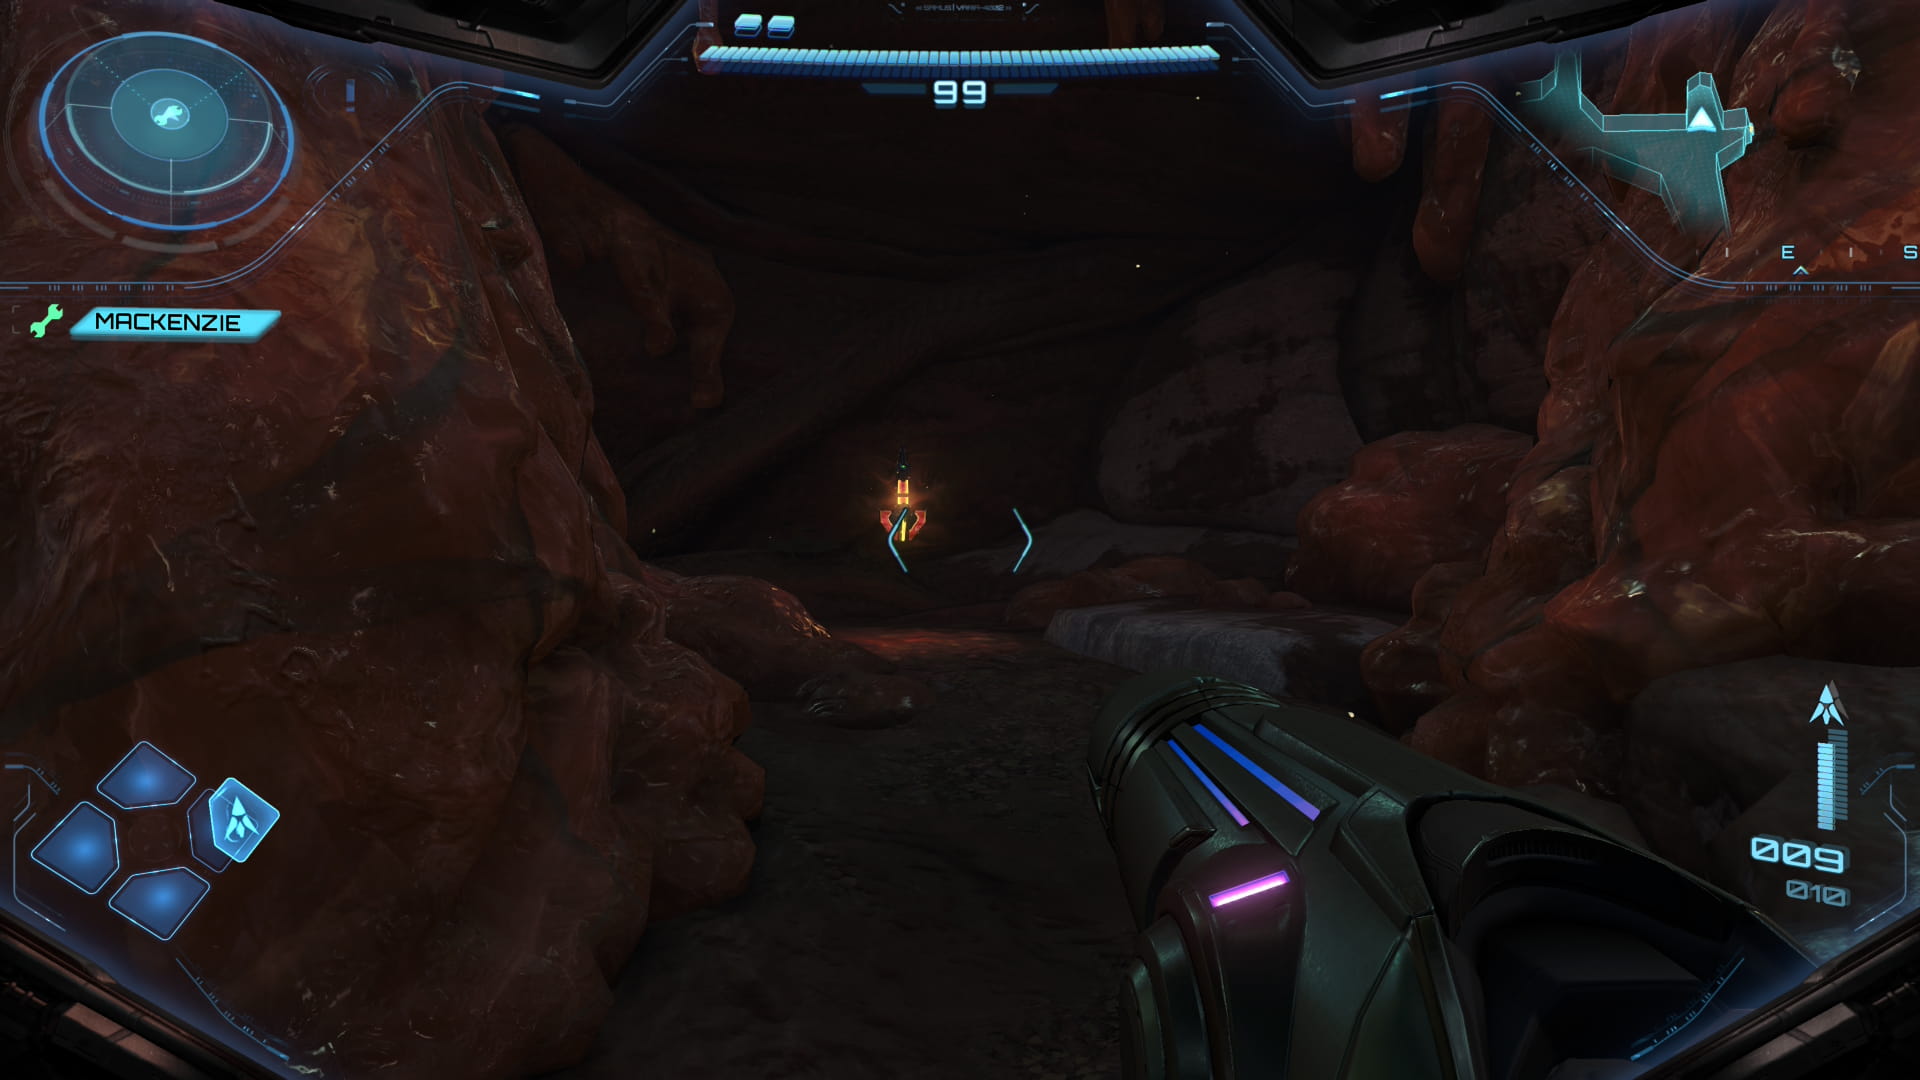
Scans
| The Crossing |
Scan the slab on the left side of the room to get the The Crossing entry. Then use the Psychic Visor to go through the door.
Control Beam
You'll need to protect MacKenzie as you cross the giant bridge. Then continue through 2 more doors. On both sides of the room is a mote that can be placed in the central statue. Doing this will give you the Control Beam. Use the control beam to shoot the target at the top and head through the door.
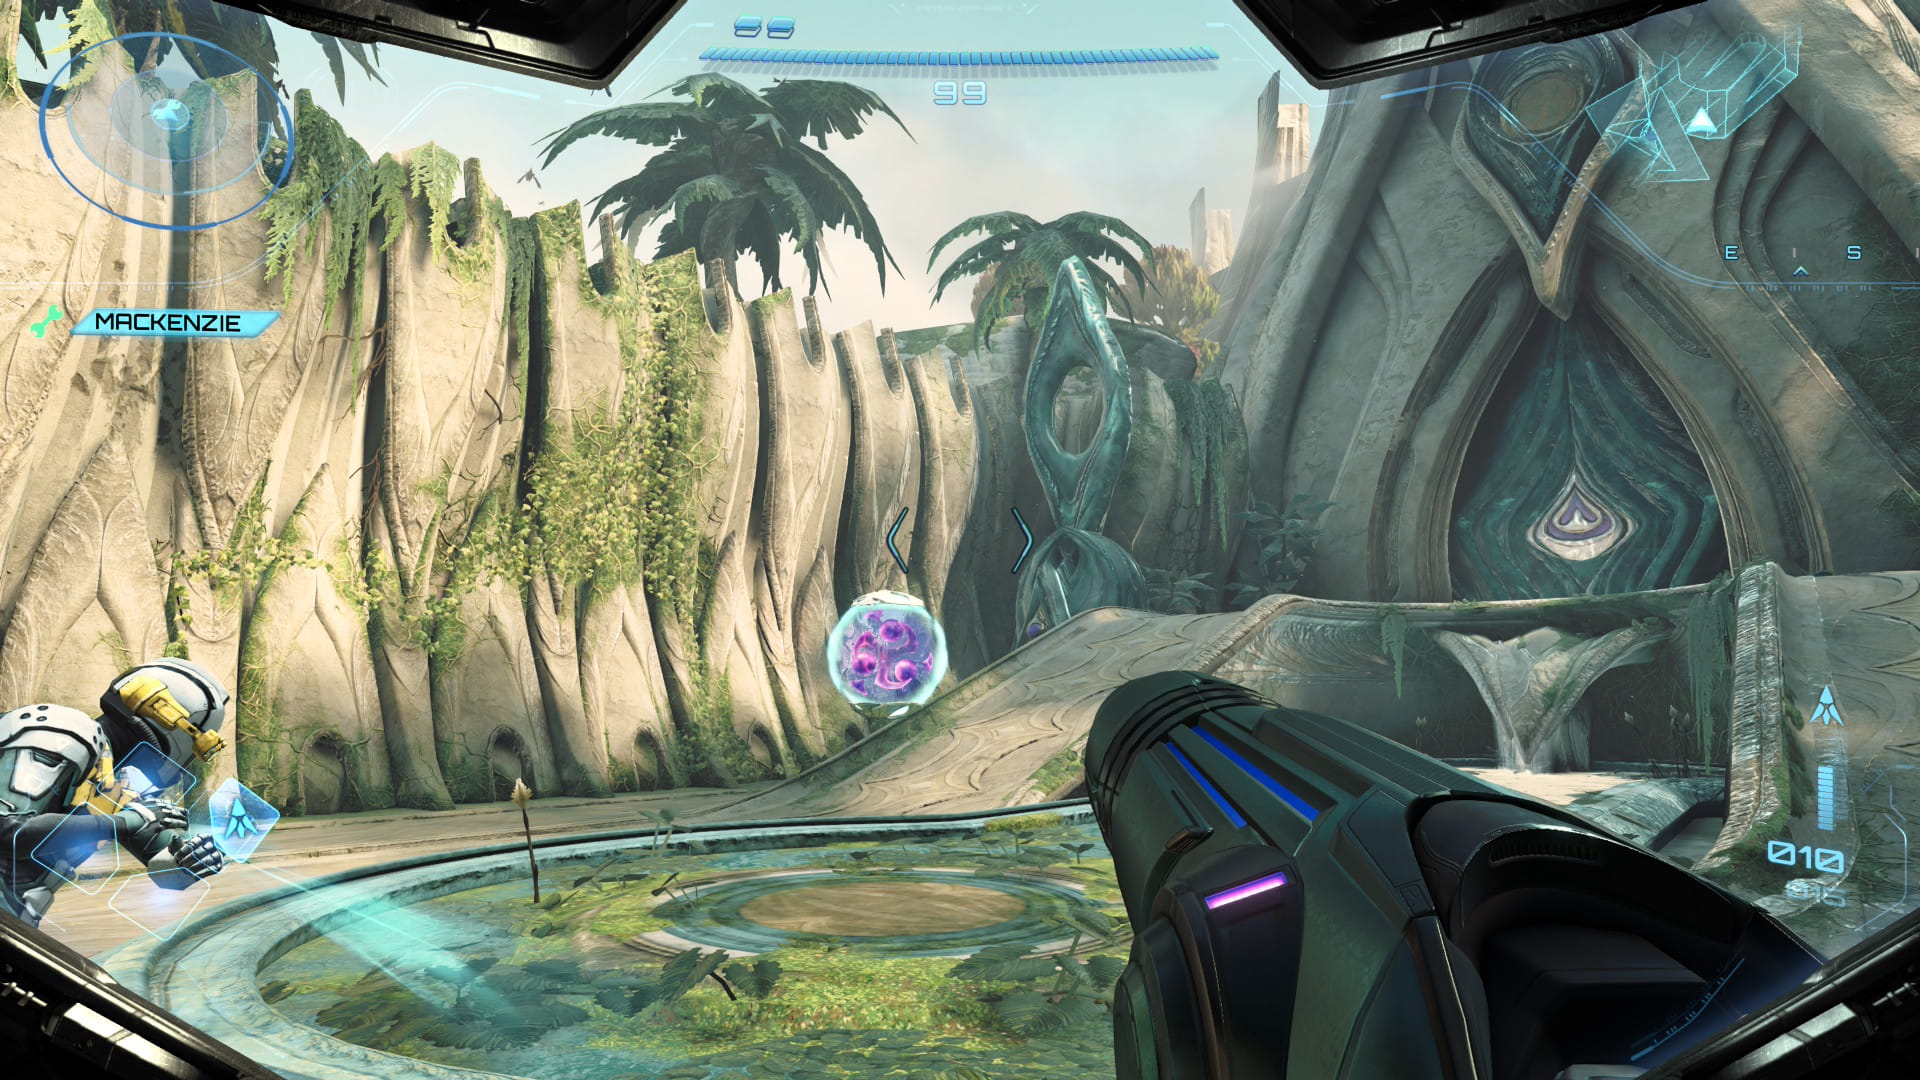
Scans
| Bomb Slot |
Proceed forward to start a cutscene. Continue until you reach the Base Camp. Interact with the console to begin another cutscene. Afterwards, scan the Bomb Slot. Shoot a control beam through the southern wall then hit the opposite side of the southern door.
Scans
| Lekhash |
| Vahkuum |
| Shei |
| Thesarh |
Continue to the south until you reach the Temple of Memory. Scan the statue to the left for a cutscene about the Green Energy Crystals. Proceed to the next room. Stand on the platform and then hit all the targets with a control beam to go to the next room. Scan all 4 statues for the Lekhash, Vahkuum, Shei, and Thesarh entries.
Psychic Bomb
Scans
| Carvex (SCAN NOW) |
| Carvex Vine (SCAN NOW) |
| Carvex's Pollen Sac (SCAN NOW) |
In the next room you'll encounter Carvex. Be sure to scan the body as well as the Carvex Vine. At the start, shoot the orb on the tentacle to lower Carvex's outer shell. Then shoot its body to deal damage. More tentacles will appear and Carvex's Pollen Sacs will appear. Be sure to scan the pollen sacs. Use the control beam to break all the tentacles and lower the shell again. Repeat this process until Carvex is defeated. You'll be rewarded with the Psychic Bomb.
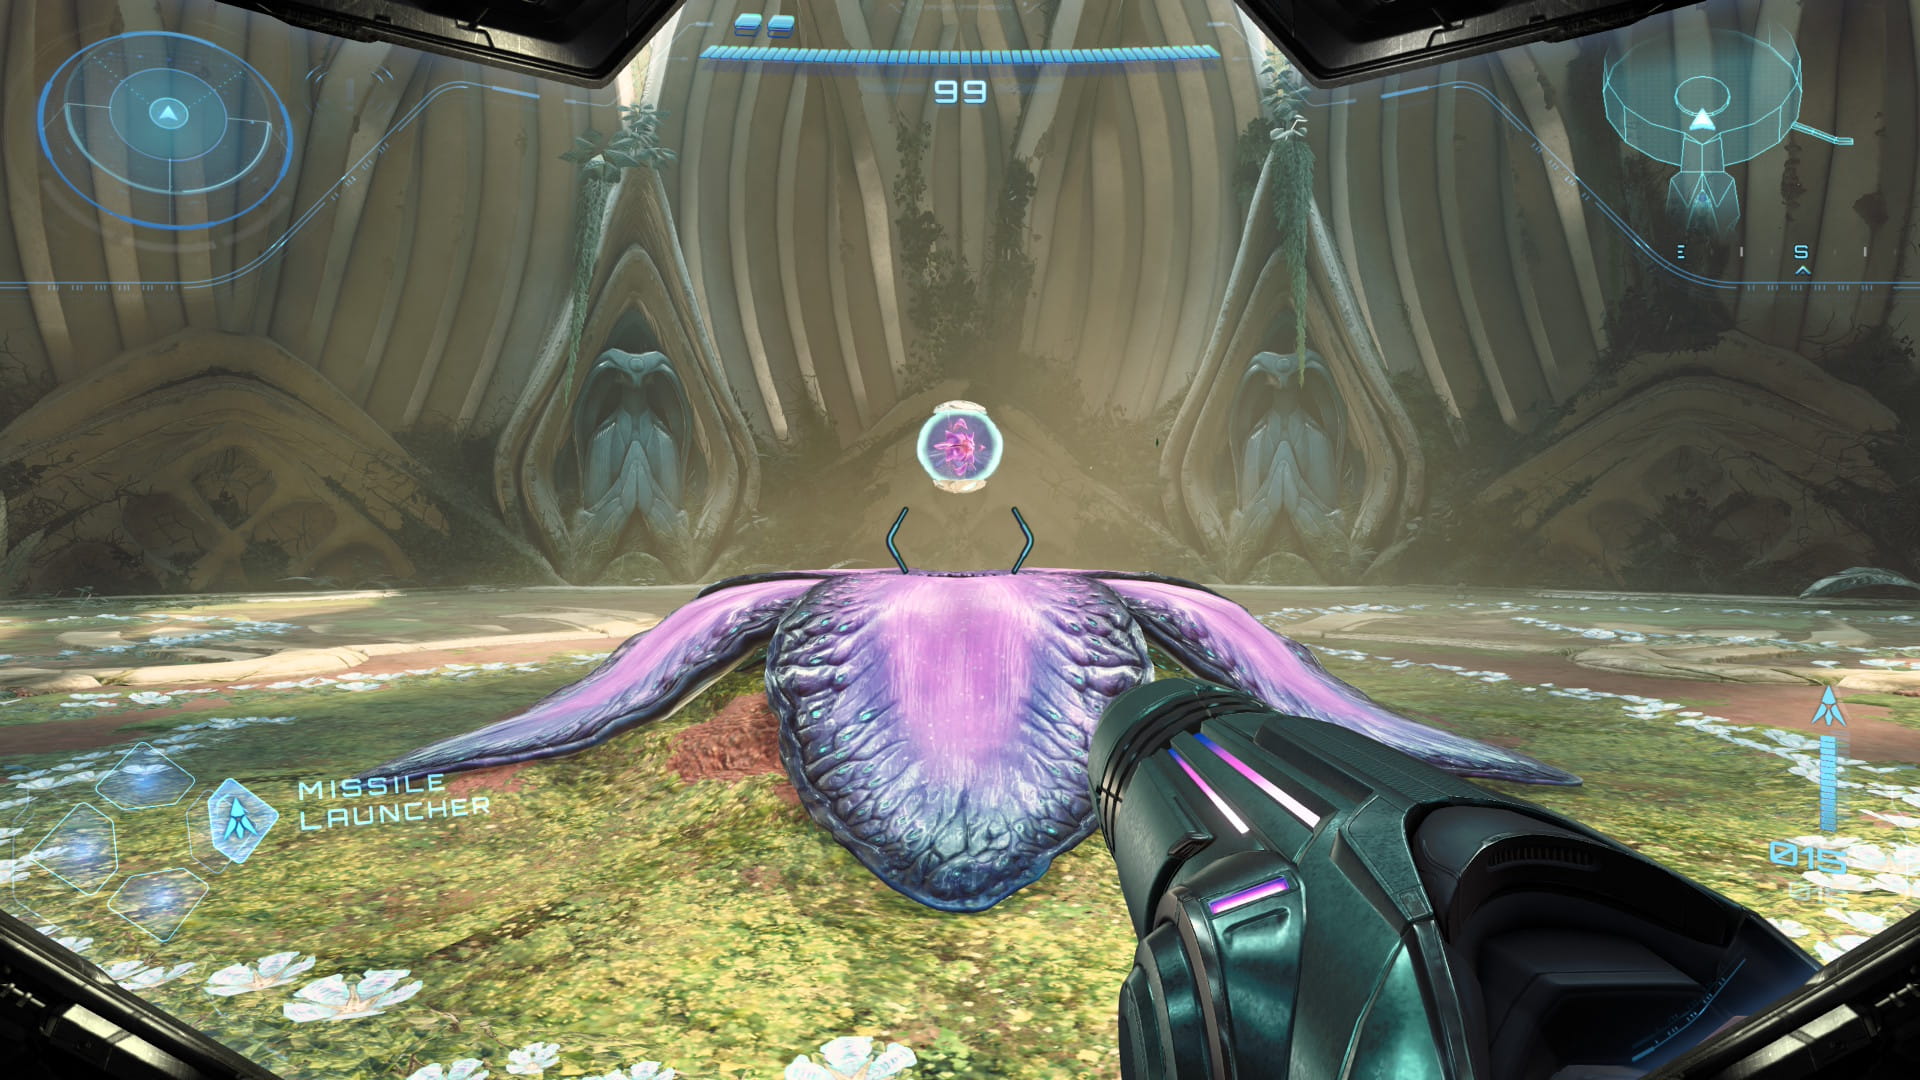
Scans
| Sacred Shrine |
Scan the Sacred Shrine that appears. Then stand on it and stare at the eye of the statue to get a Master Teleporter Key. Use a bomb on a statue in the west wall to leave through a small space.
Scans
| Green Energy Crystal |
Scan the Green Energy Crystals in this room, then destroy them.
Missile Expansion #2
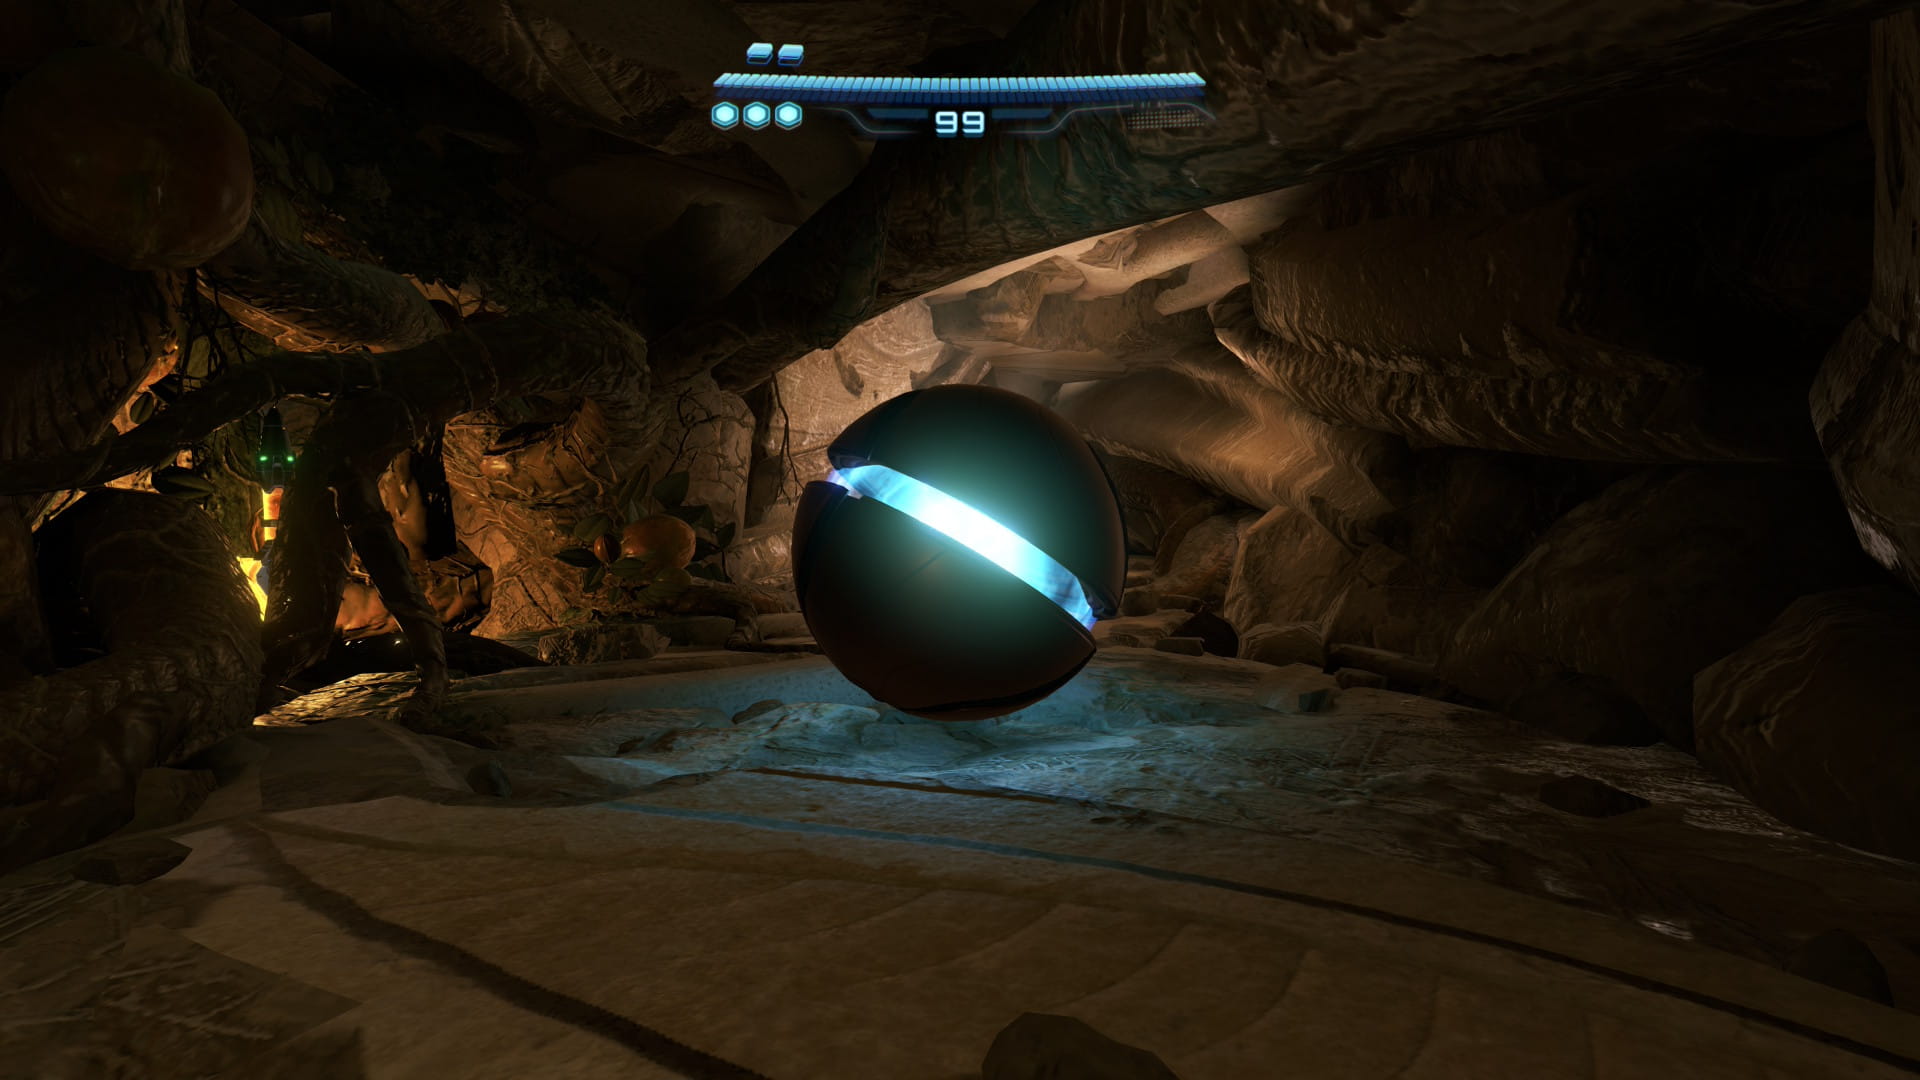
Return to the Ceremonial Chamber and then take the west door. Proceed through 1 more door. Use a bomb in the left wall to get Missile Expansion #2.
Scans
| Save Station |
Head to Base Camp. After the cutscene, take the west door to enter a Save Station. Make sure to scan it.
Scans
| Cargo Launcher |
| Psychic Platform |
Use the bomb slot to take the east door. Proceed through 1 more door. Then take the north door. Scan the Cargo Launcher here. Use a psychic bomb on the slot to the left to activate the launcher. Along the east wall are a couple Psychic Platforms that can be scanned. Then enter the launcher.
Scans
| Polaleisoarala |
After landing, destroy the crystals that are to the south. Near the structure is a flock of Polaleisoarala that needs to be scanned.
Scans
| Psy-bot Soldiers |
| Vi-O-La Spinner |
Scan the smaller statue to the east to start a cutscene. Enter the large structure to be greeted by some Psy-bot Soldiers, which need to be scanned. After defeating them, scan the Vi-O-La Spinner in the middle of the area. Then enter the small space in the right side of the large structure.
Missile Expansion #3
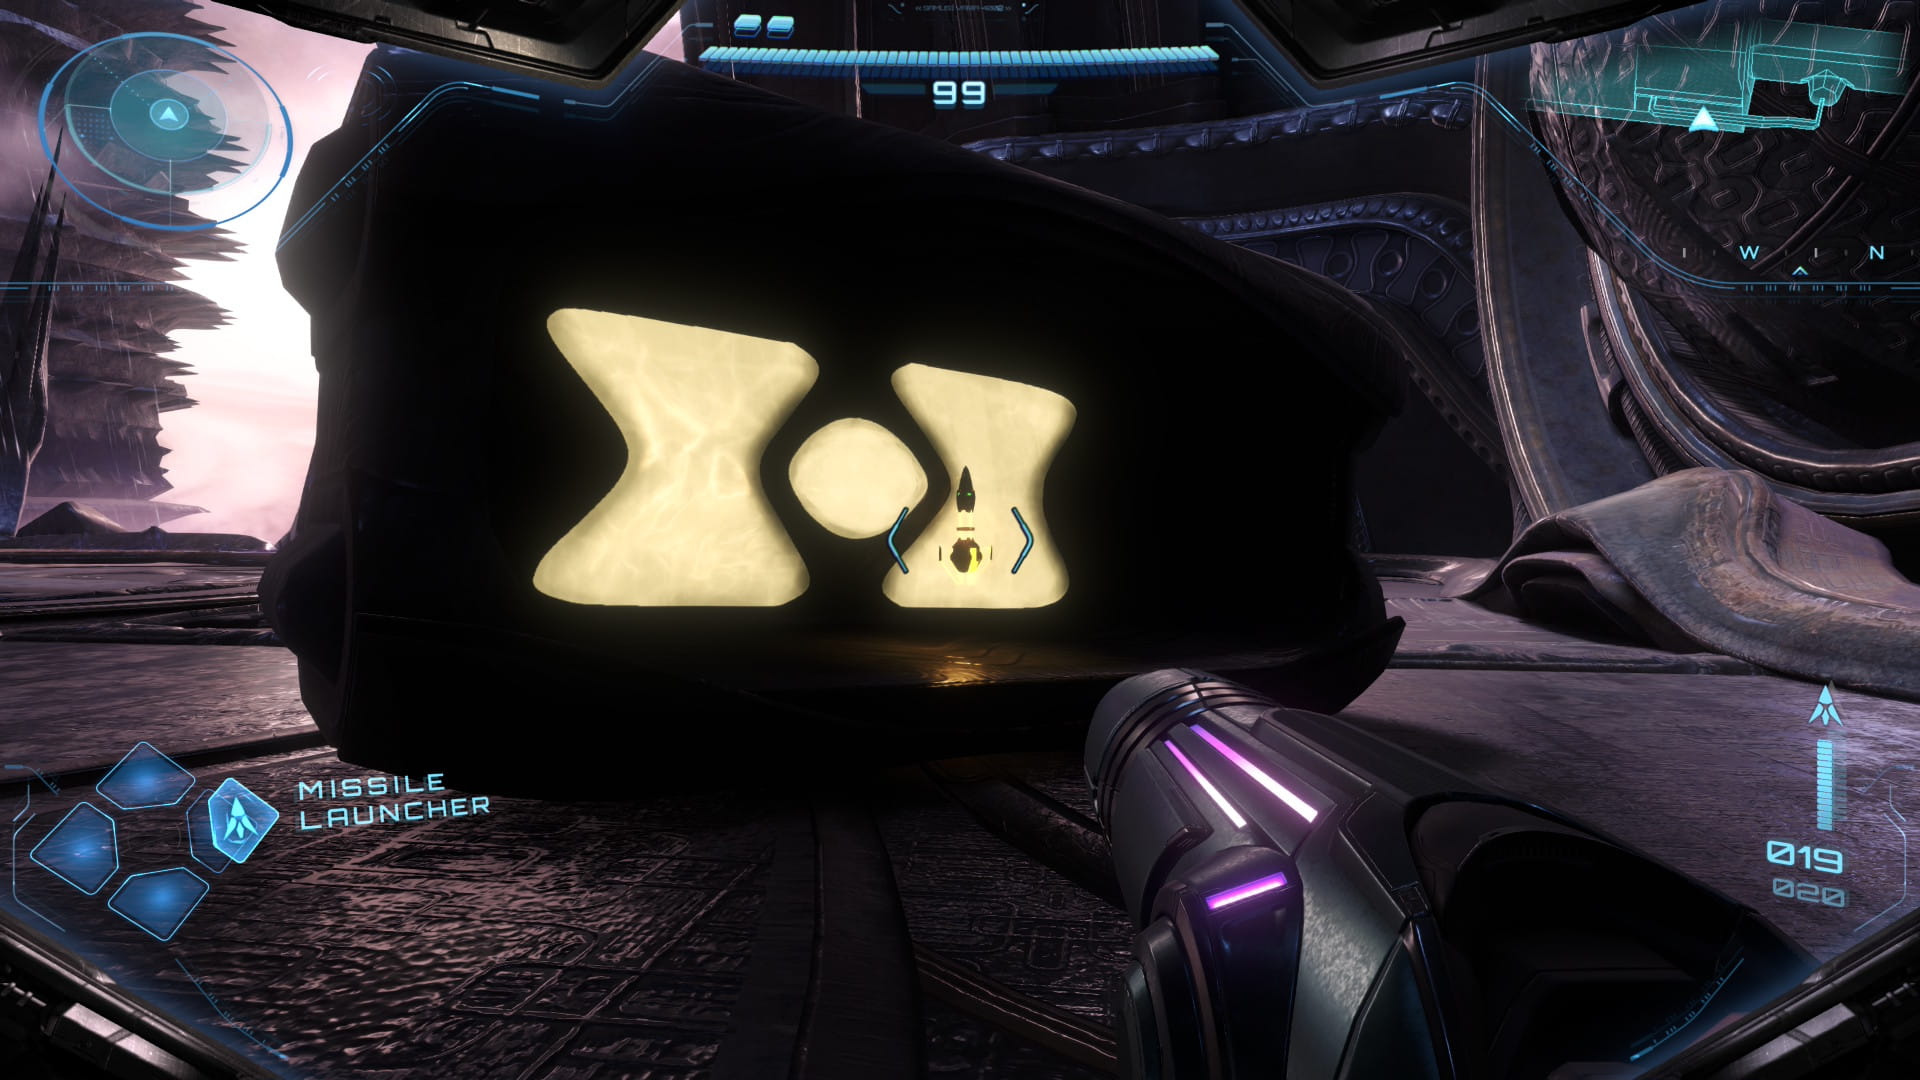
Use a missile to break the glass window. Then use a bomb to break the gate and enter the small space leading to the room below. After the cutscene, break the crates to the left and enter the small space, which leads to Volt Forge. Turn around to find Missile Expansion #3 hidden in one of the larger crates.
Scans
| Denzard |
Walk south and scan the Denzard in the next room. Then continue to the next room.
Scans
| Lamorn Neuro Bike Mark V |
| Lamorn Neuro Bike Mark VII |
Scan the Lamorn Neuro Bike Mark V that's to the left. Then scan the Lamorn Neuro Bike Mark VII in the middle of the room. Finally, scan the console by the window to get the area map. Take the northern door in the east wall.
Scans
| Mecha Rat |
Take the elevator down and head trough the next door. Fall all the way down and scan one of the Mecha Rats. Head through the nearby door.
Scans
| Lamorn Magnetic Track |
Take the elevator down and enter the next room. Continue through the missile door to the left. Fall into the central chamber and take the east door. Proceed down the elevator and into the next room. Drop into the central chamber and scan the Lamorn Magnetic Track. Then head through the missile door.
Scans
| Grapple Node |
Scan the Grapple Node on the left wall. Then return to the previous room.
Scans
| Psychic Boost Rail |
Head through the small space that's across the room. Use both of the bomb slots to move the apparatus. Then scan the Psychic Boost Rail to the right. Enter the morph ball hologram and use the bomb slot to restore electricity.
Scans
| Maintenance Tank |
Return to the Manufacturing Floor. Scan and interact with the console to restore electricity. Enter morph ball mode to have the grips lift you up. Proceed to the Assembly Floor. Scan the Maintenance Tanks you encounter. After defeating them, use a psychic bomb to enter a small space, which will throw you up to the top level.
Scans
| Scanner Drone |
Proceed up to the Irradiation Floor. Use the control beam to activate the platforms. Take these platforms to the top, jumping off at each level to avoid a shock. Continue up the final elevator and scan the Scanner Drone.
Vi-O-La Suit
Return to the Showroom. Interact with the console to get the Vi-O-La Suit.