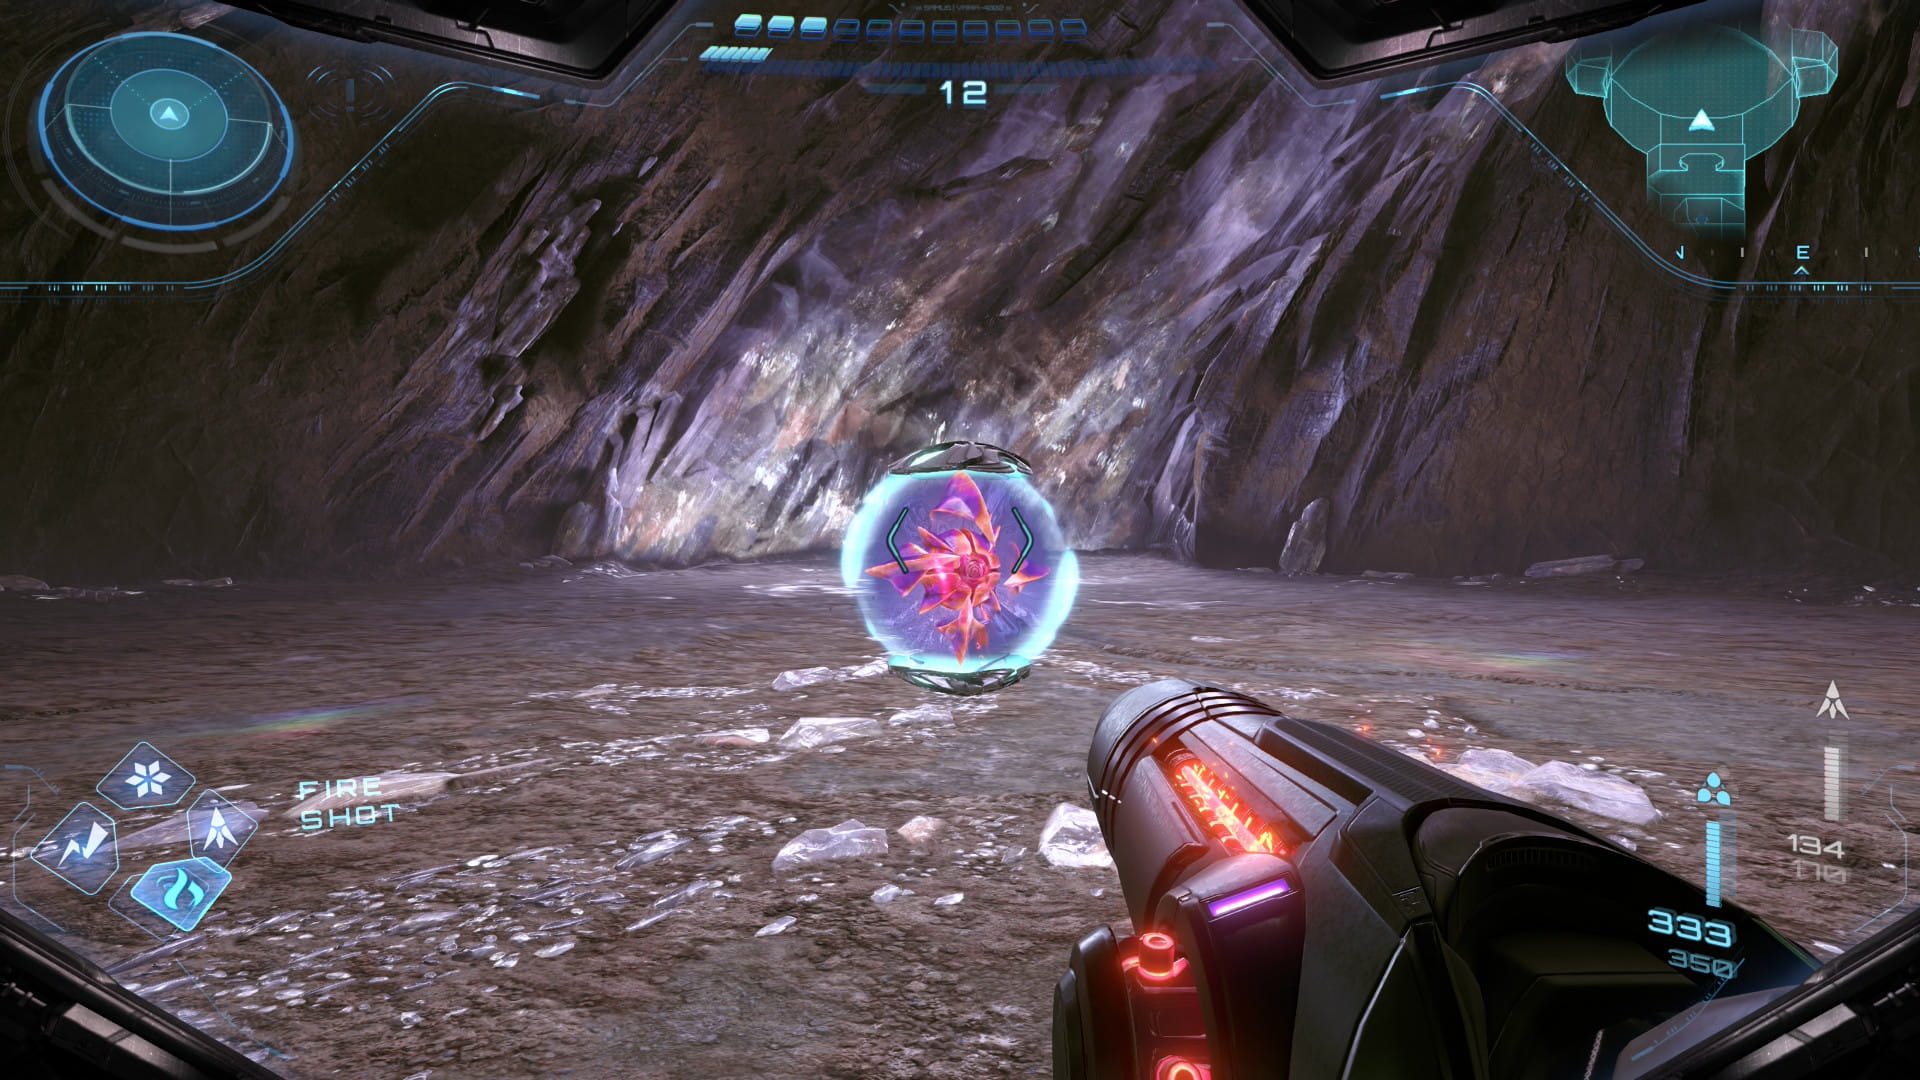
Chapter 4: Psychic Power Bomb
Shot Expansion #19
Continue upward and go south 2 rooms. Swing across the grapple points and take the south door. Continue through the next 2 doors. Climb up the track to get Shot Expansion #19.
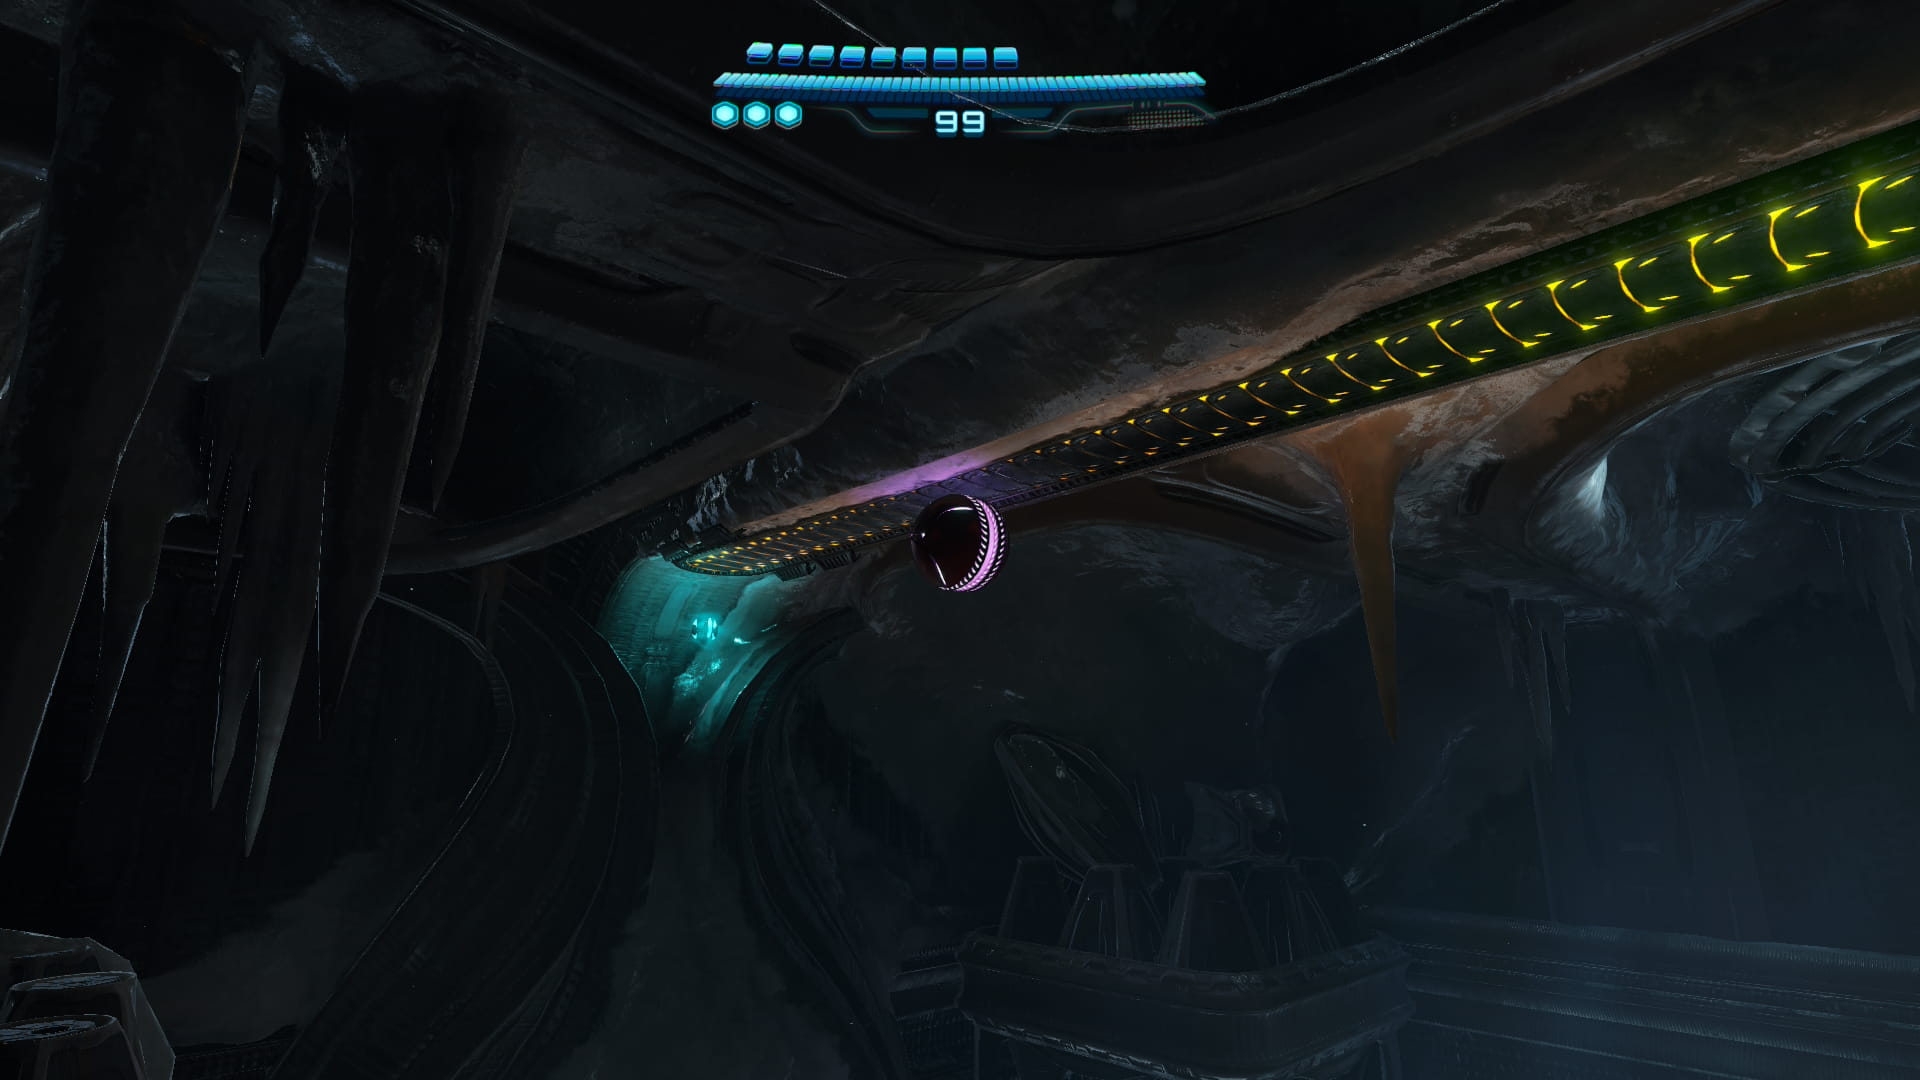
Missile Expansion #22
Drop down and head west 2 rooms. Enter the small space. Drop down and roll left. Use the nodes to bomb both of the red switches, giving you Missile Expansion #22.
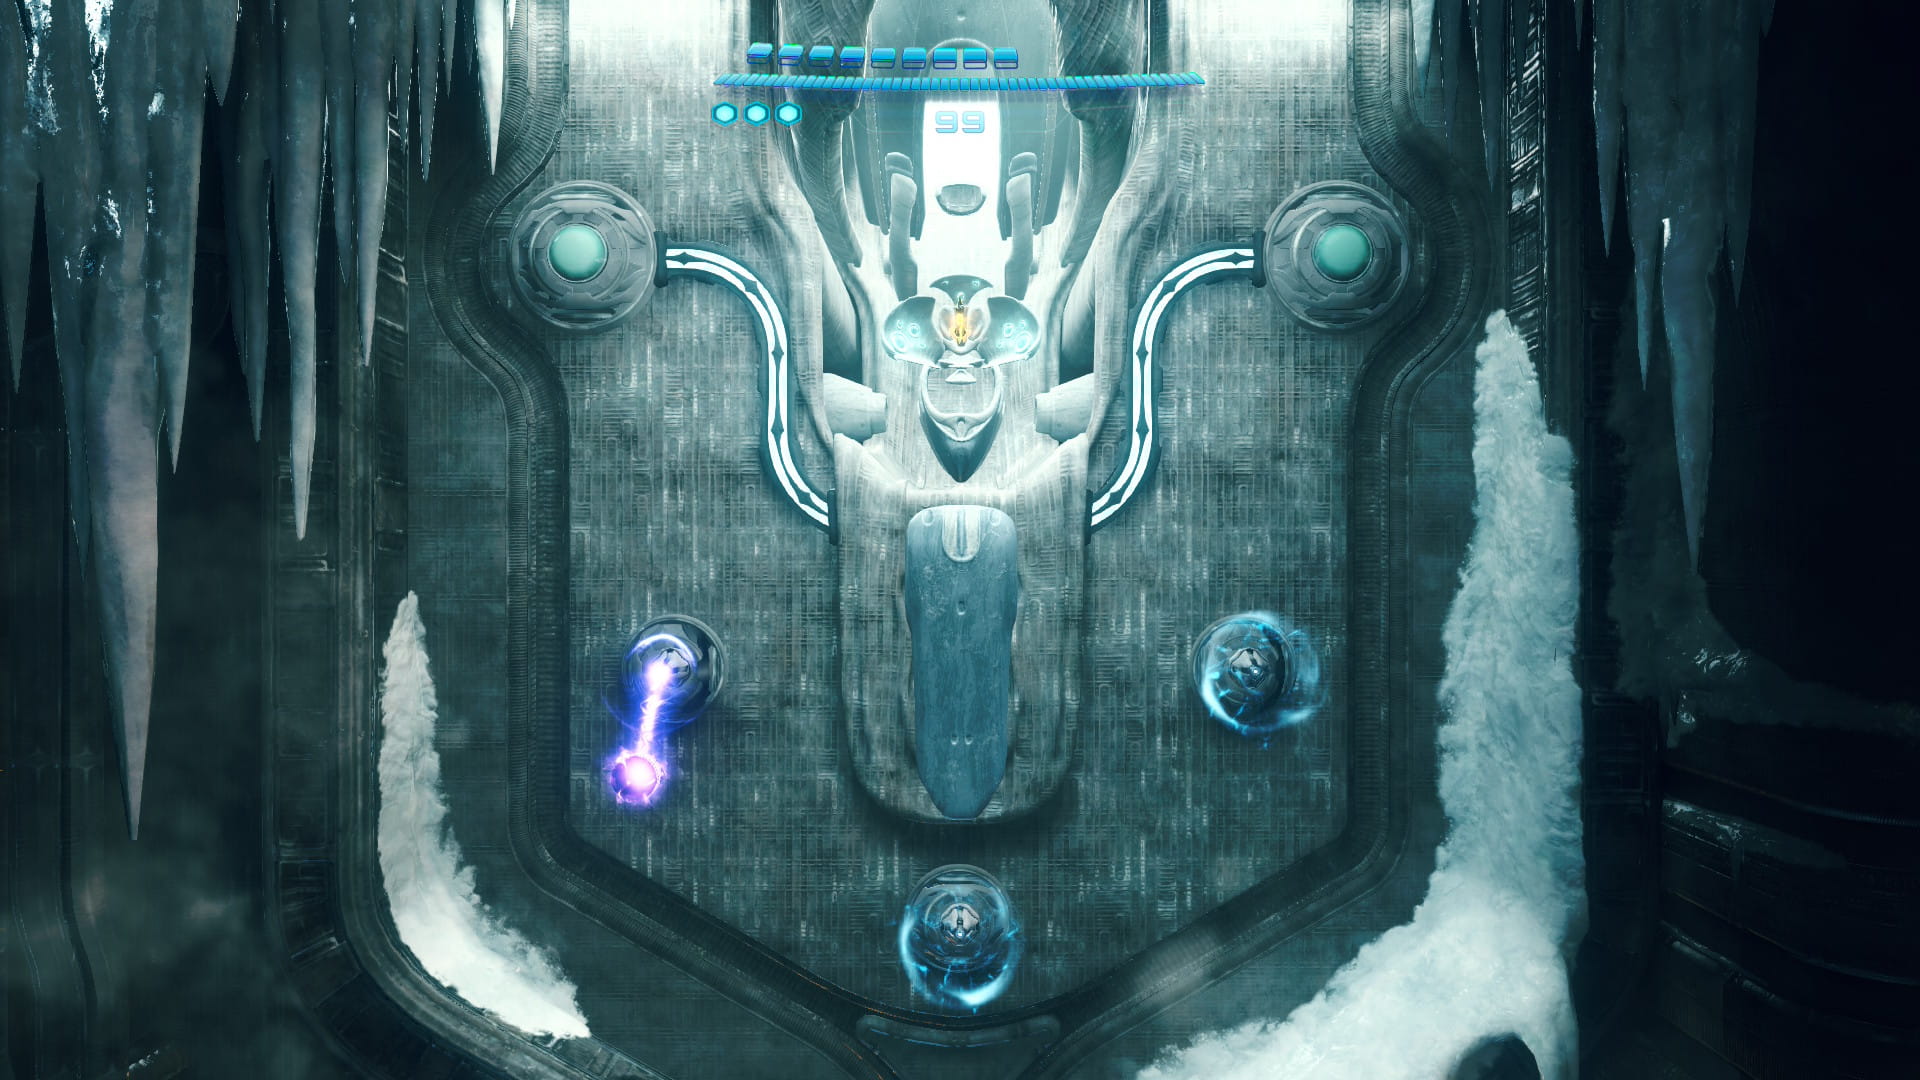
Missile Expansion #23
Exit the small space to the right. Go down the corridor and take the door on the left. Continue down to the Medical Hub and take the south door. Melt the right wall with a fire shot. Open the hatch with the lasso and enter the small space to get Missile Expansion #23.
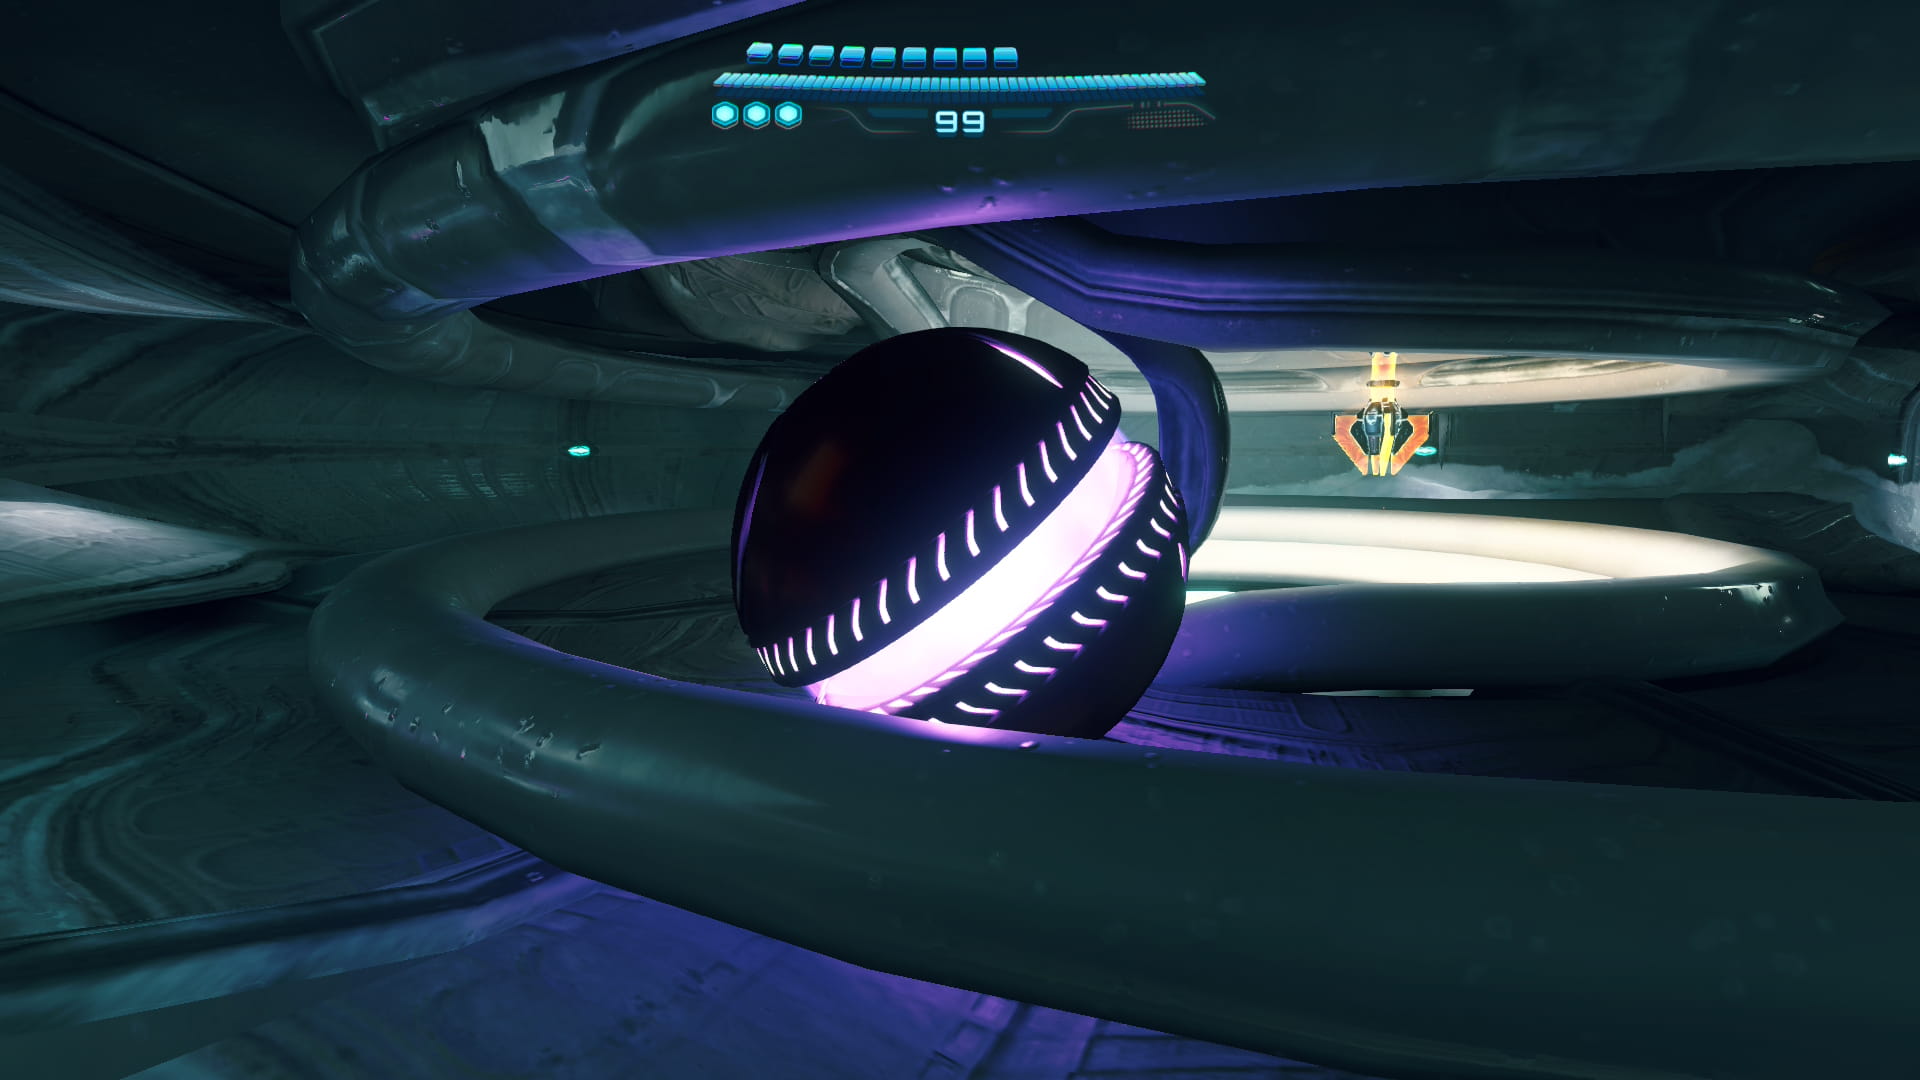
Shot Expansion #20
Go south 1 room. Enter the small space to the left. Climb up the track. Use a boost to the right to find Shot Expansion #20.
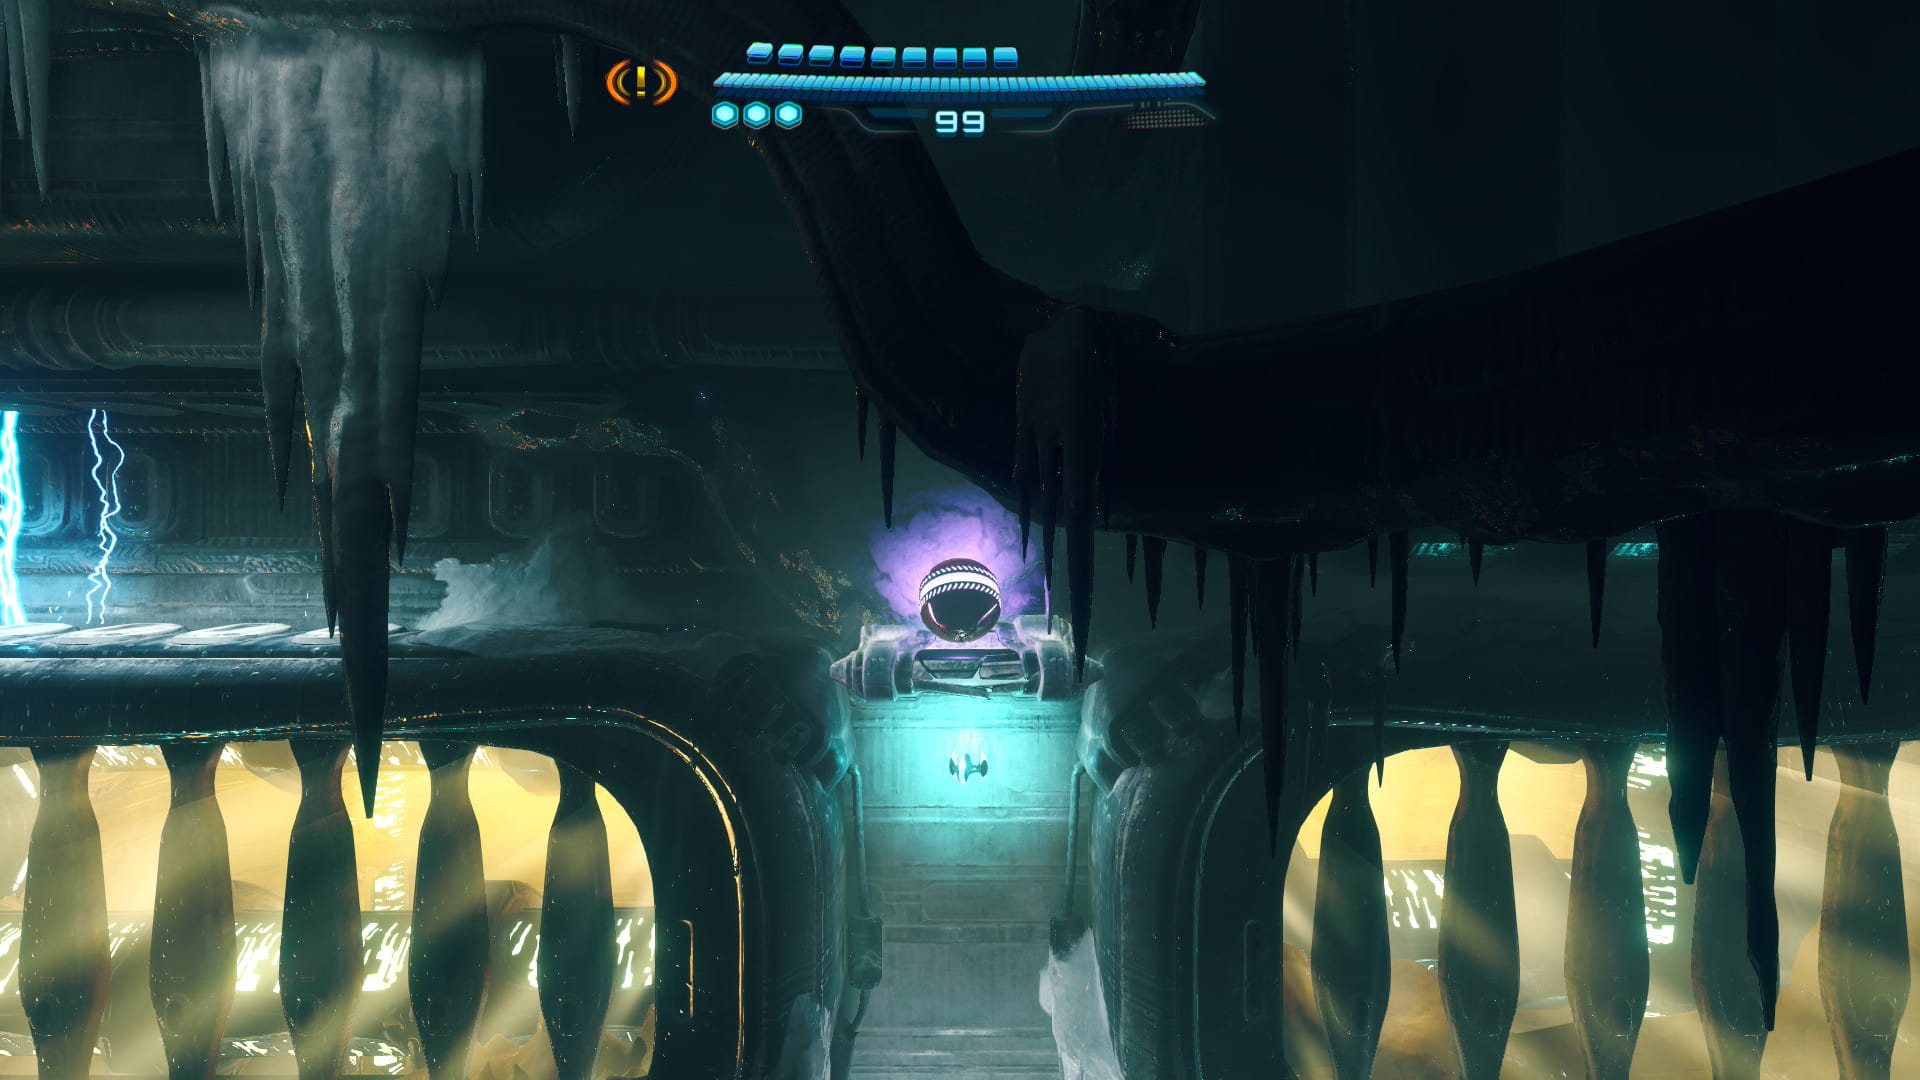
Missile Expansion #24
Exit the small space to the right. Follow the right path and enter the door on the left. Drop down to the lower level and enter the hologram to go down the lift. Follow the tracks to the left to get Missile Expansion #24.
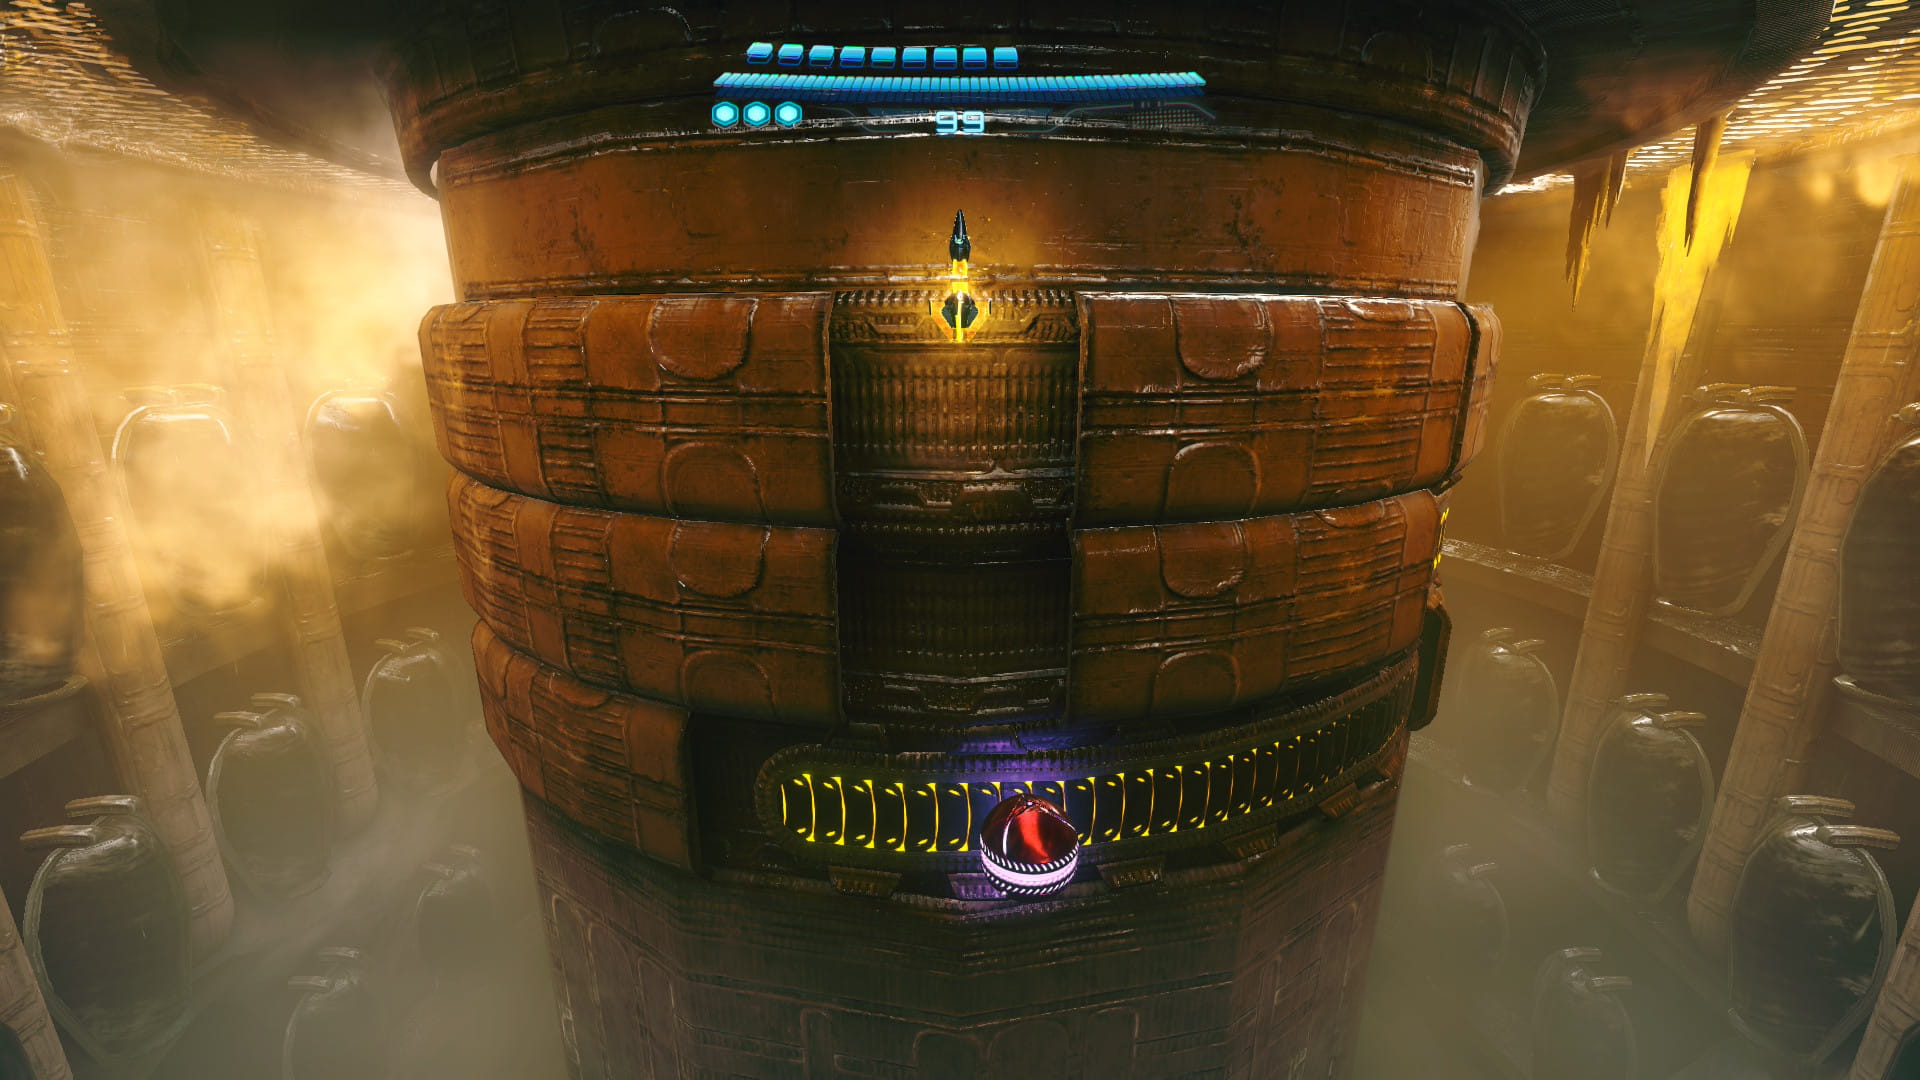
Energy Tank #10
Return to the previous room and go through the small space to the left. Go north 2 rooms. Take the door on the left. Proceed to the next room. Drop down and cross the pair of bridges. Swing across the grapple points to get Energy Tank #10.
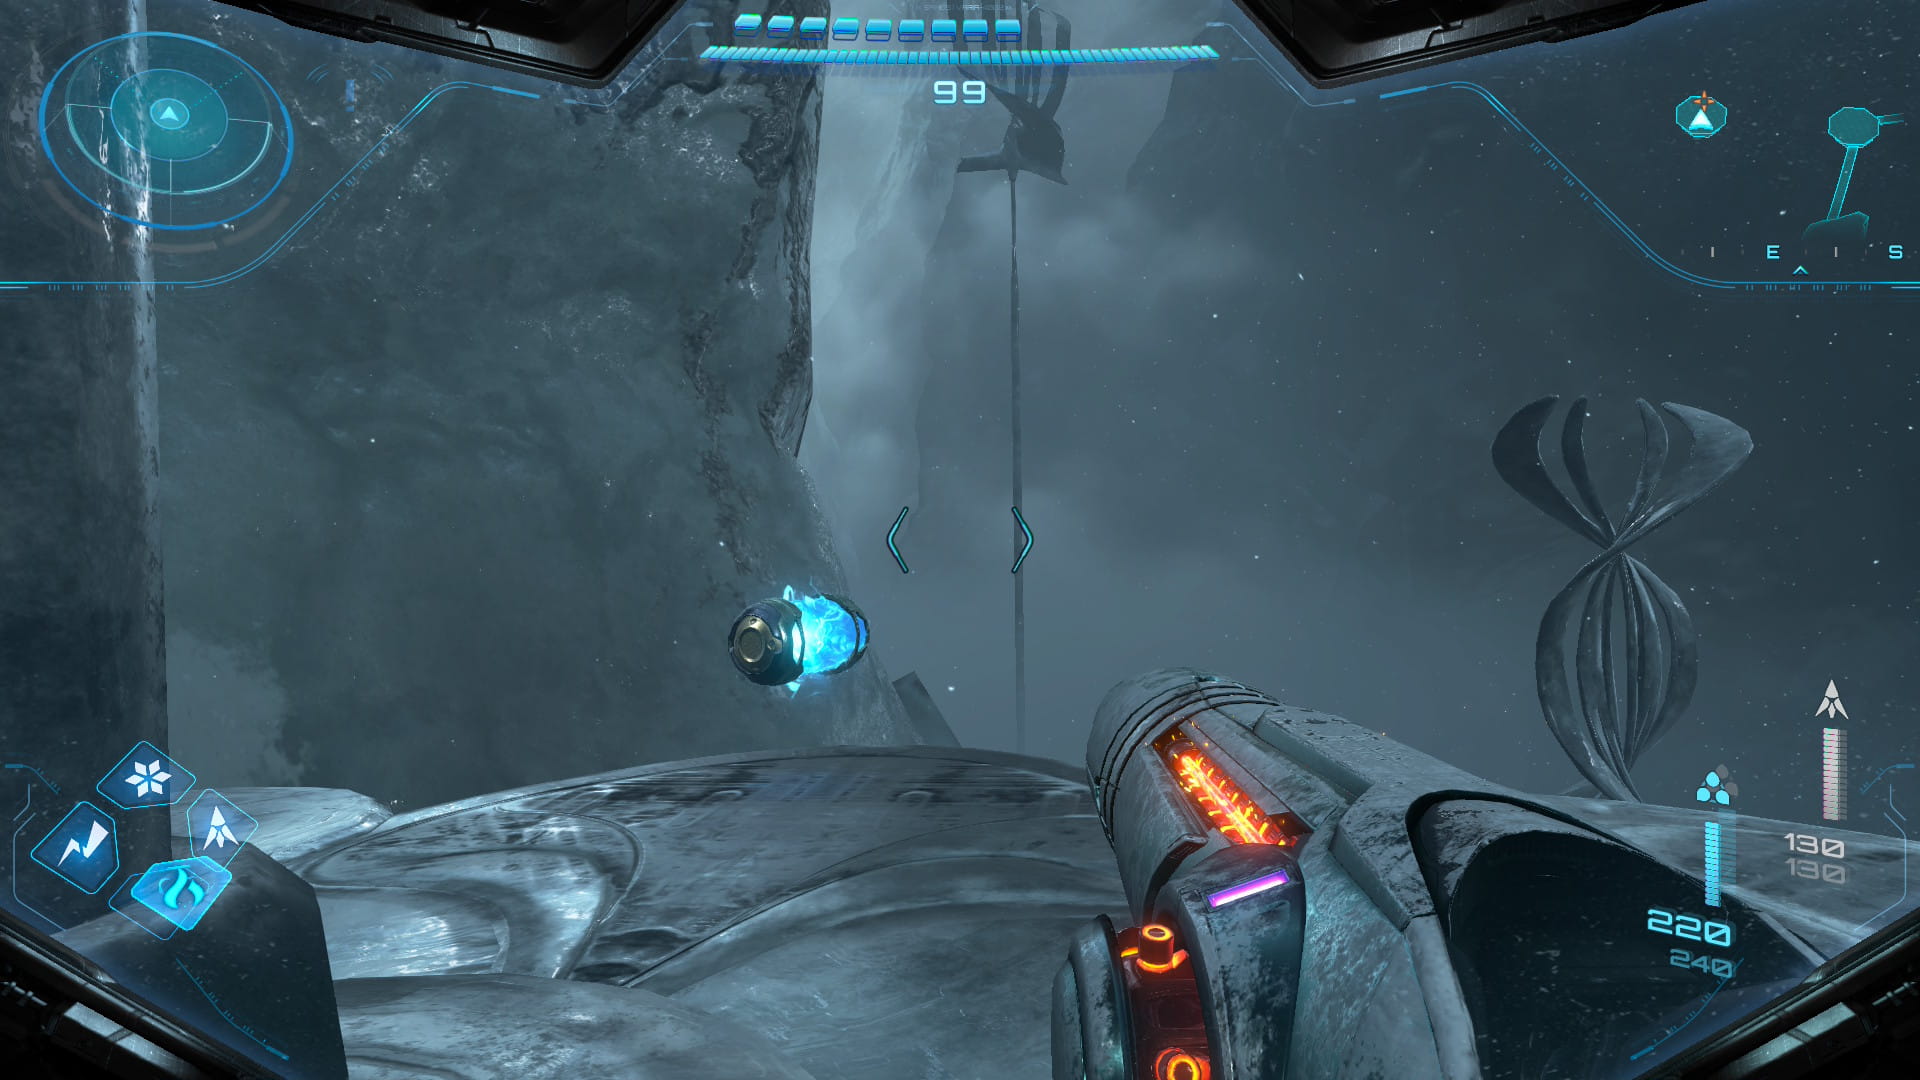
Shot Expansion #21
Return back across the bridges and head through the south door. Go through the small space in the left wall. Go south 2 rooms. Continue downward and through the next 2 doors to enter the generator. Drop down and destroy the crates to find a ball track. Follow the tracks to get Shot Expansion #21.
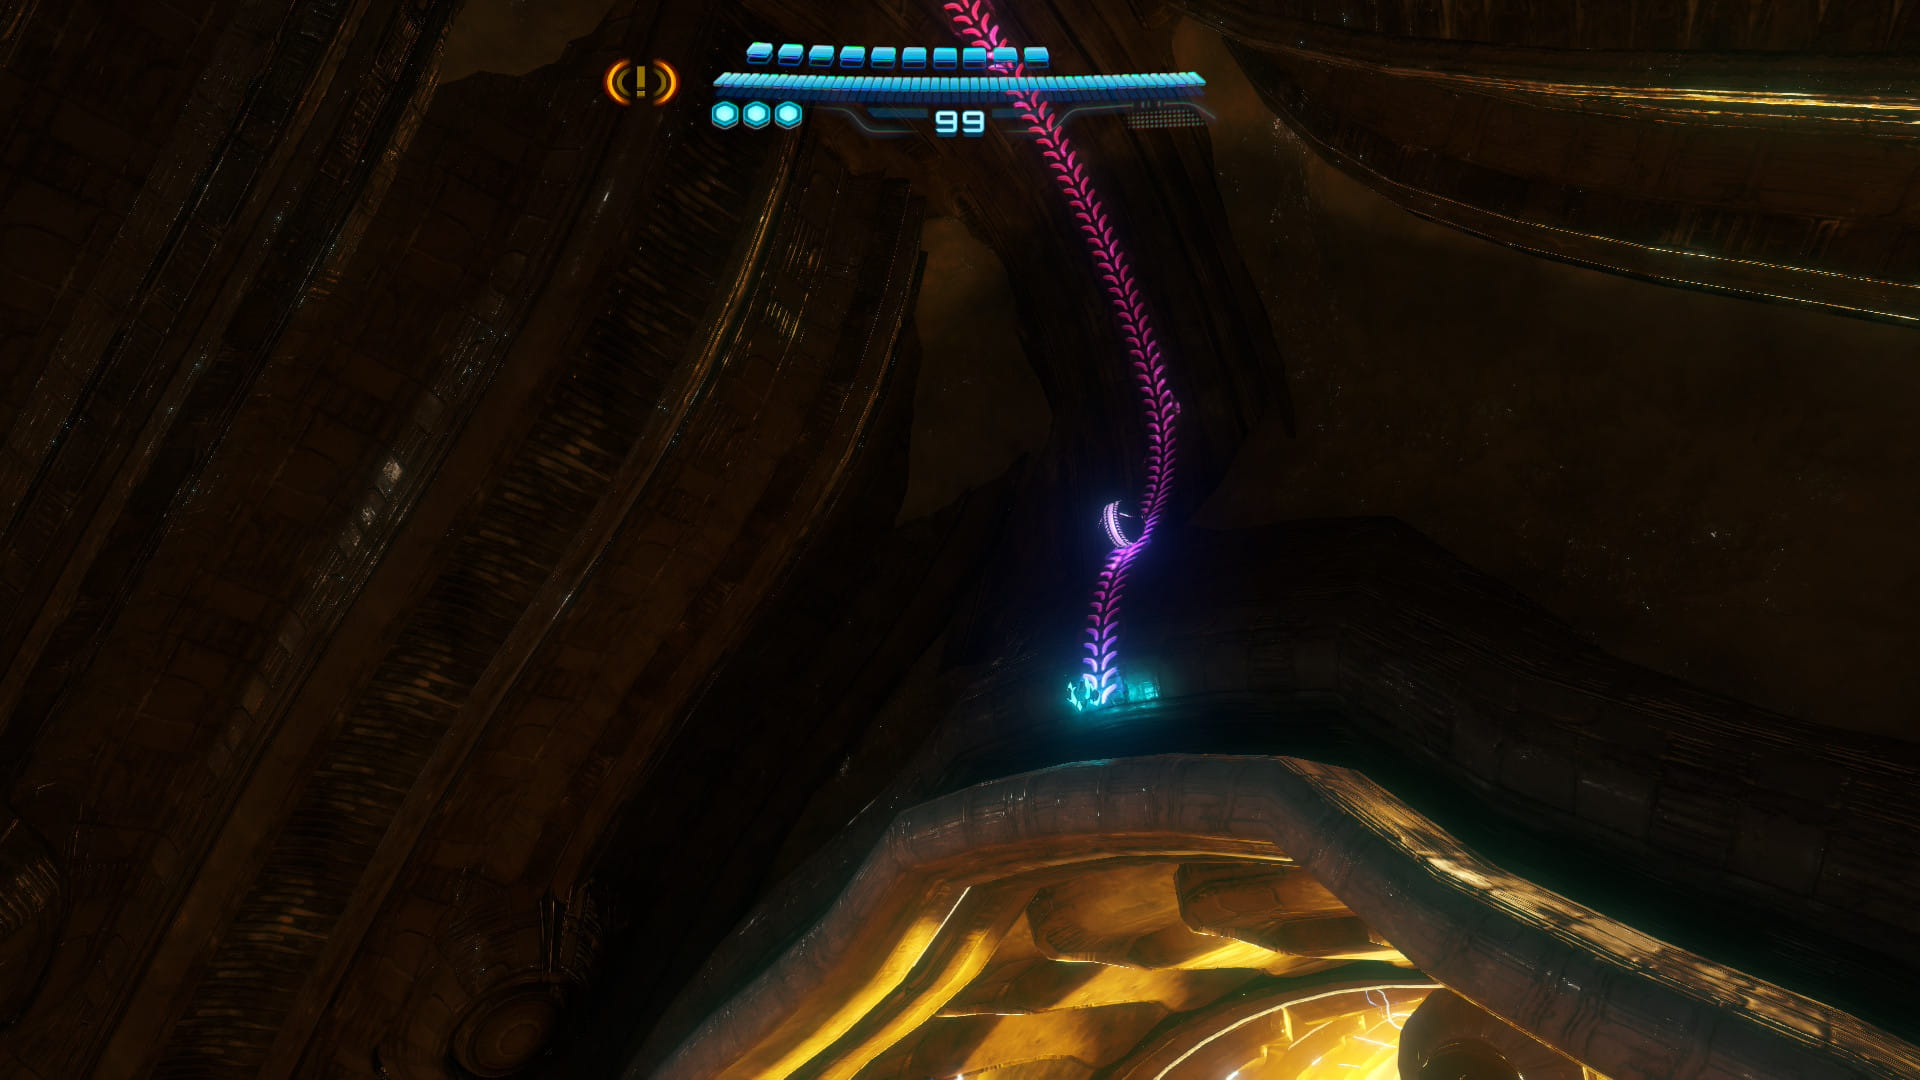
Missile Expansion #25
Head north 4 rooms. Use a thunder shot on the right wall to enter the hologram, taking you up the lift. Then exit the Ice Belt. Take the elevator down. Follow the south path to go outside. Use the boost rail to find Missile Expansion #25.
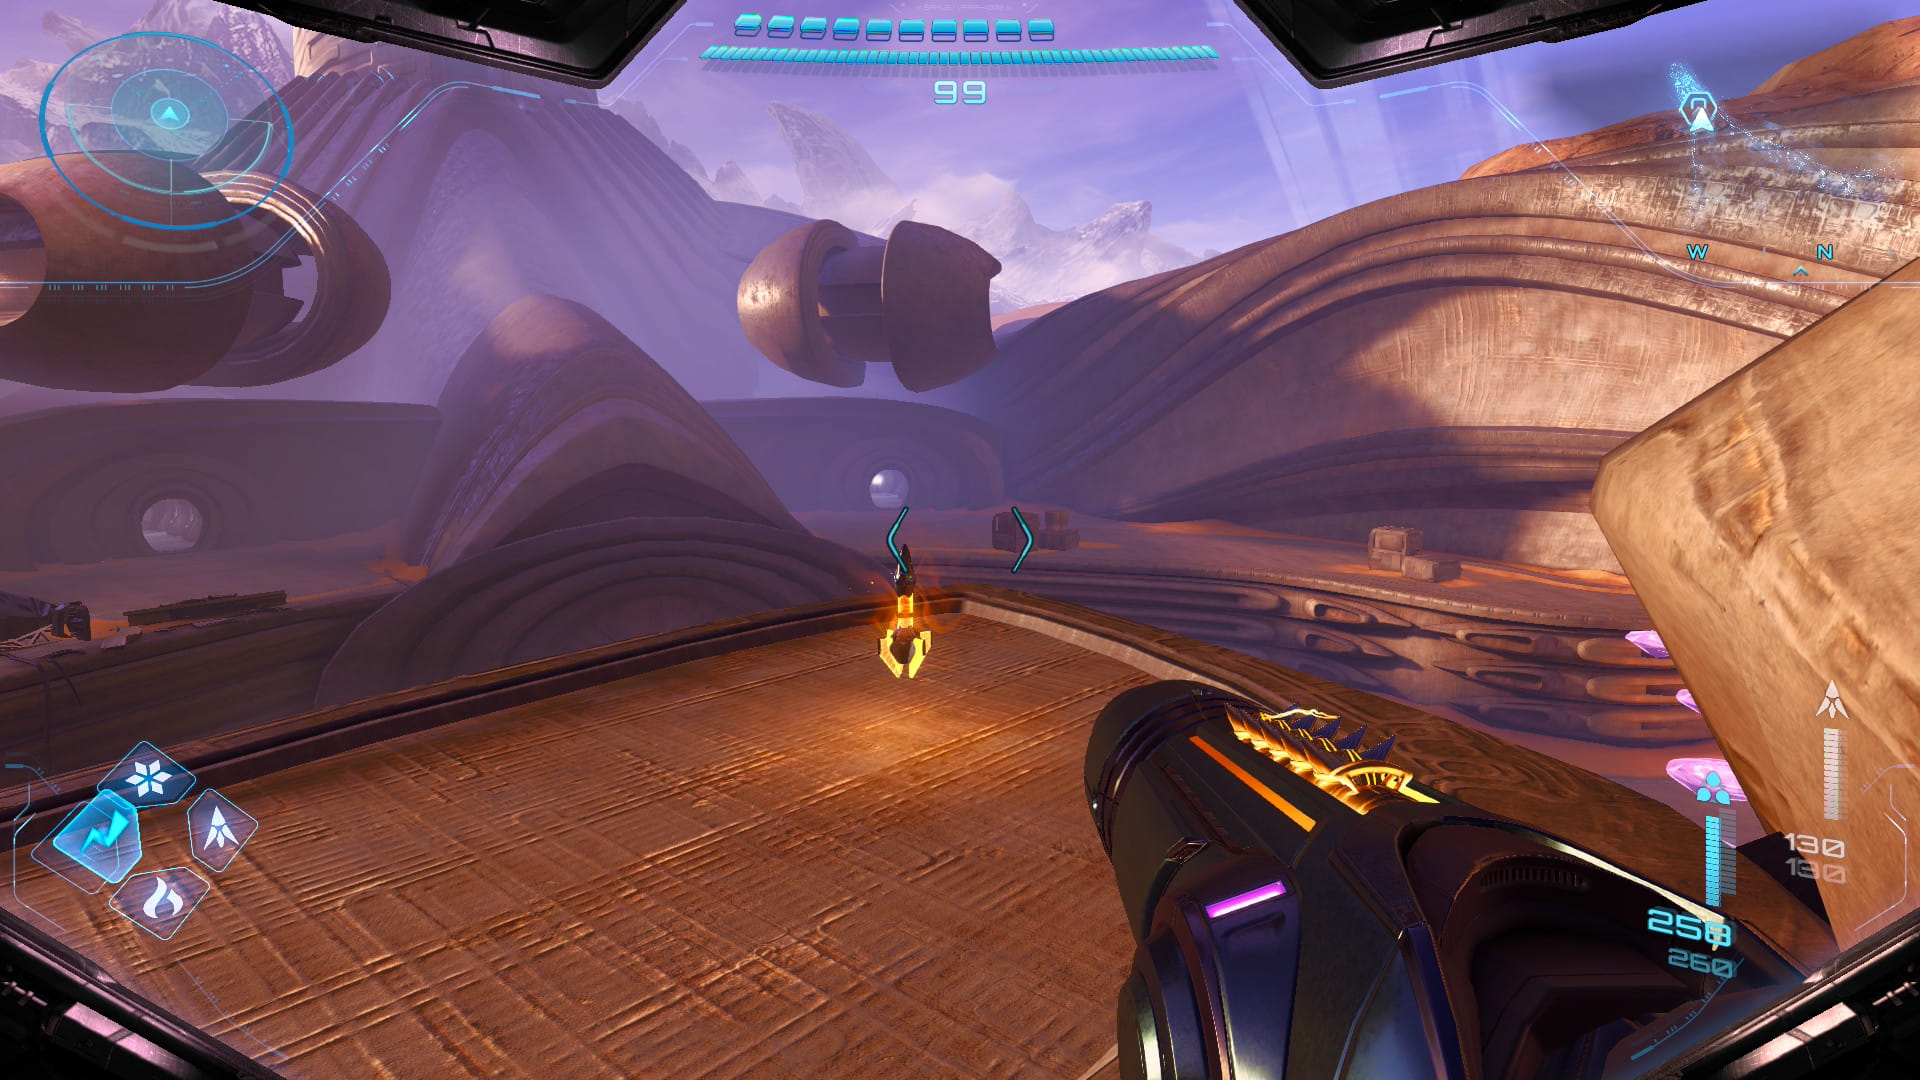
Missile Expansion #26
Go out to Sol Valley and drive east to find some debris in the sand. Use a lasso to find a crate containing Missile Expansion #26.
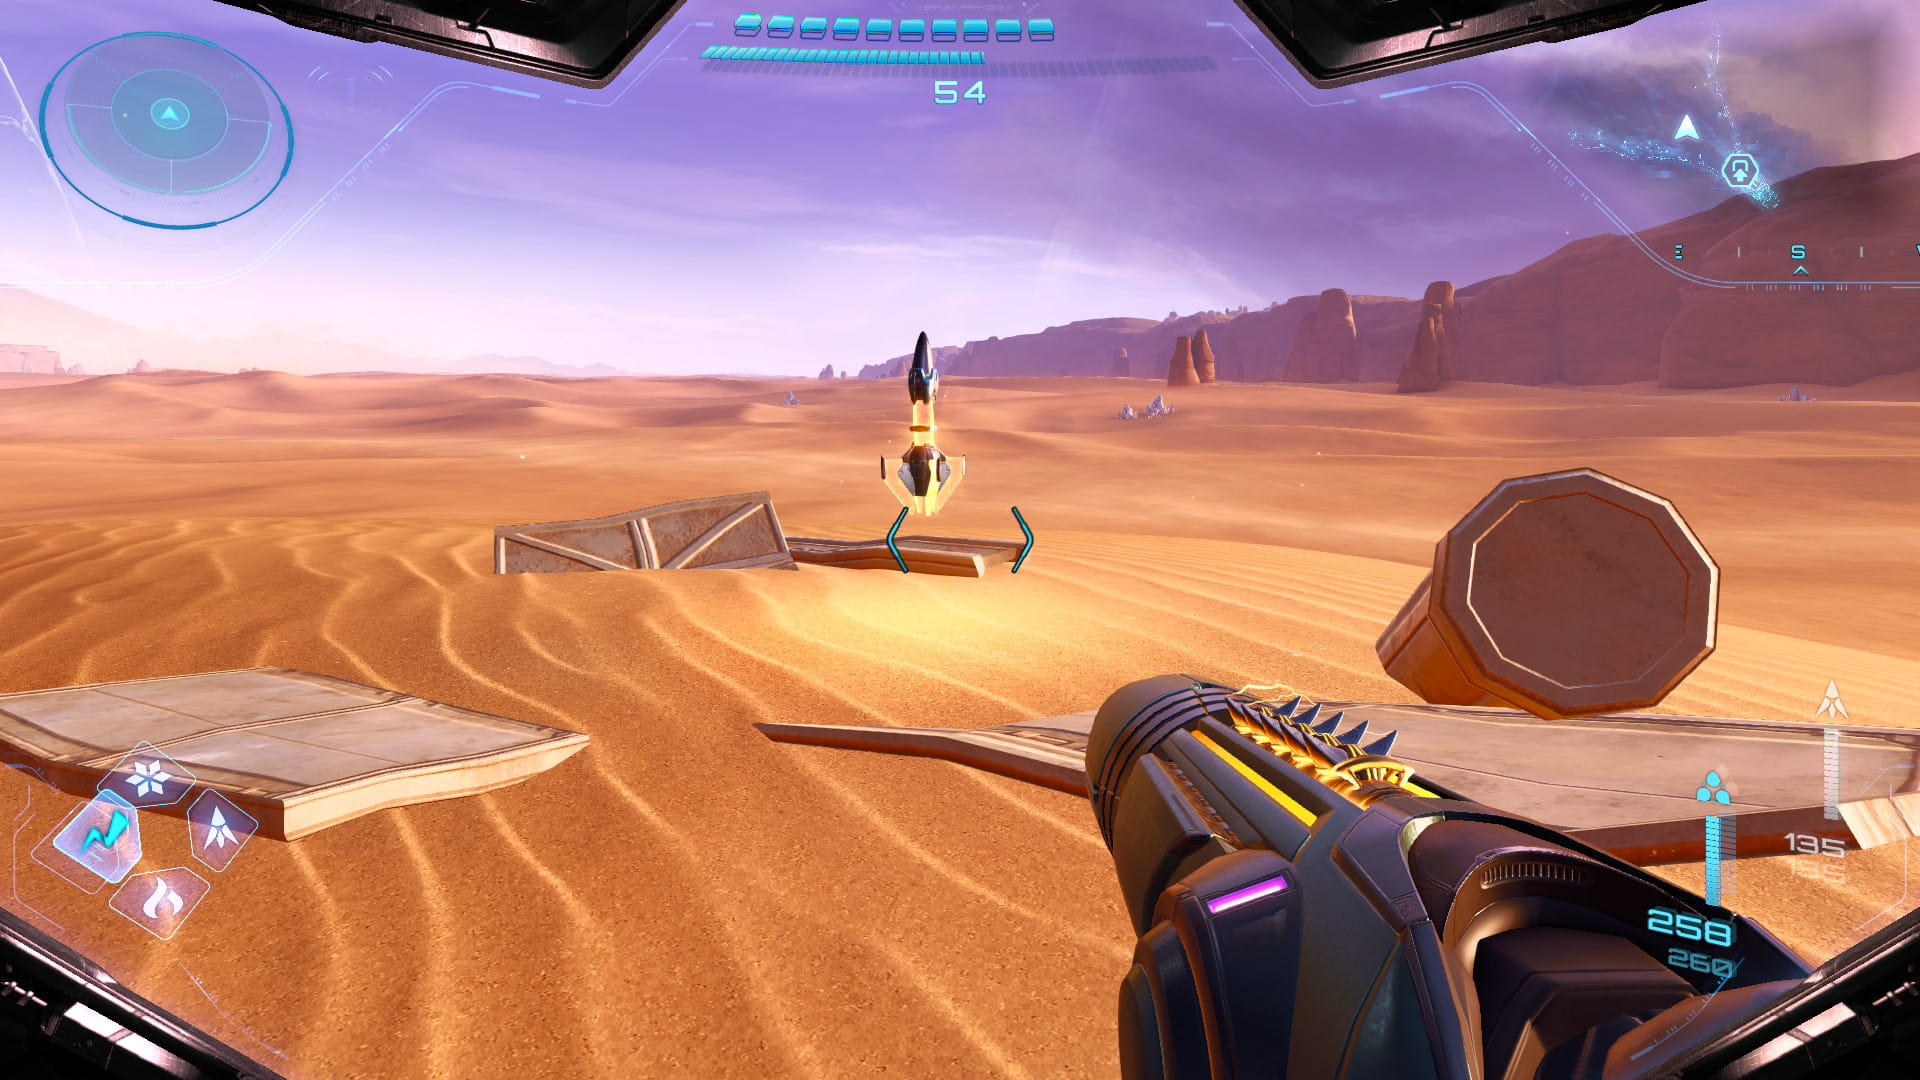
Shot Expansion #22
Continue east to find a Lamorn statue with an ice lock. Take the elevator down and head through the next door. Destroy all the green crystals and then scan the gyroscope in the floor. Use a control beam to hit the center and take the elevator down. Destroy the green crystals and continue to the next room. After entering, turn around and shoot a control beam to hit the target in the ceiling. Go through the small space to get Shot Expansion #22.
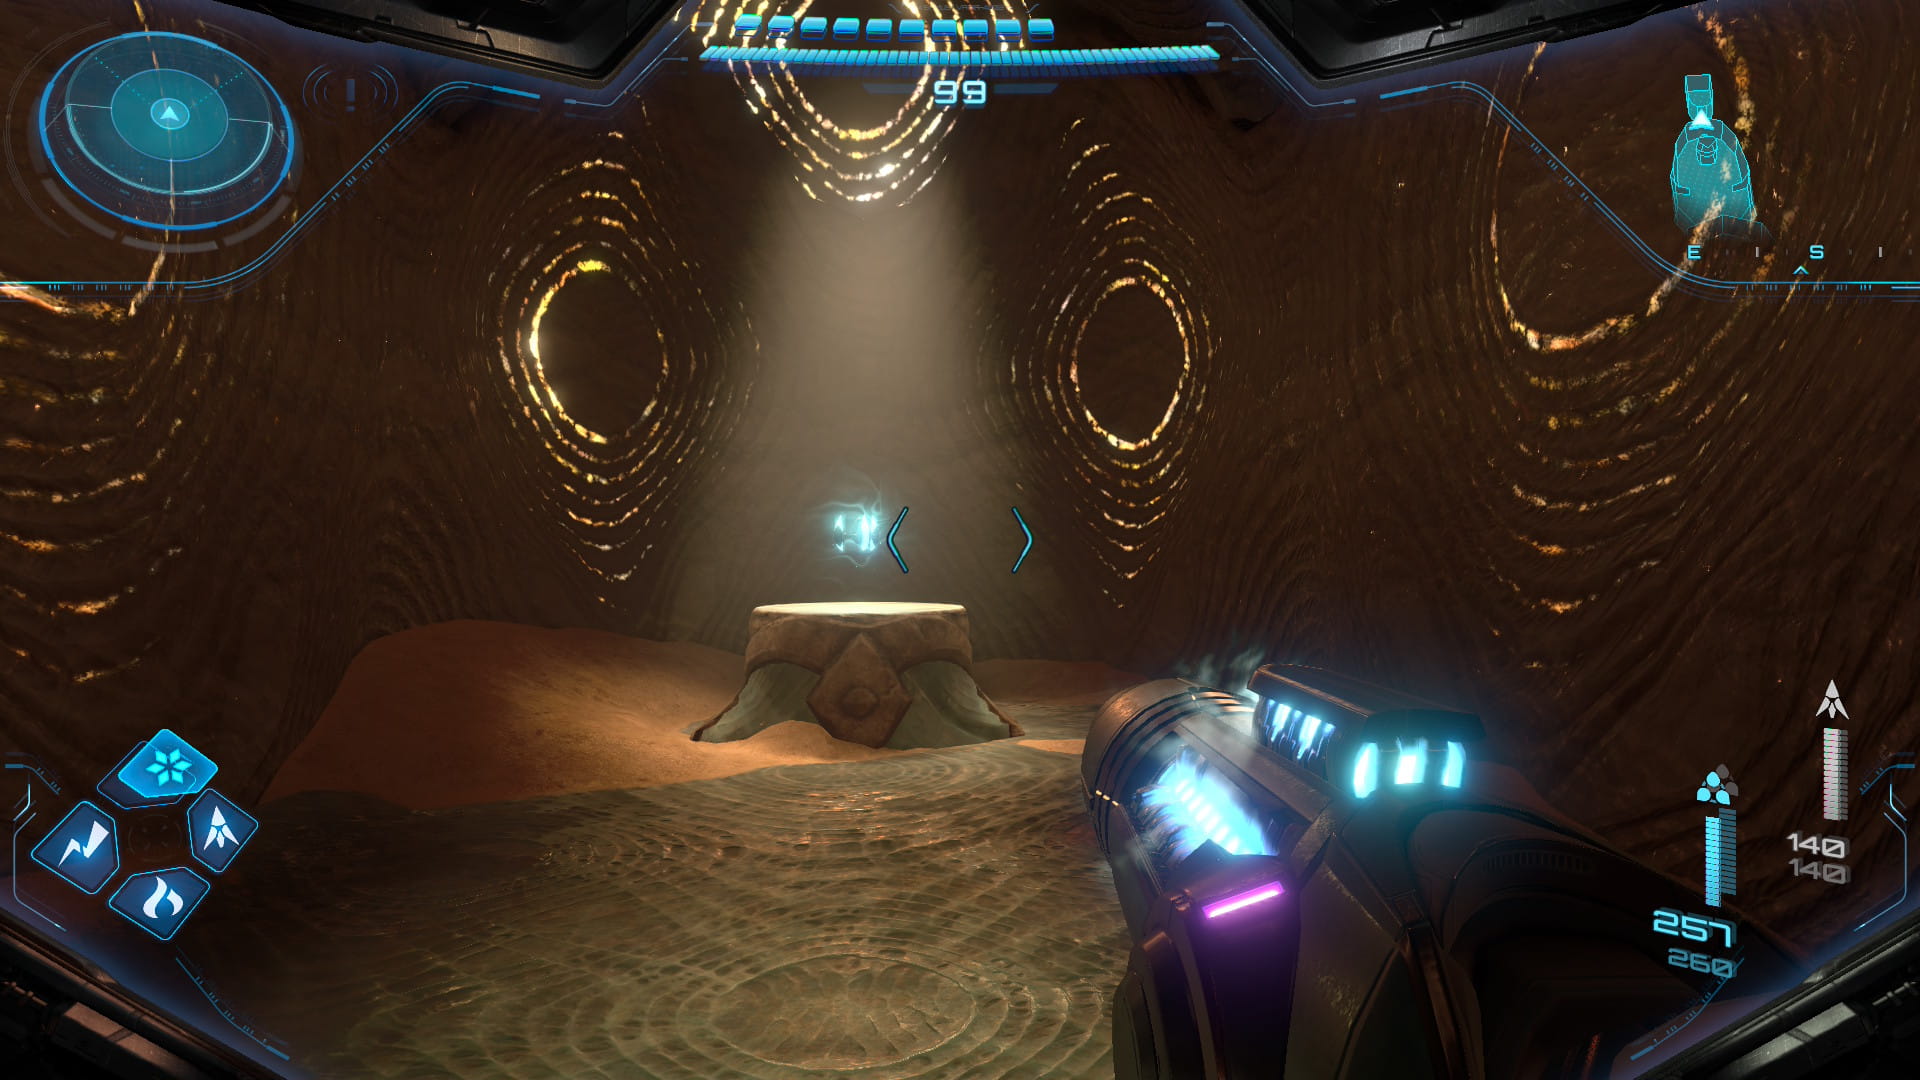
Super Fire Shot
Return through the small space to get the Super Fire Shot. Then return to the surface.
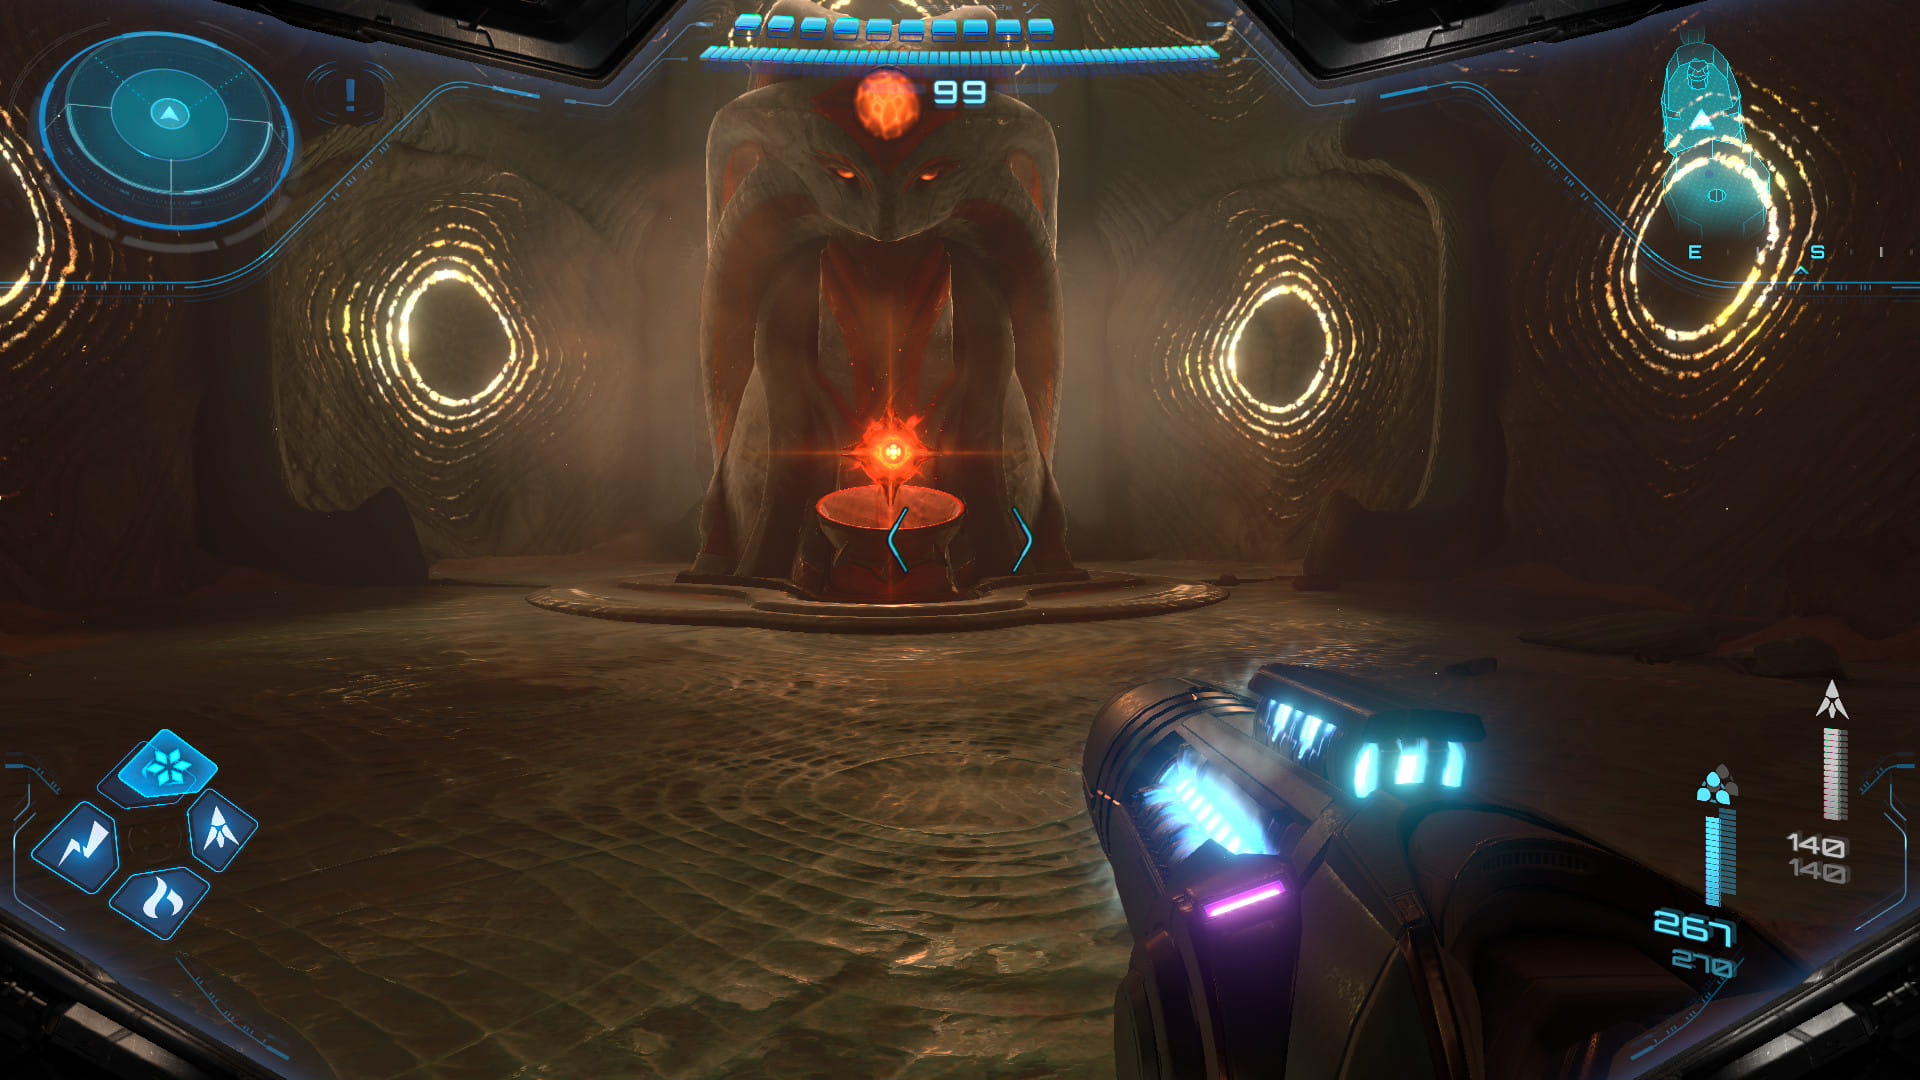
Missile Expansion #27
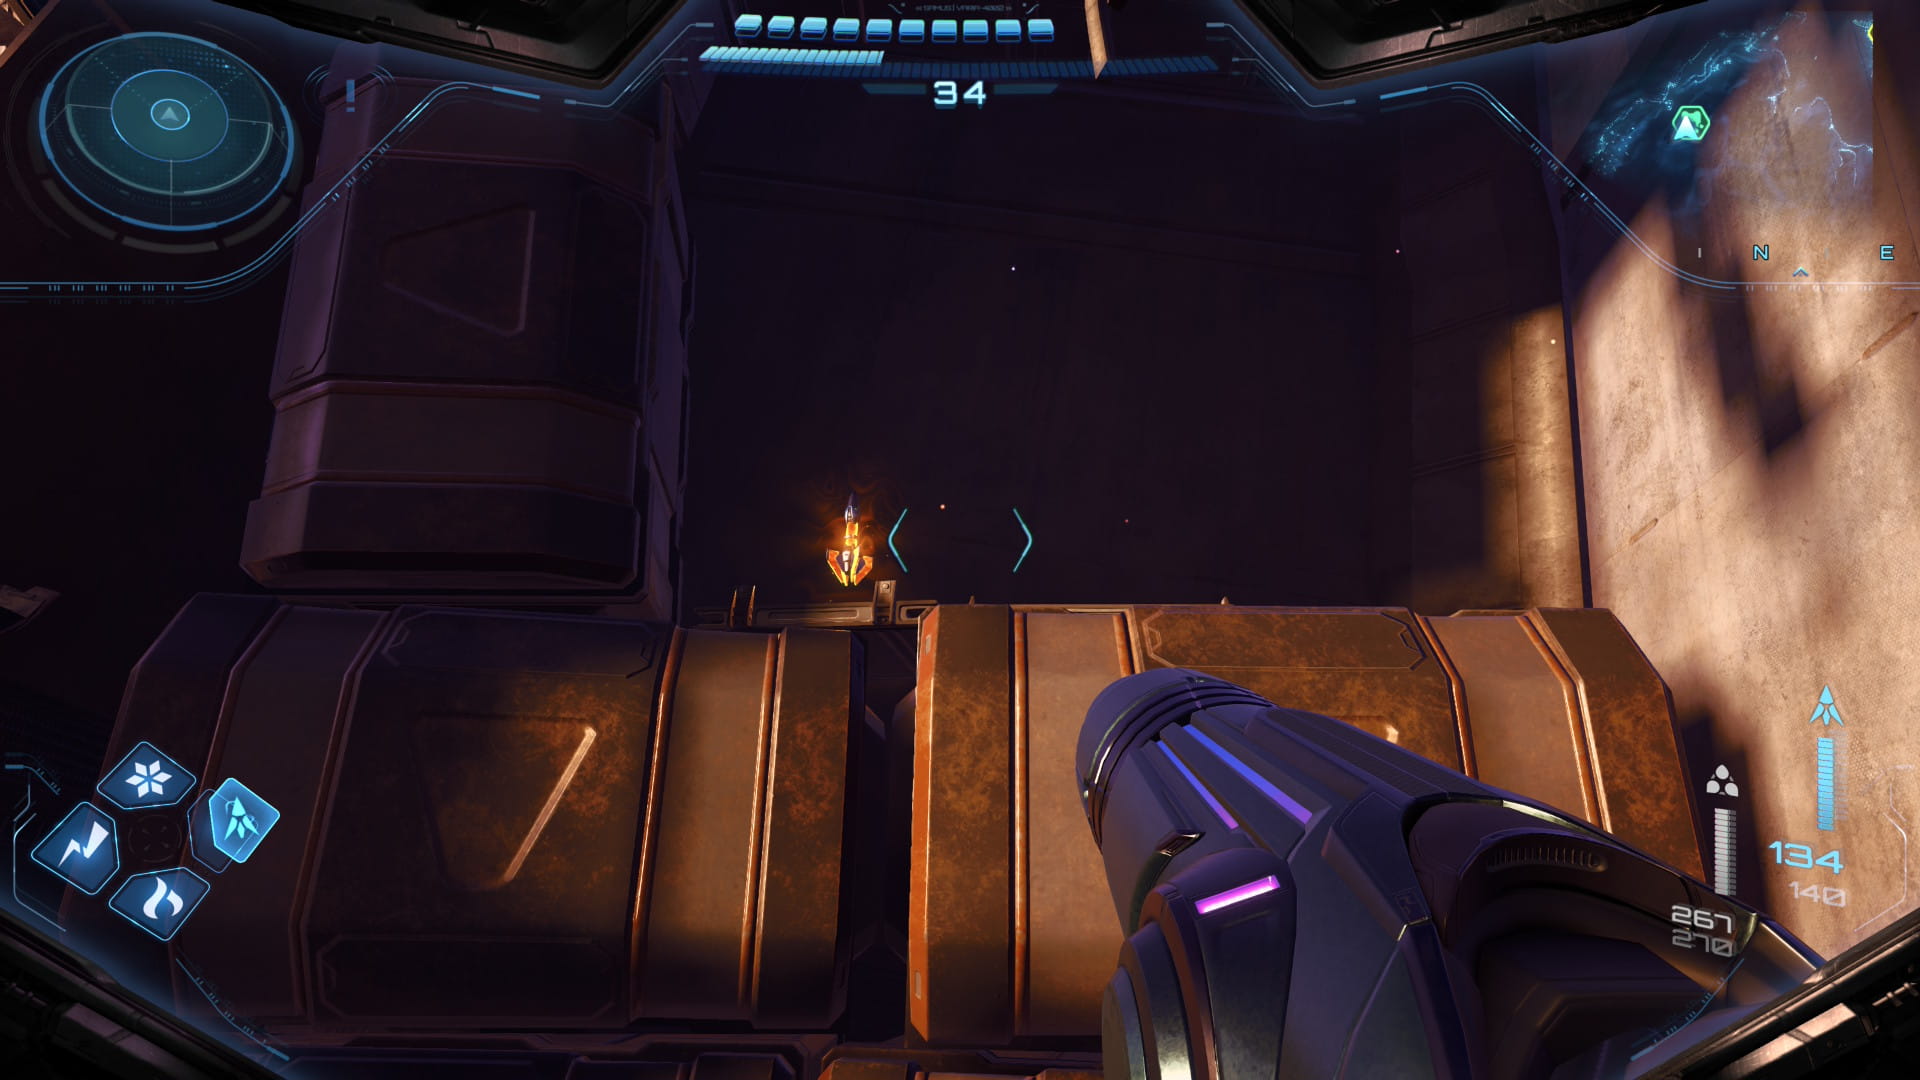
Drive to the northeast to find a building. Enter it and destroy the crates to find Missile Expansion #27.
Missile Expansion #28
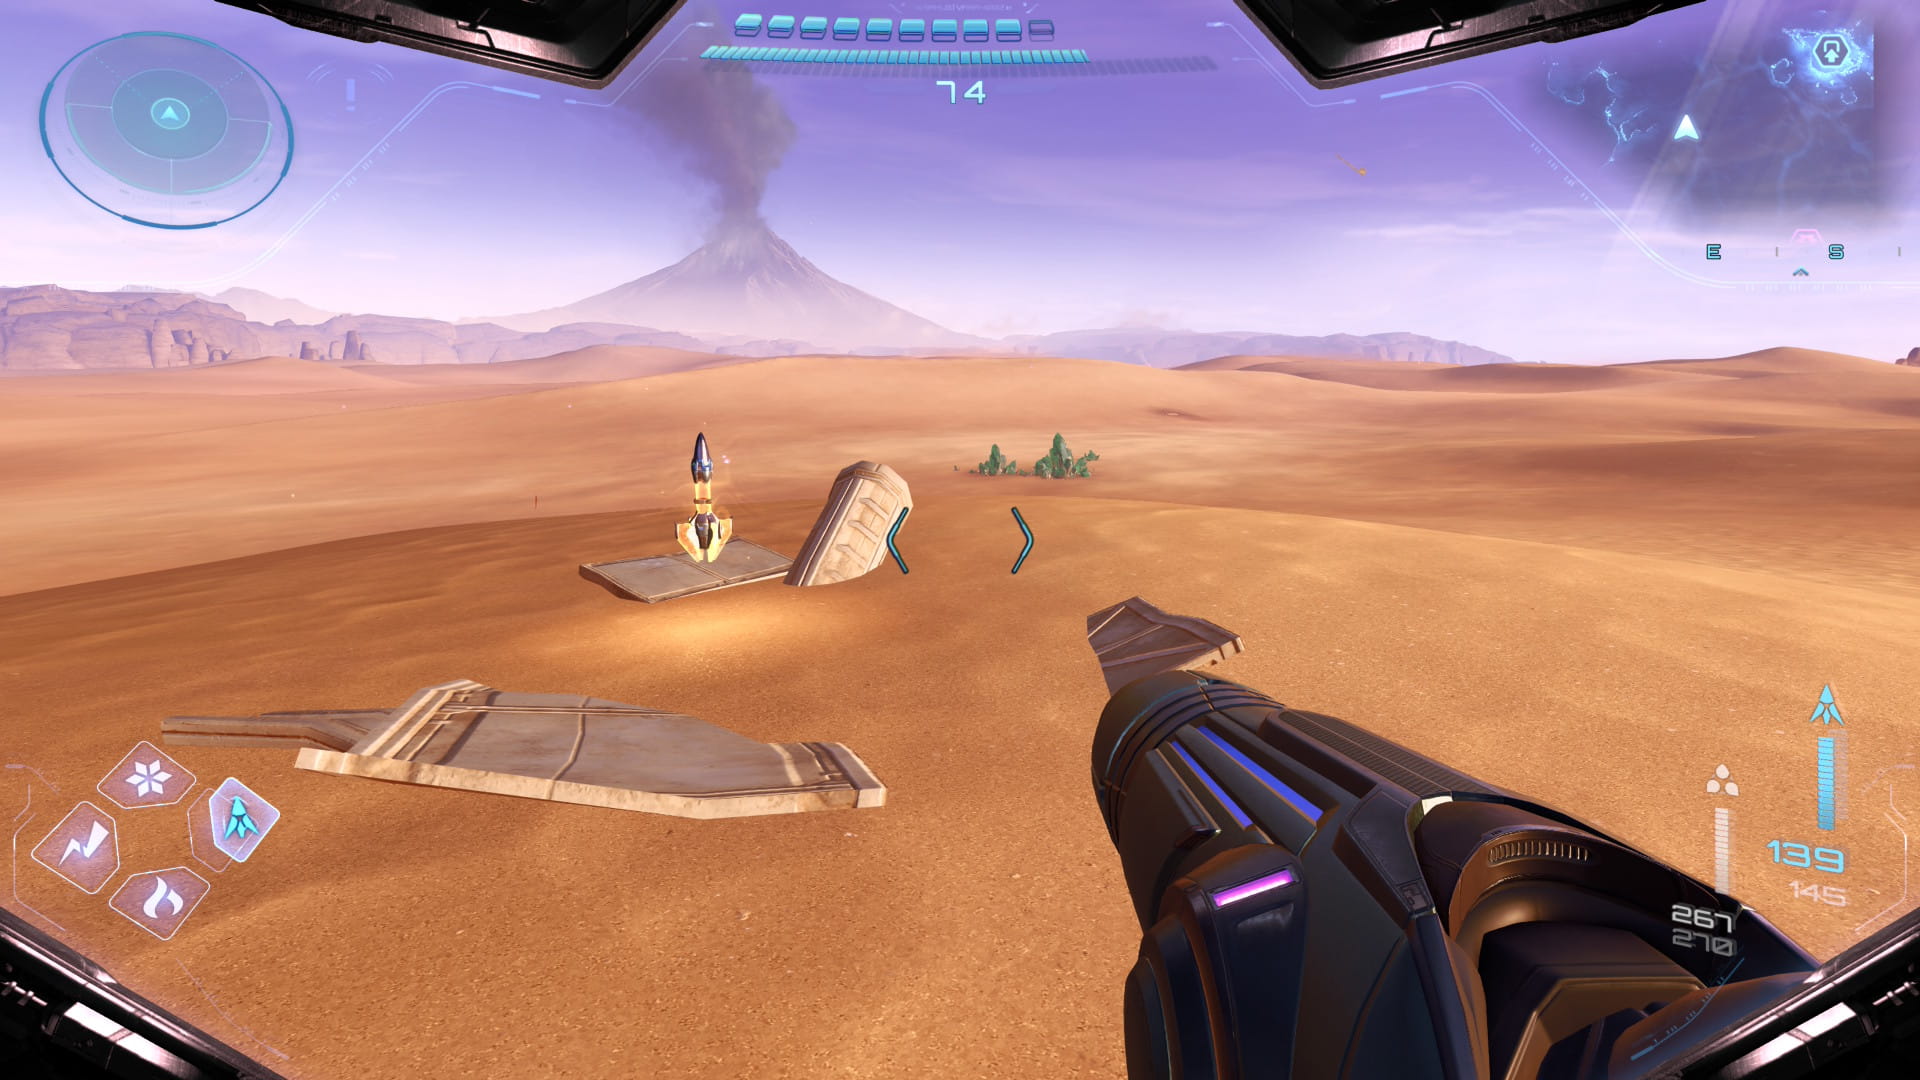
Drive south (and a little bit east) to find debris in the sand. Use the lasso to get Missile Expansion #28.
Shot Expansion #23
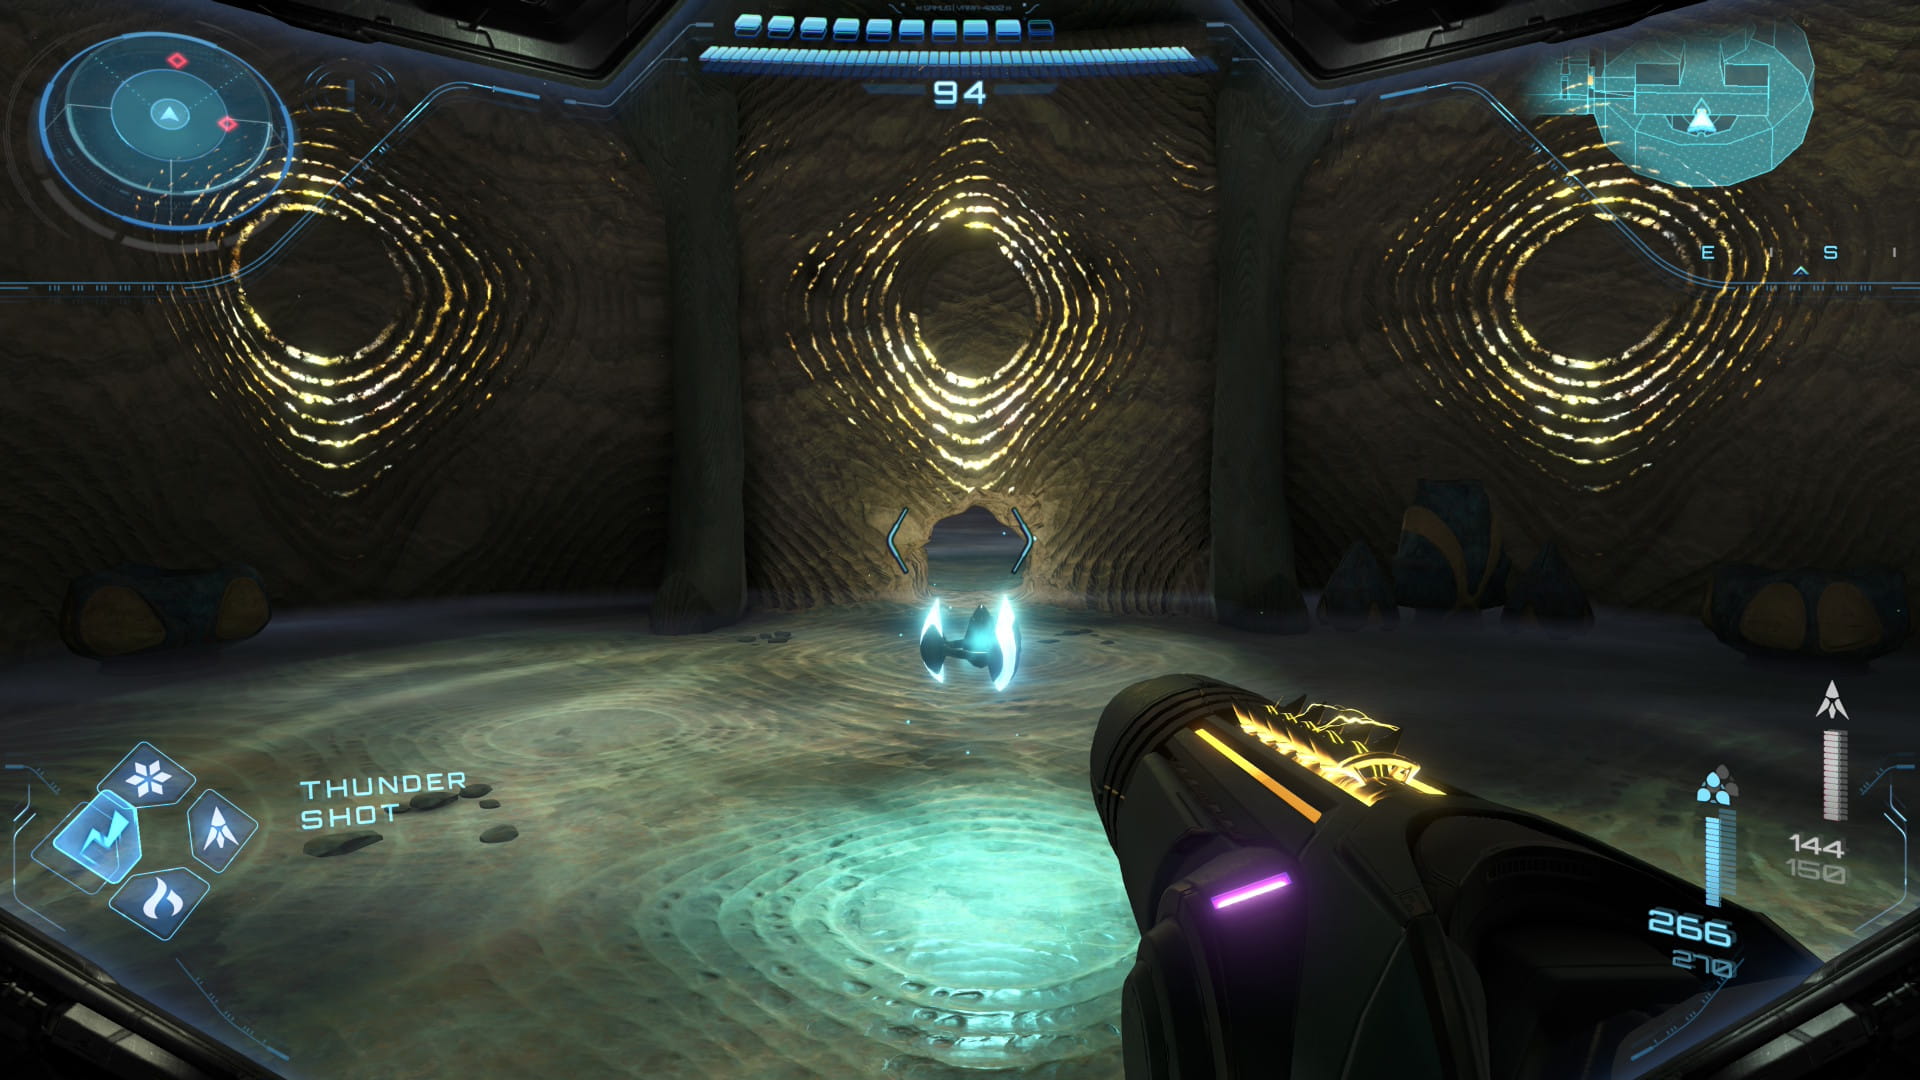
Head east to find a Lamorn statue with a thunder lock. Take the elevator downward and head through the door on the left. Continue down the stairs and through the next door. Destroy the green crystals here. Enter the small space in the central structure to get Shot Expansion #23.
Charged Thunder Shot
Scans
| Sand Crawler |
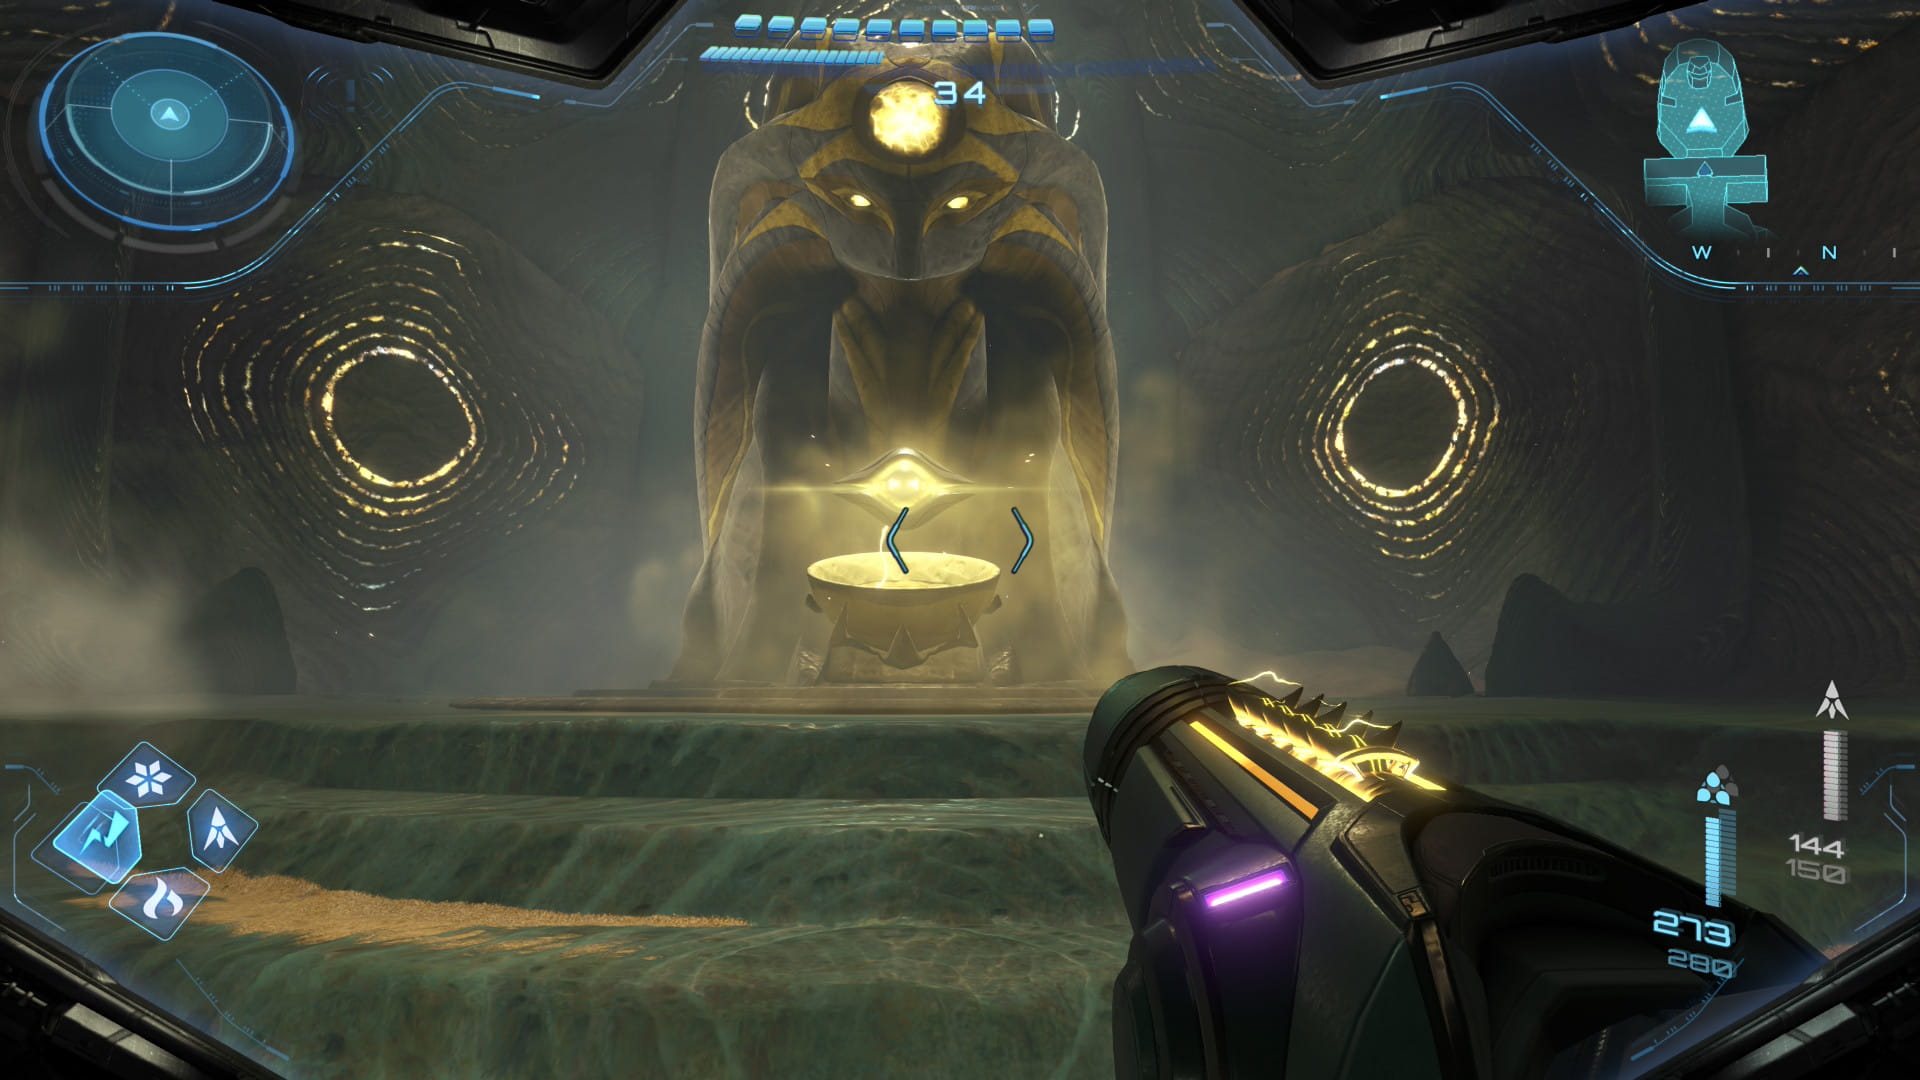
Scan the Sand Crawlers on the wall. Then head to the upper level of this room. Use the spinner to transfer a mote to the ceiling. Follow the tracks upward and then go through the next door to get the Charged Thunder Shot. Then return to the surface.
Shot Expansion #24
Head north to the mine. Swing across the grapple points below the bridge to get Shot Expansion #24.
Missile Expansion #29
Scans
| Winged Lizard |
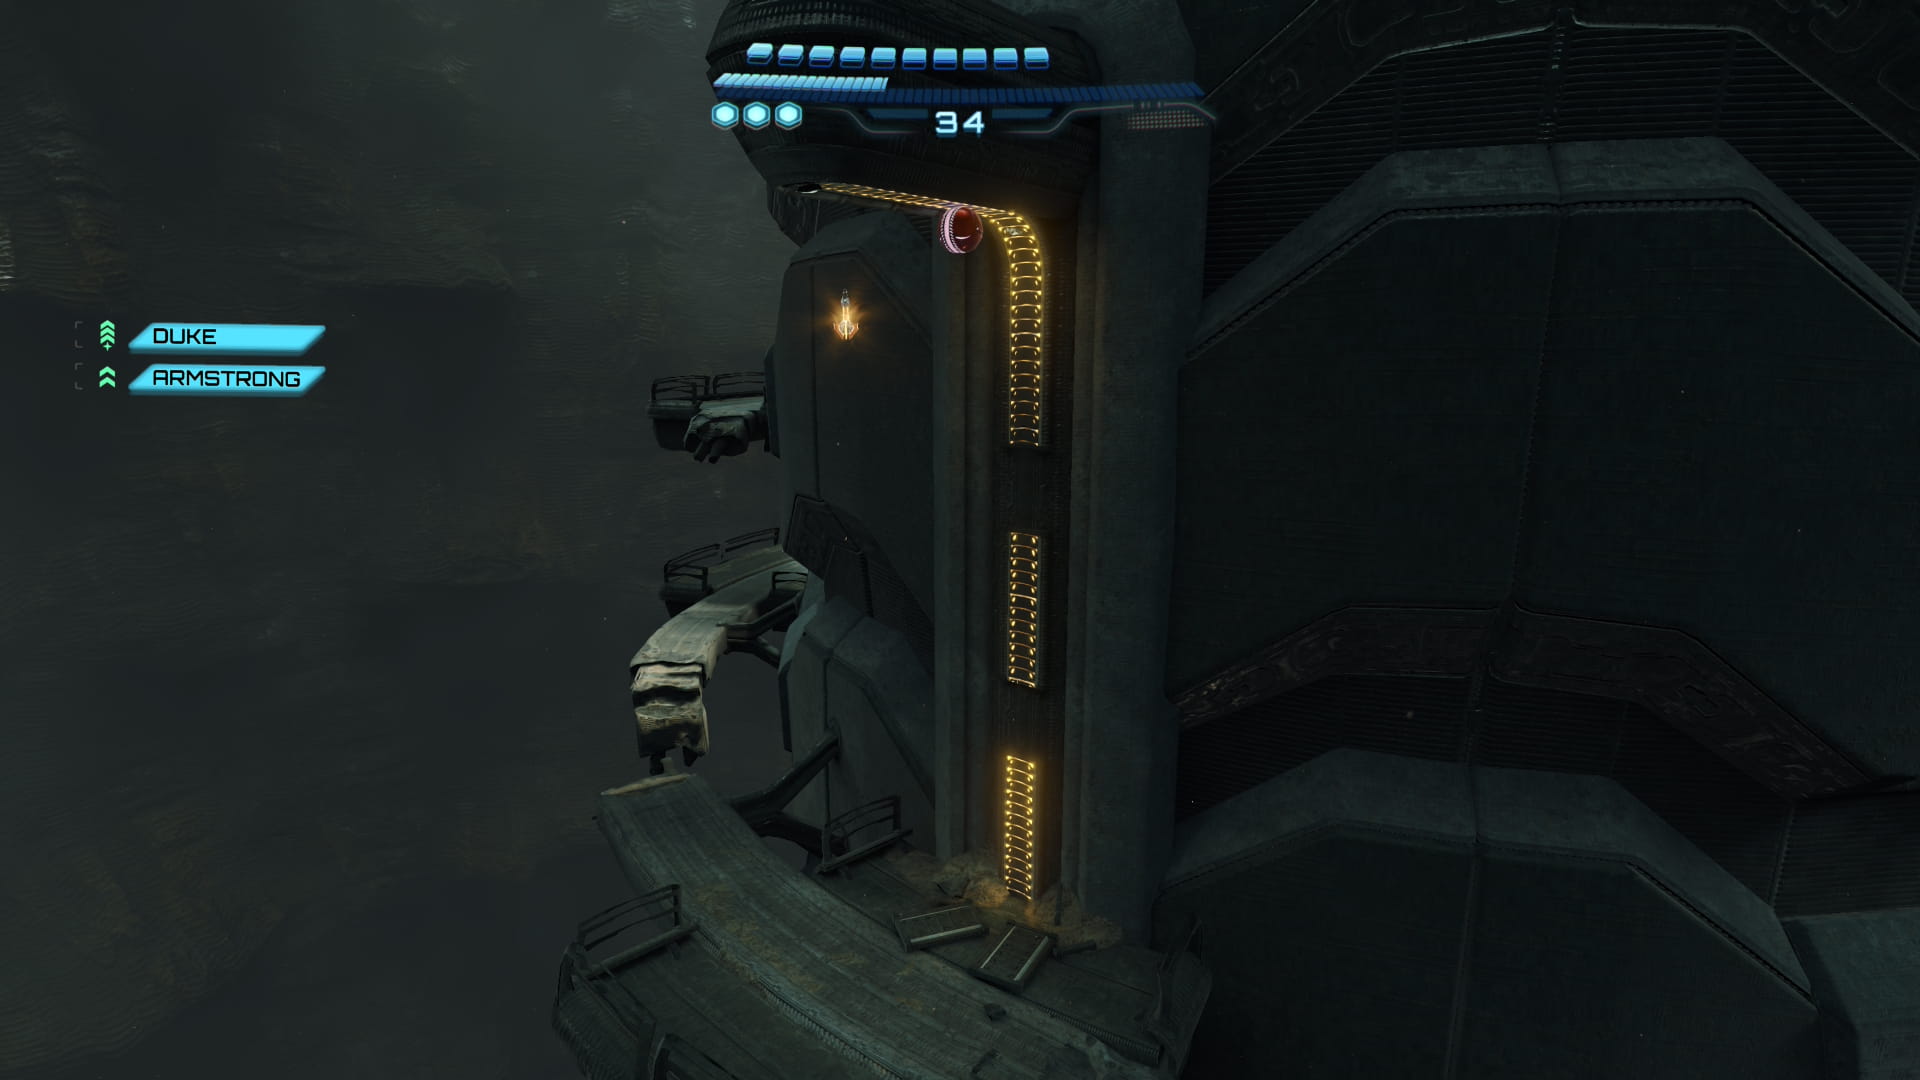
Approach the bridge to start a cutscene. Then cross the ball track and interact with the consoles to go down the elevator. After the elevator stops, open the door to enter the Great Mines. Head right and scan the Winged Lizards. Use the ball track to go up to the upper level. Follow the platforms all the way around the pillar to grab Missile Expansion #29. Use the ball tracks to cross the room. Then use the spinner to create a bridge. Open the door with a thunder shot.
Shot Expansion #25
Scans
| Spin Dartwing |
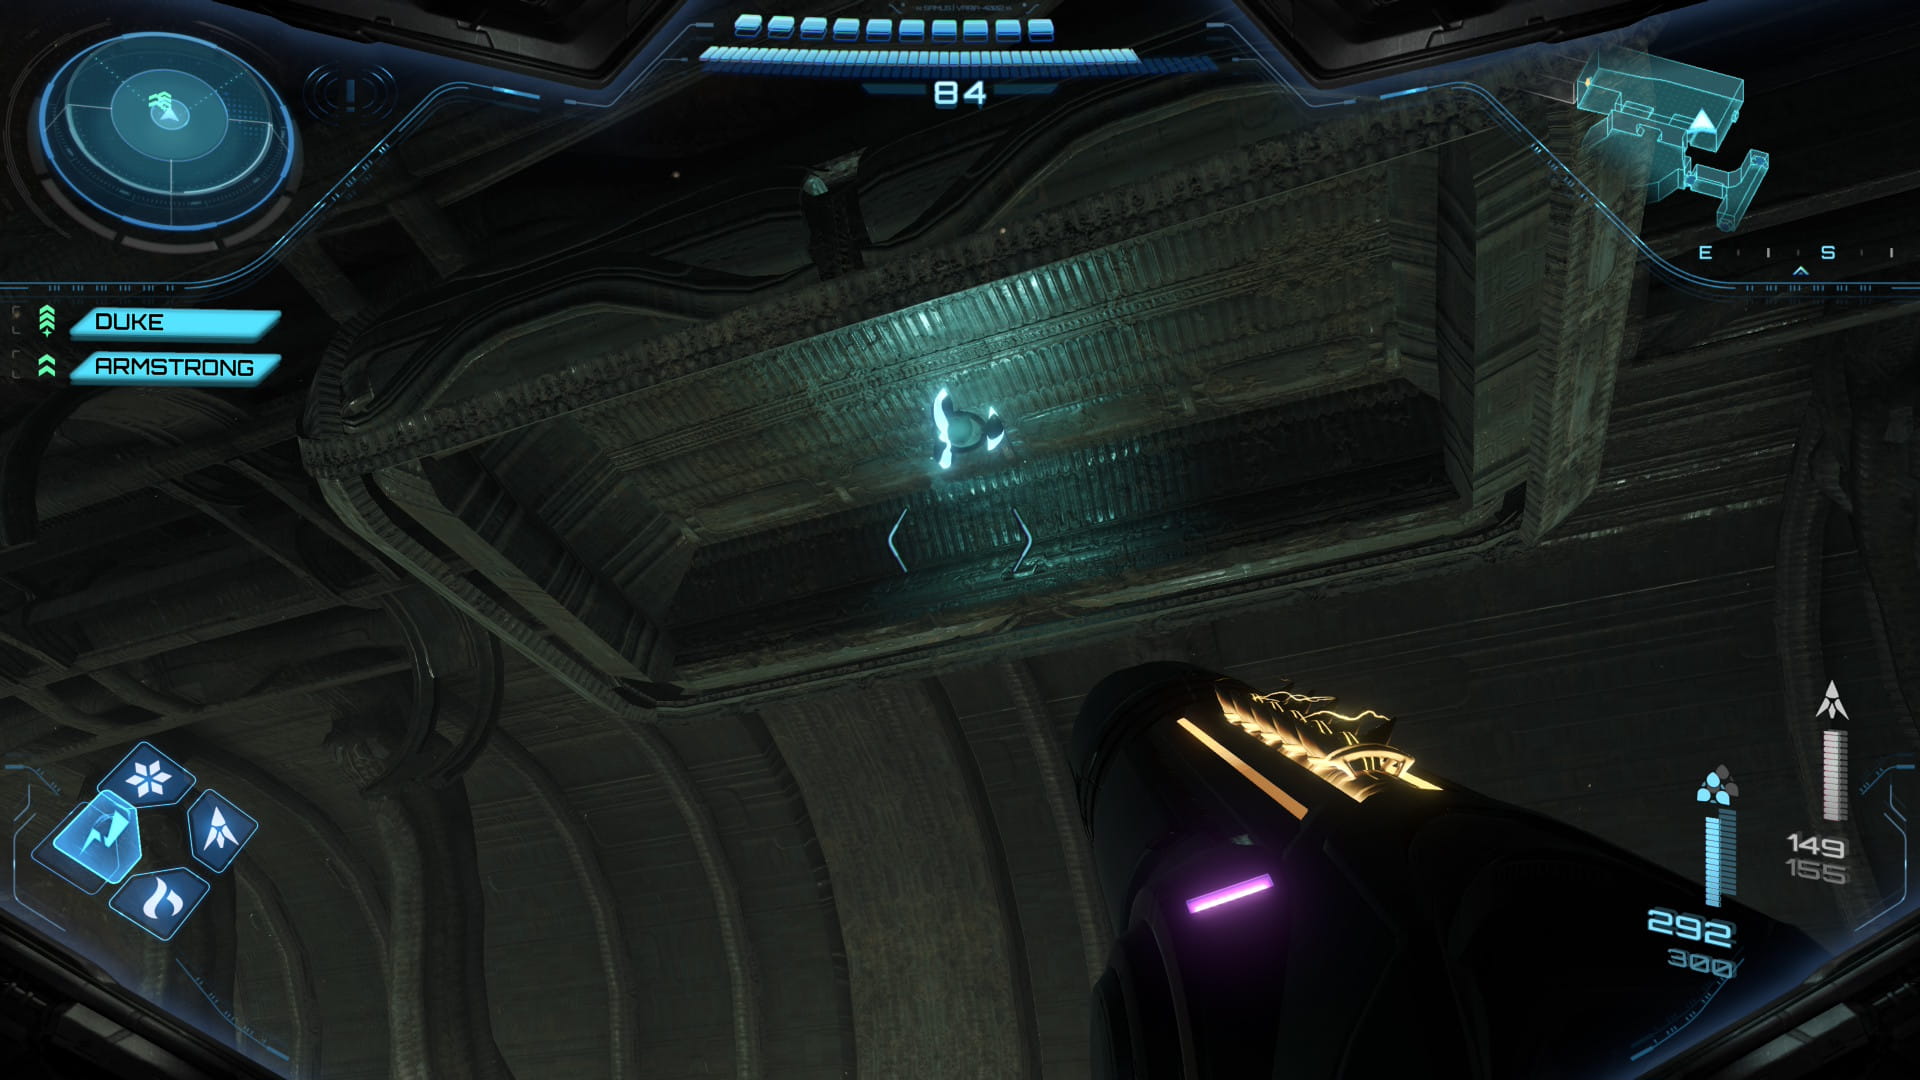
Take the left door, then the door on the right. Scan the console to get the area map. Use the bomb slot to open the gate. Then scan the Spin Dartwing. Use the lasso on a latch in the ceiling to find Shot Expansion #25.
Scans
| Maul Griever |
| Griever Bomber |
Head east 2 rooms. Interact with the terminal to the left. Use the spinner to start a cutscene. Jump onto the platforms and use the lasso to move the drill. Scan the Maul Grievers and Griever Bombers that appear. After defeating enough of the Grievers, drop into the hole.
Scans
| Metareetta |
Proceed to the next room. Scan the Metareetta on the wall. Then continue to the next room.
Scans
| Pop Crawler |
Use a missile to continue forward. After defeating the Grievers, proceed to the next room. Scan the Pop Crawler that jumps out of the ground. Use fire shots to burn the vines blocking the way. Then head to the next room.
Scans
| Snare Weed |
There are 3 targets that need to be shot in this room. One can be shot normally along the north wall. The ones in the east and west walls need to be shot with control beams. Then shoot the central plant with fire shots to drop down. Scan the Snare Weed down here. Proceed to the next room.
Scans
| Cave Shren |
Use the lasso to progress forward until a cutscene plays. Scan the Cave Shren and continue to the next room.
Missile Expansion #30
Scans
| Cave Roach |
| Crystal Crawler |
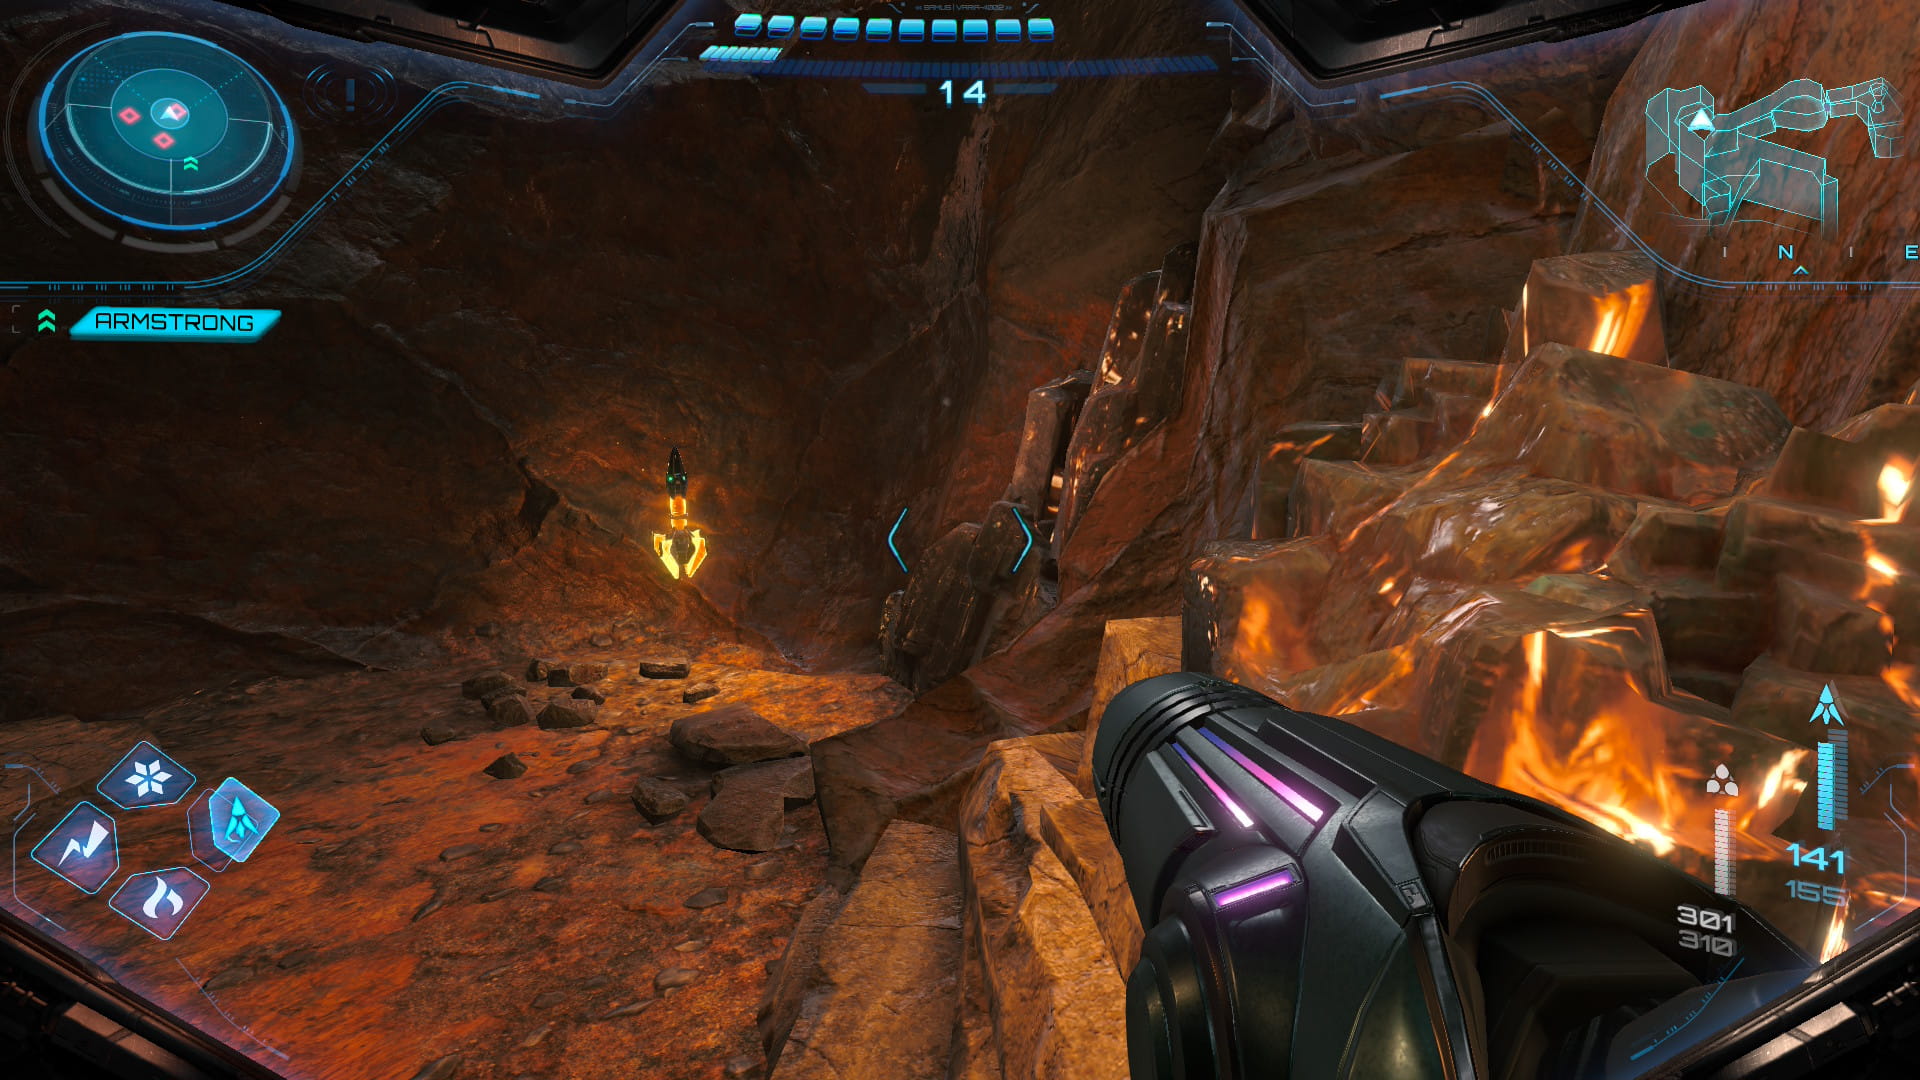
Scan the Cave Roach to the right. Use missiles to clear the path. Jump across the gap. Turn around and scan the Crystal Crawlers to the northwest. Use the grapple beam to swing across and get Missile Expansion #30. Then go through the west door.
Shot Expansion #26
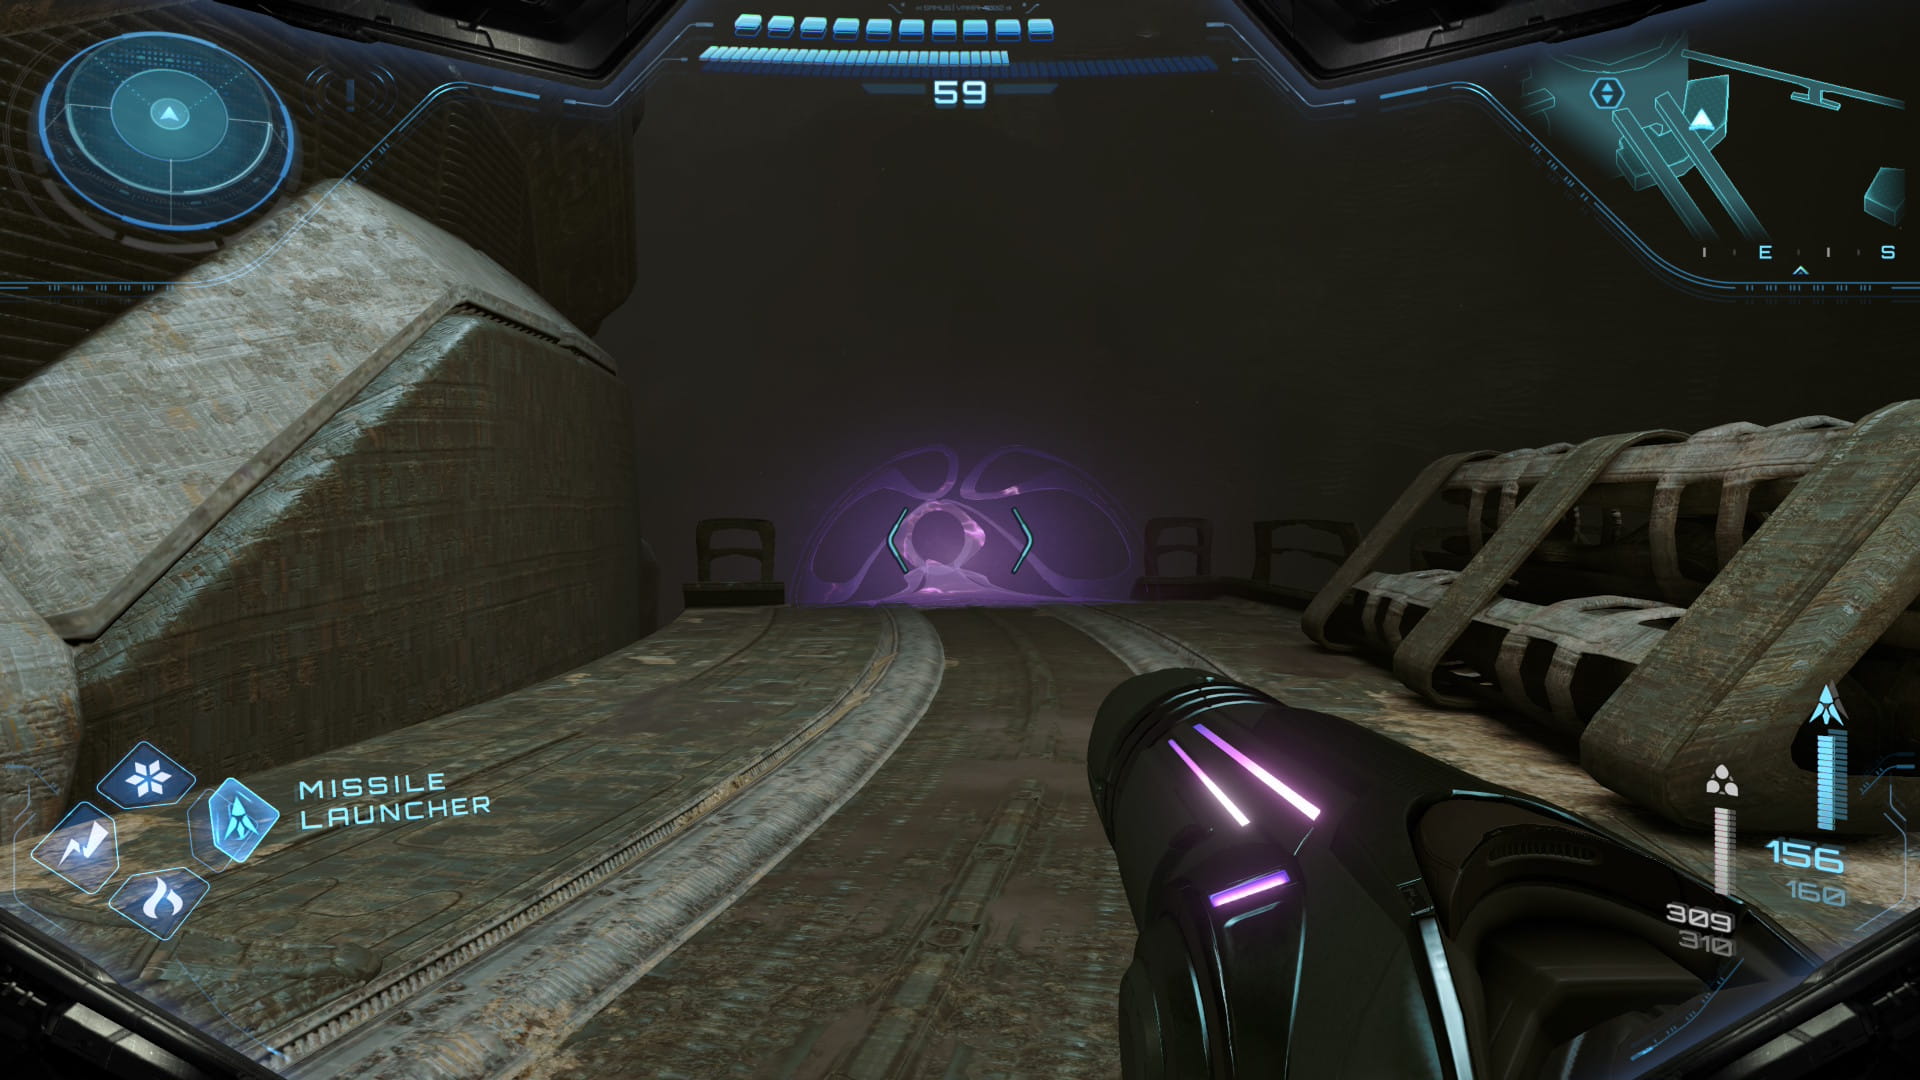
Proceed to the northwest corner of the room. Shoot the wall near the locked door with a fire shot to reveal a bomb slot. Use a psychic bomb to get through the door. Scan the console to start a cutscene. After defeating all the Grievers, proceed to the next room. Continue forward through 2 more doors. Use a bomb to go through the small space. Proceed through the door. Jump across the platforms. To the left is a psychic boost rail. Follow it to get Shot Expansion #26.
Energy Tank #11
Scans
| Tether Node |
Scan the Tether Nodes and use them to access the spinner on the west side of the room. Create the psychic platforms that are next to the bridge that's created by the spinner. Jump across the platforms to grab Energy Tank #11.
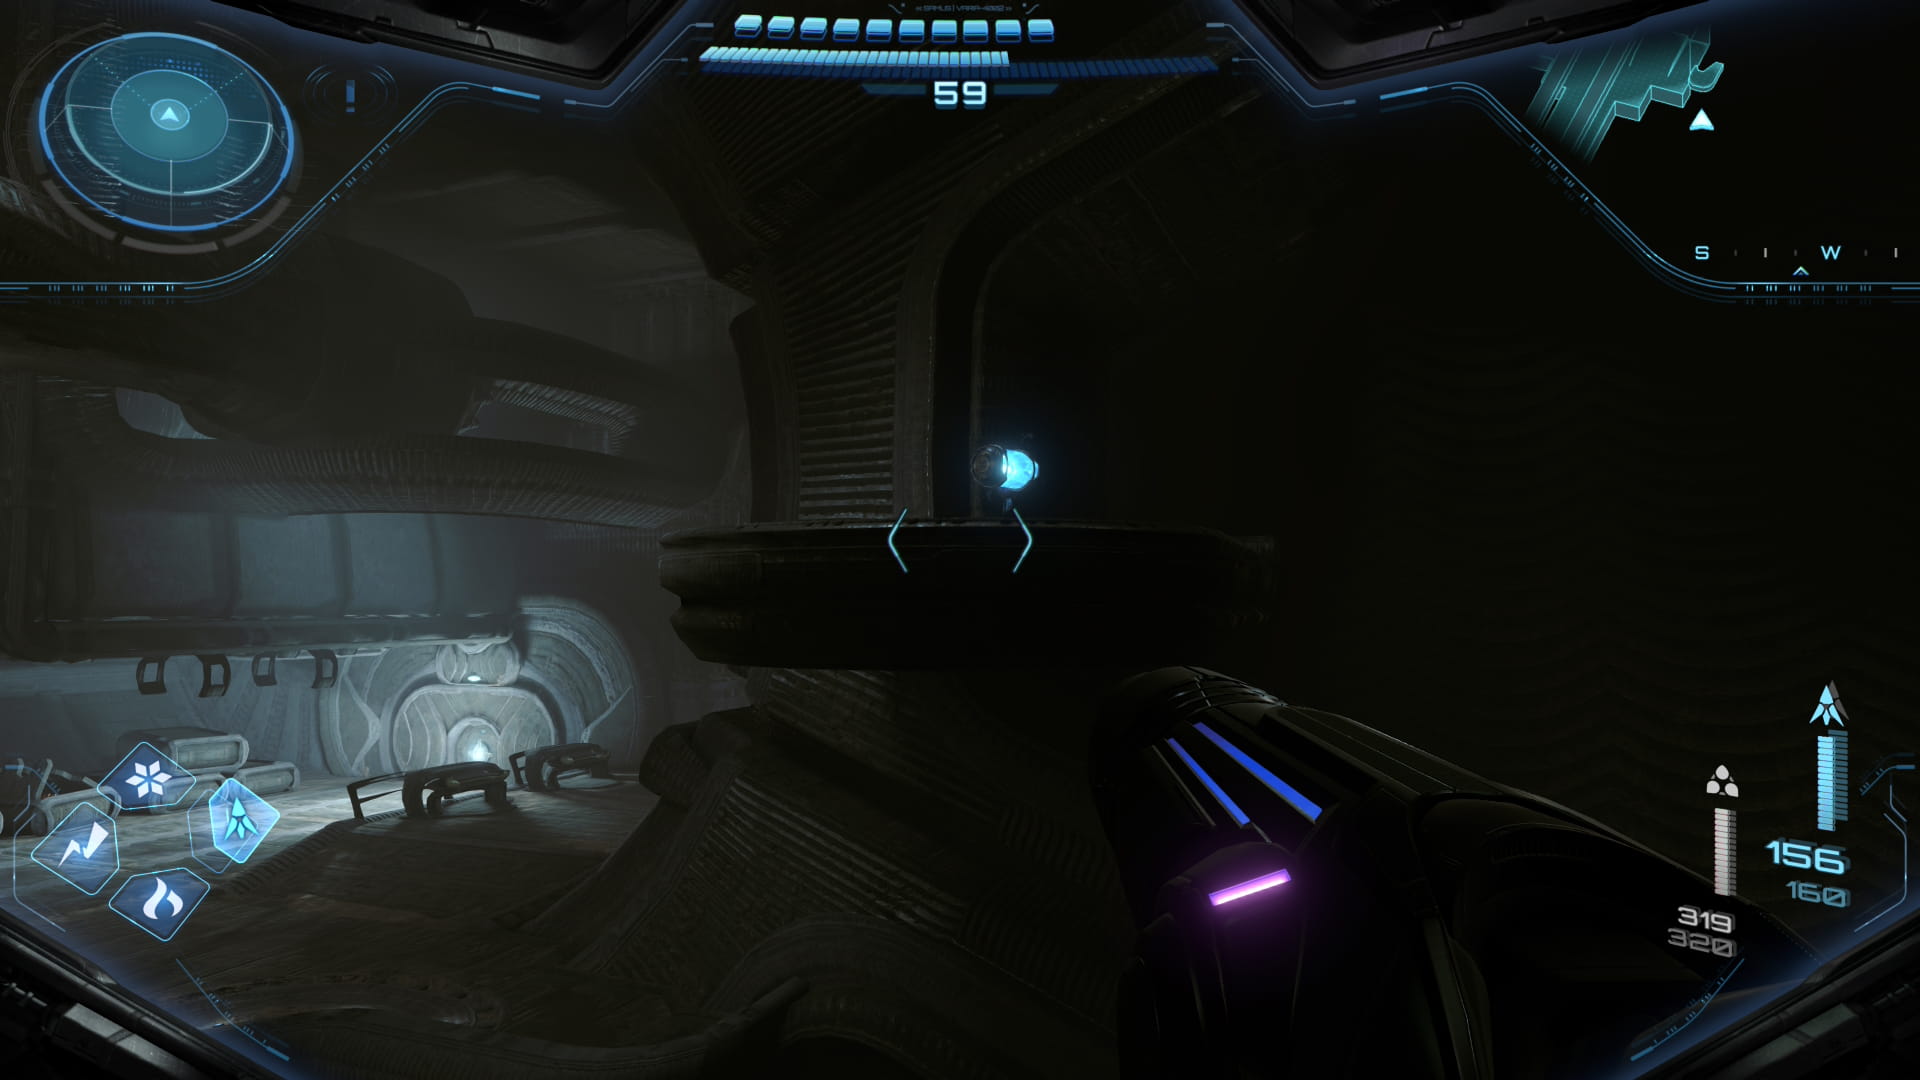
Scans
| Maul Griever Brute (SCAN NOW) |
Head west 2 rooms to encounter a Maul Griever Brute. After defeating it (along with the other Grievers), scan the blockage in the northwest wall to proceed to the next room.
Super Missile
Continue to the next room. Use the ball tracks along the upper perimeter of the room to access the spinners in the central structure. After defeating the Grievers, scan the structure to break it with a missile. This will give you the Super Missile.
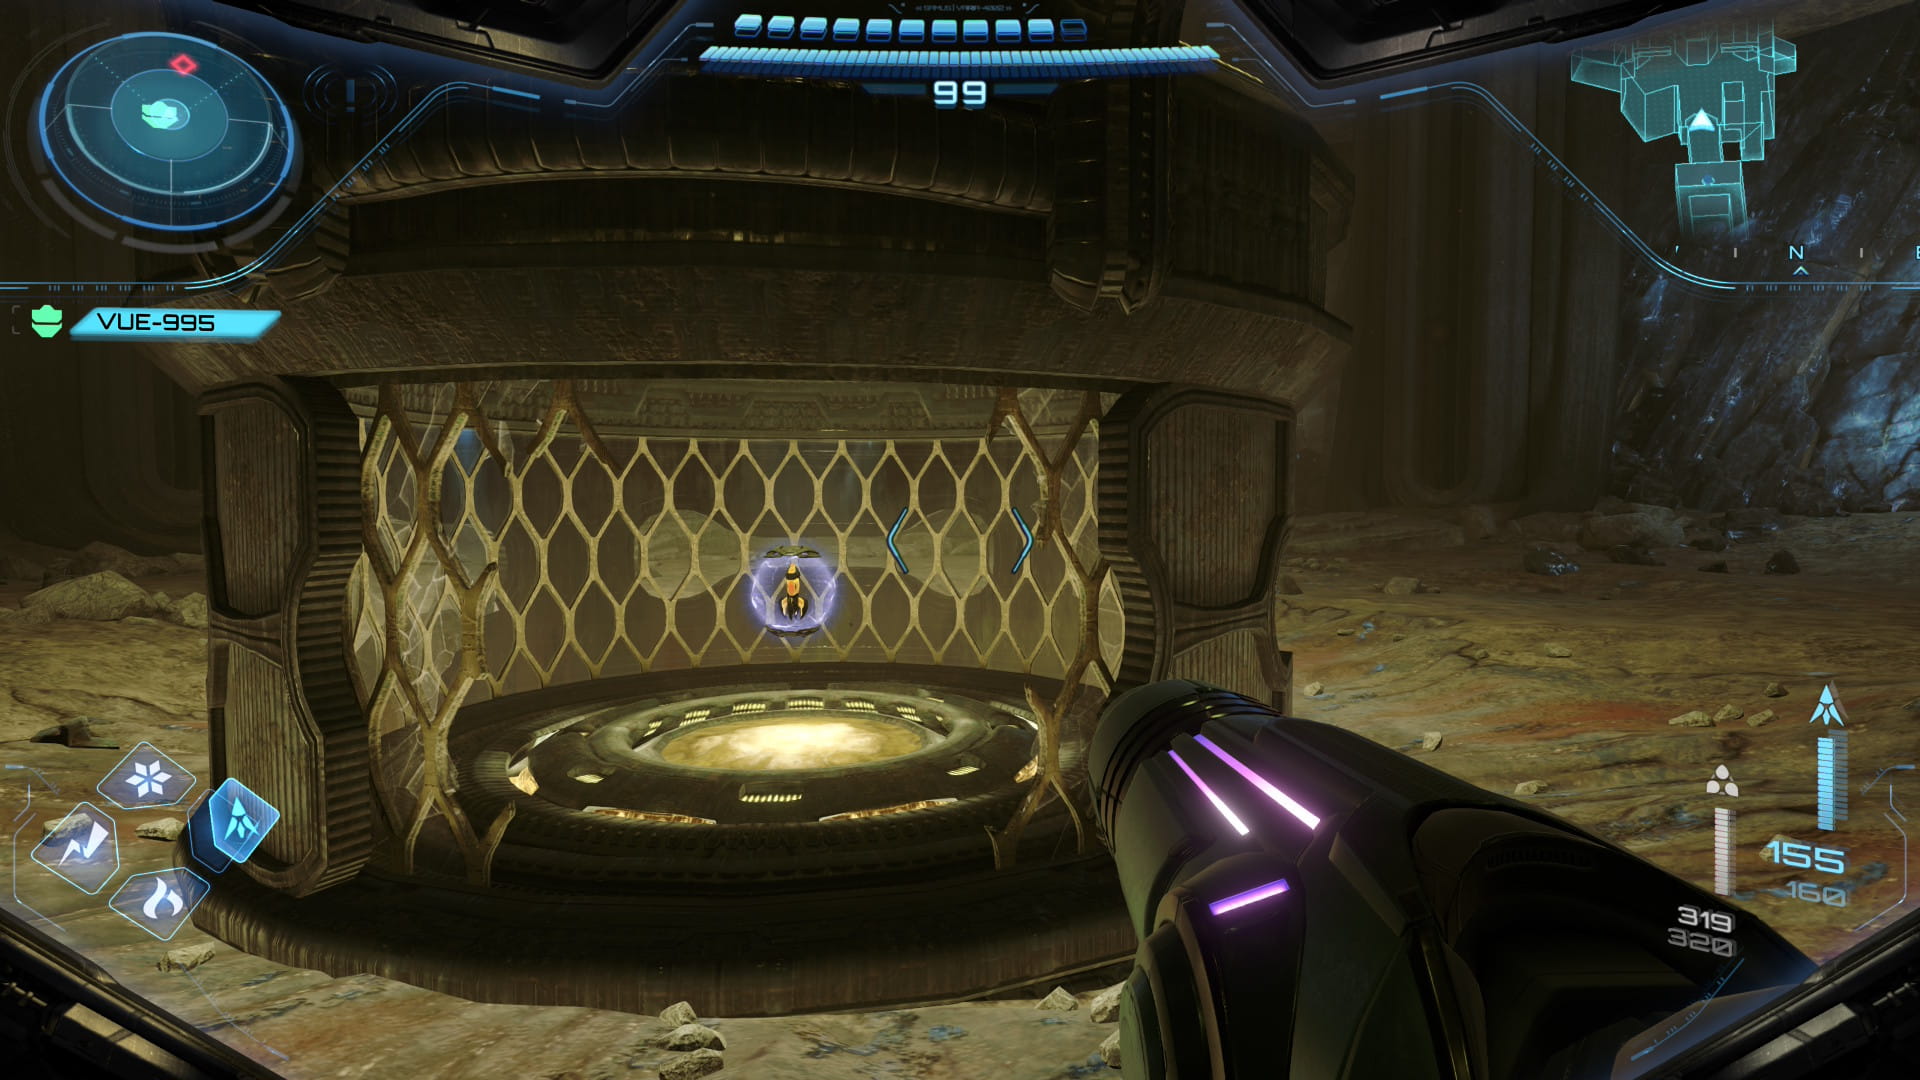
Missile Expansion #31
Break the northeast wall with a super missile to find Missile Expansion #31.
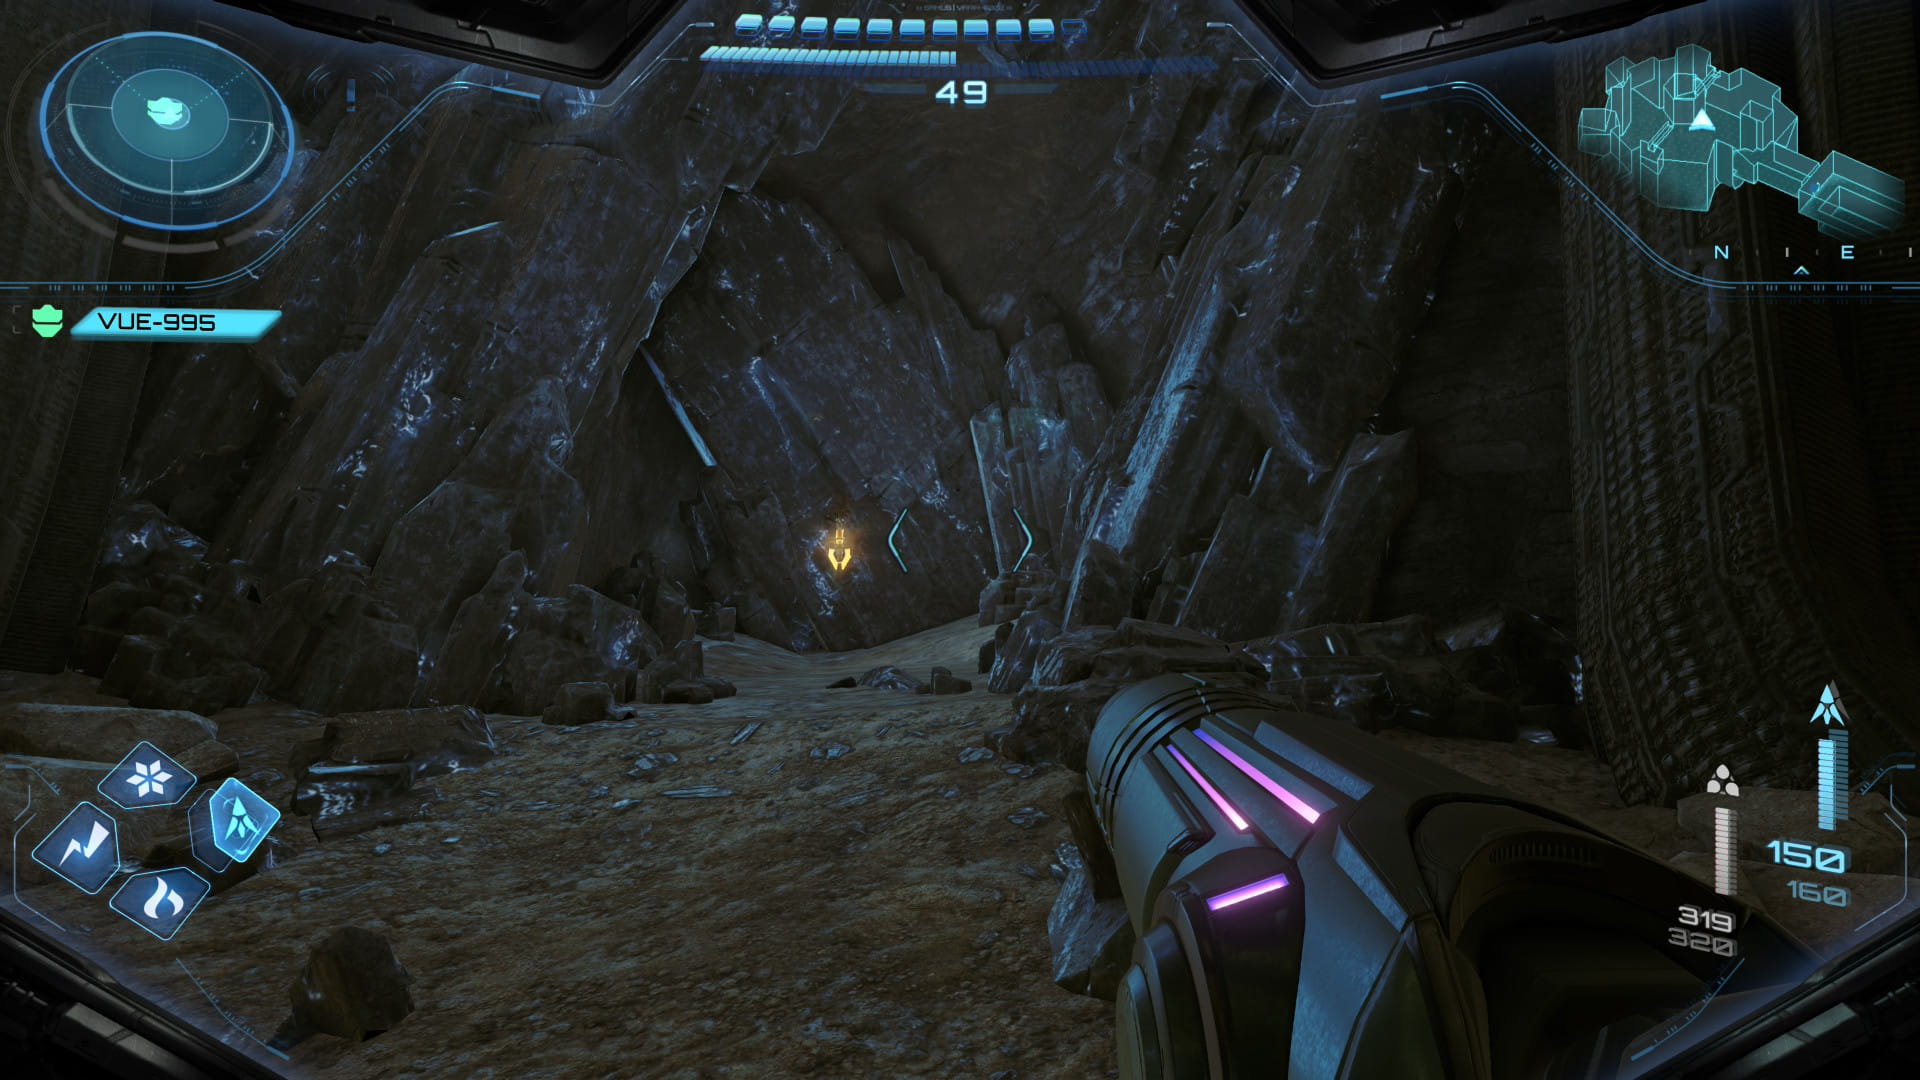
Shot Expansion #27
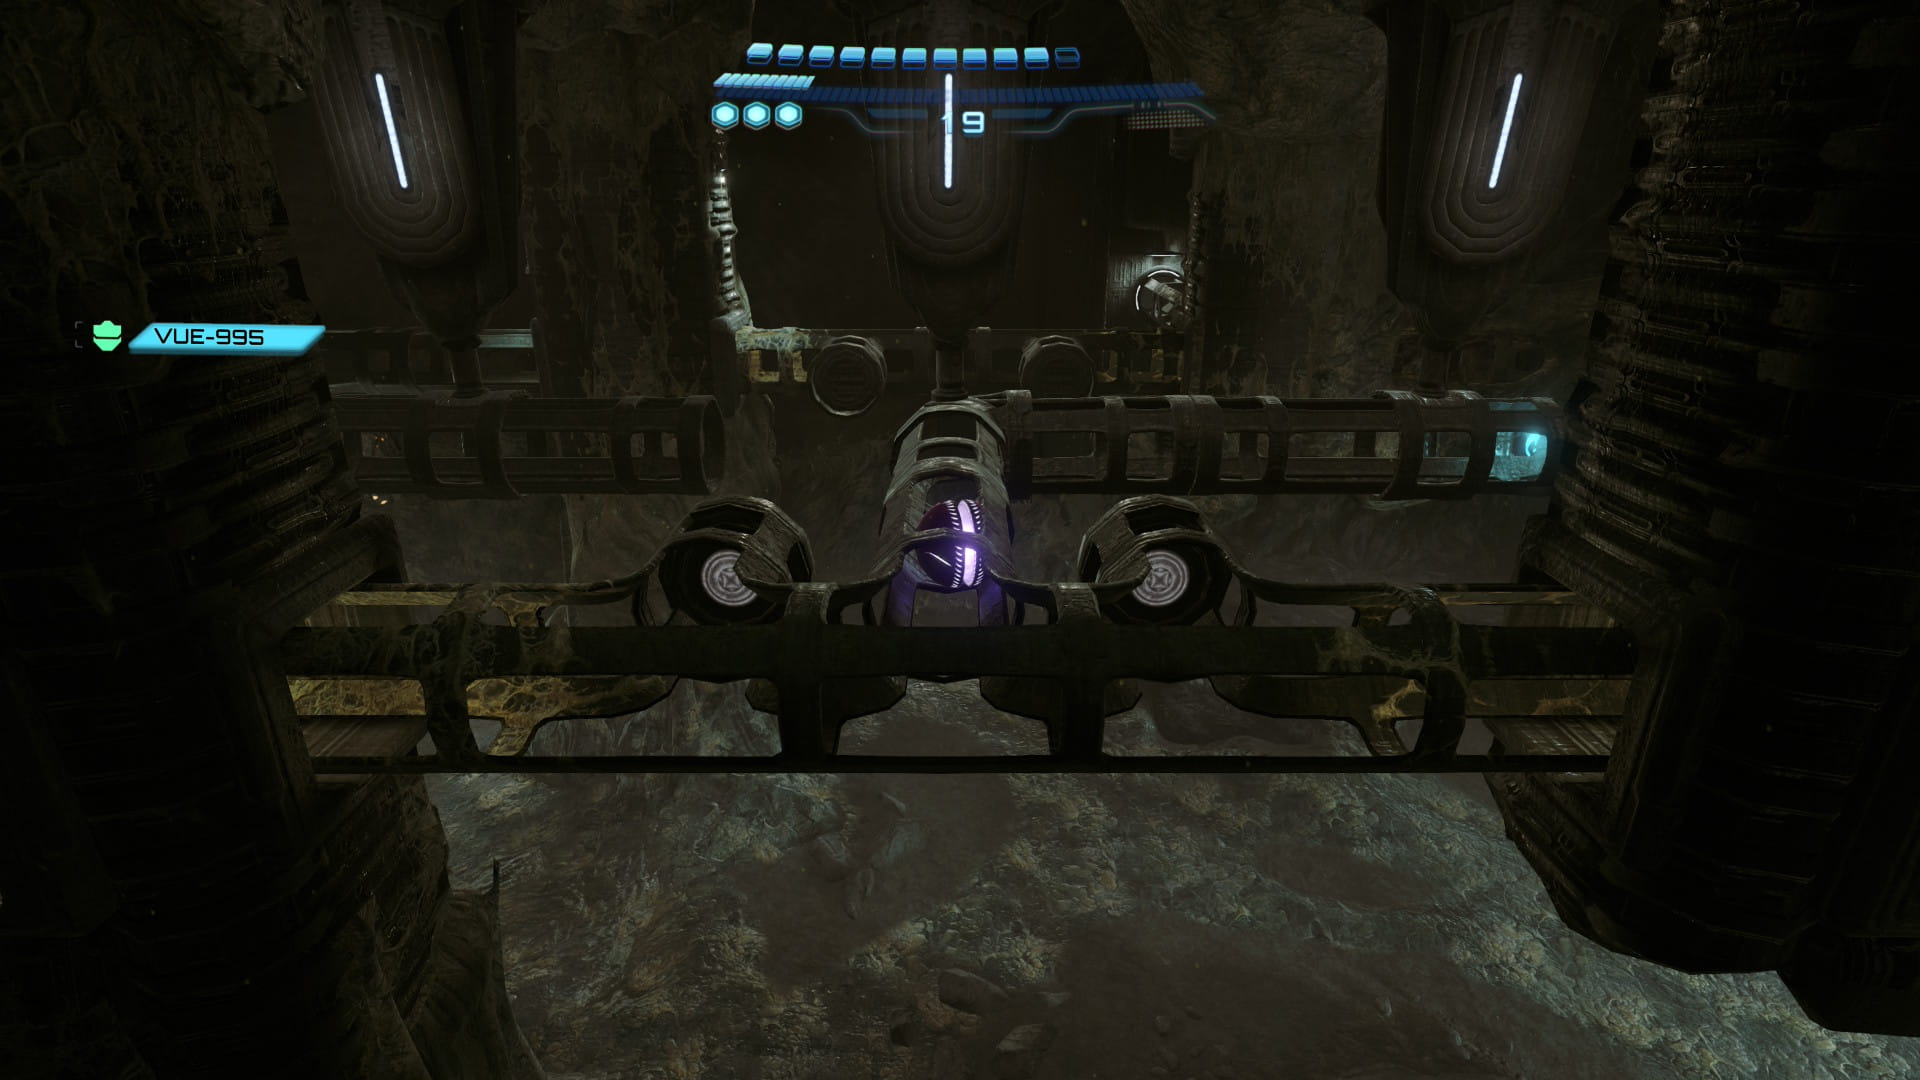
Head south 2 rooms. There is a hatch near the east door. Destroy it with a super missile. Use the lasso to enter the small space. Use the bomb slots to rotate the tunnels, which will grant you access to Shot Expansion #27.
Shot Expansion #28
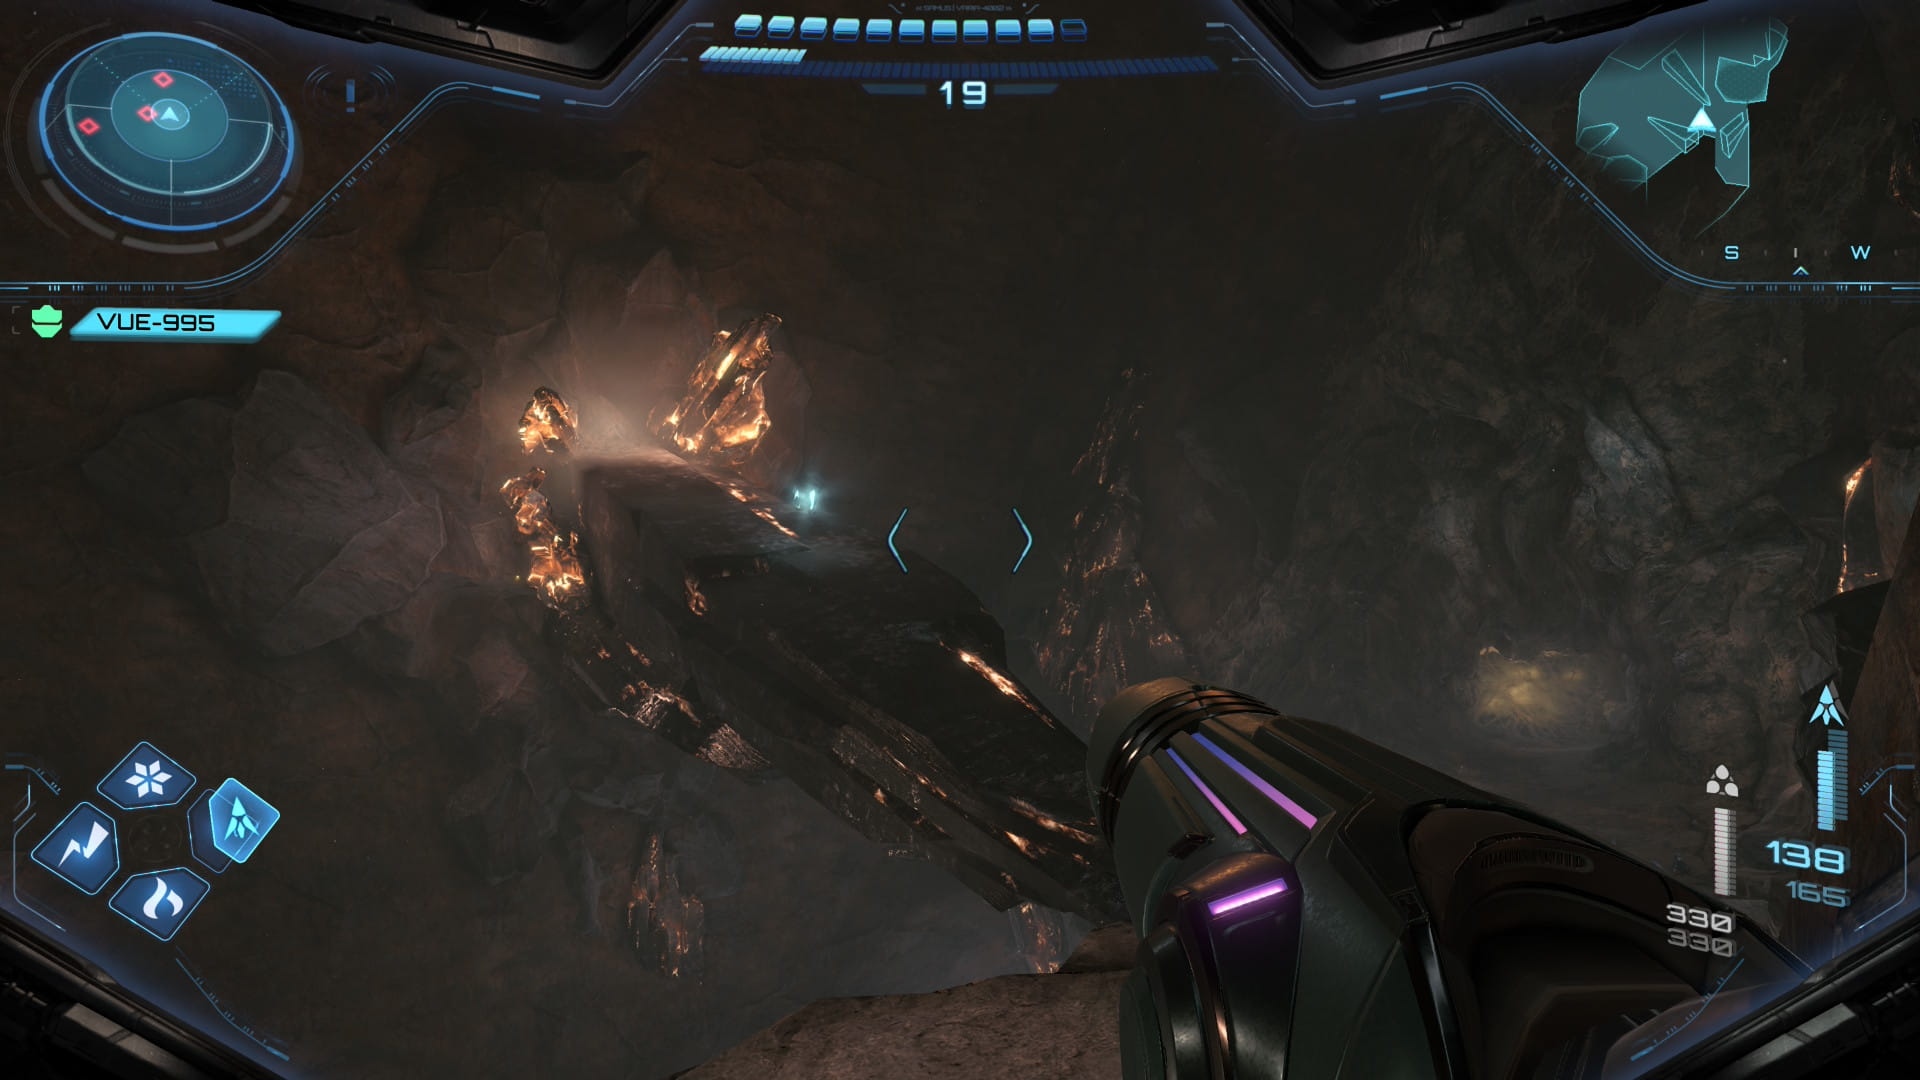
Continue west 2 rooms. Swing across the room. Shoot the platform in the south wall with a super missile to knock it over. Then swing back across and use the Crystal Crawlers to climb to the upper level. Here you'll find Shot Expansion #28. Then scan the blockage in the west wall to go to the next room.
Scans
| Goura Ghaspore |
Proceed forward to drop down. Continue to the next room. Scan the Goura Ghaspore. Shoot its spore to defeat it. Then continue to the next room.
Shot Expansion #29
Go through the next 2 doors. Scan the blockage to start a cutscene. After defeating all the Grievers, head through the next door. Scan the blockages to proceed to the next room. After the cutscene, defeat all the Grievers to be thrown across the gap. Use the lasso to open the hatch, then go through the small space to the left. Go through the next door. Climb up the ball track to the right to find Shot Expansion #29.
Missile Expansion #32
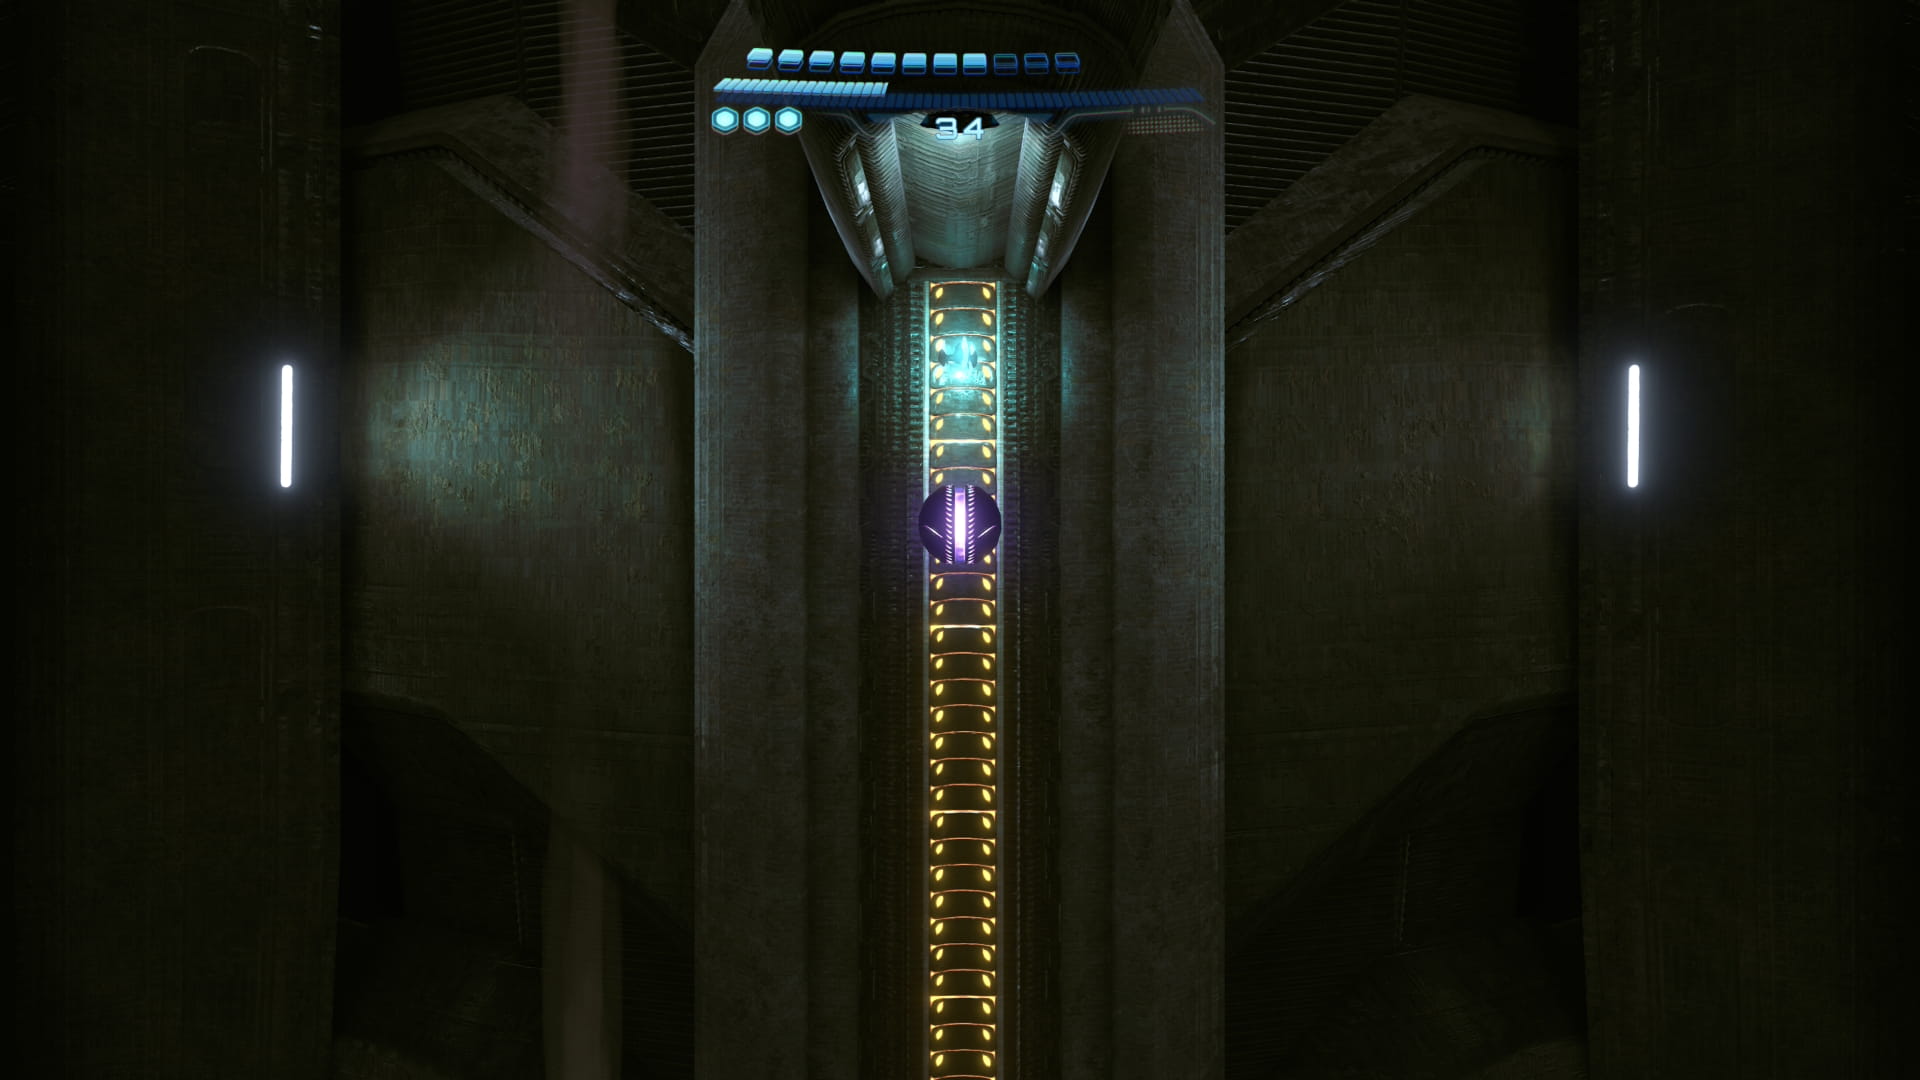
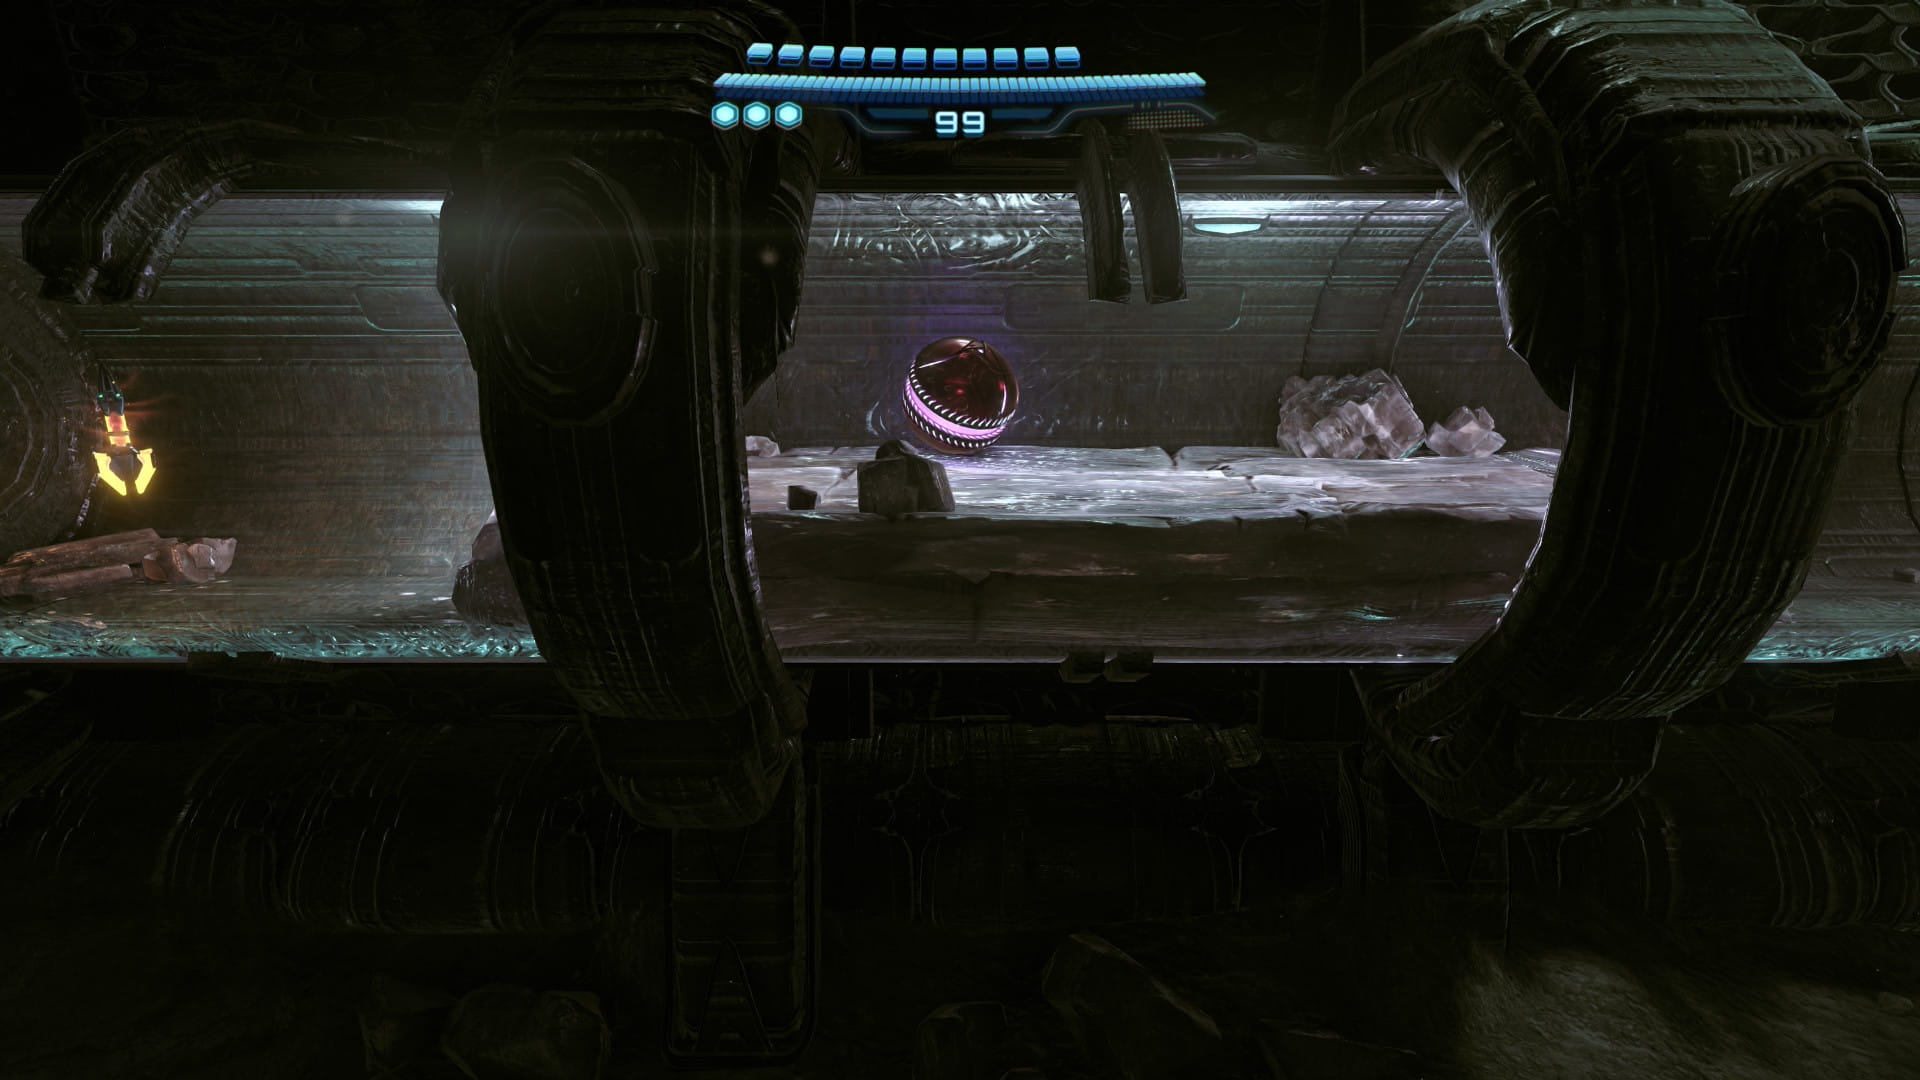
Go through the small space. Interact with the hatch to the right to open it. Then scan the scout bot to the left to get the item locations. Then go through the next door. Open the hatch to the right using the lasso. Enter the small space here to get Missile Expansion #32.
Psychic Power Bomb
Scans
| Omega Griever (SCAN NOW) |
Head east 2 rooms to encounter the Omega Griever, who needs to be scanned. It will start on the wall. Shoot its legs to stun it. Then shoot the red spot on its chest to deal damage. It will drop to the ground. Once again, shoot its legs to stun it. Once its stunned, use a bomb under its chest to expose the weak point. Hit the red spot with a super missile to deal damage. After defeating him, you'll get the Psychic Power Bomb.