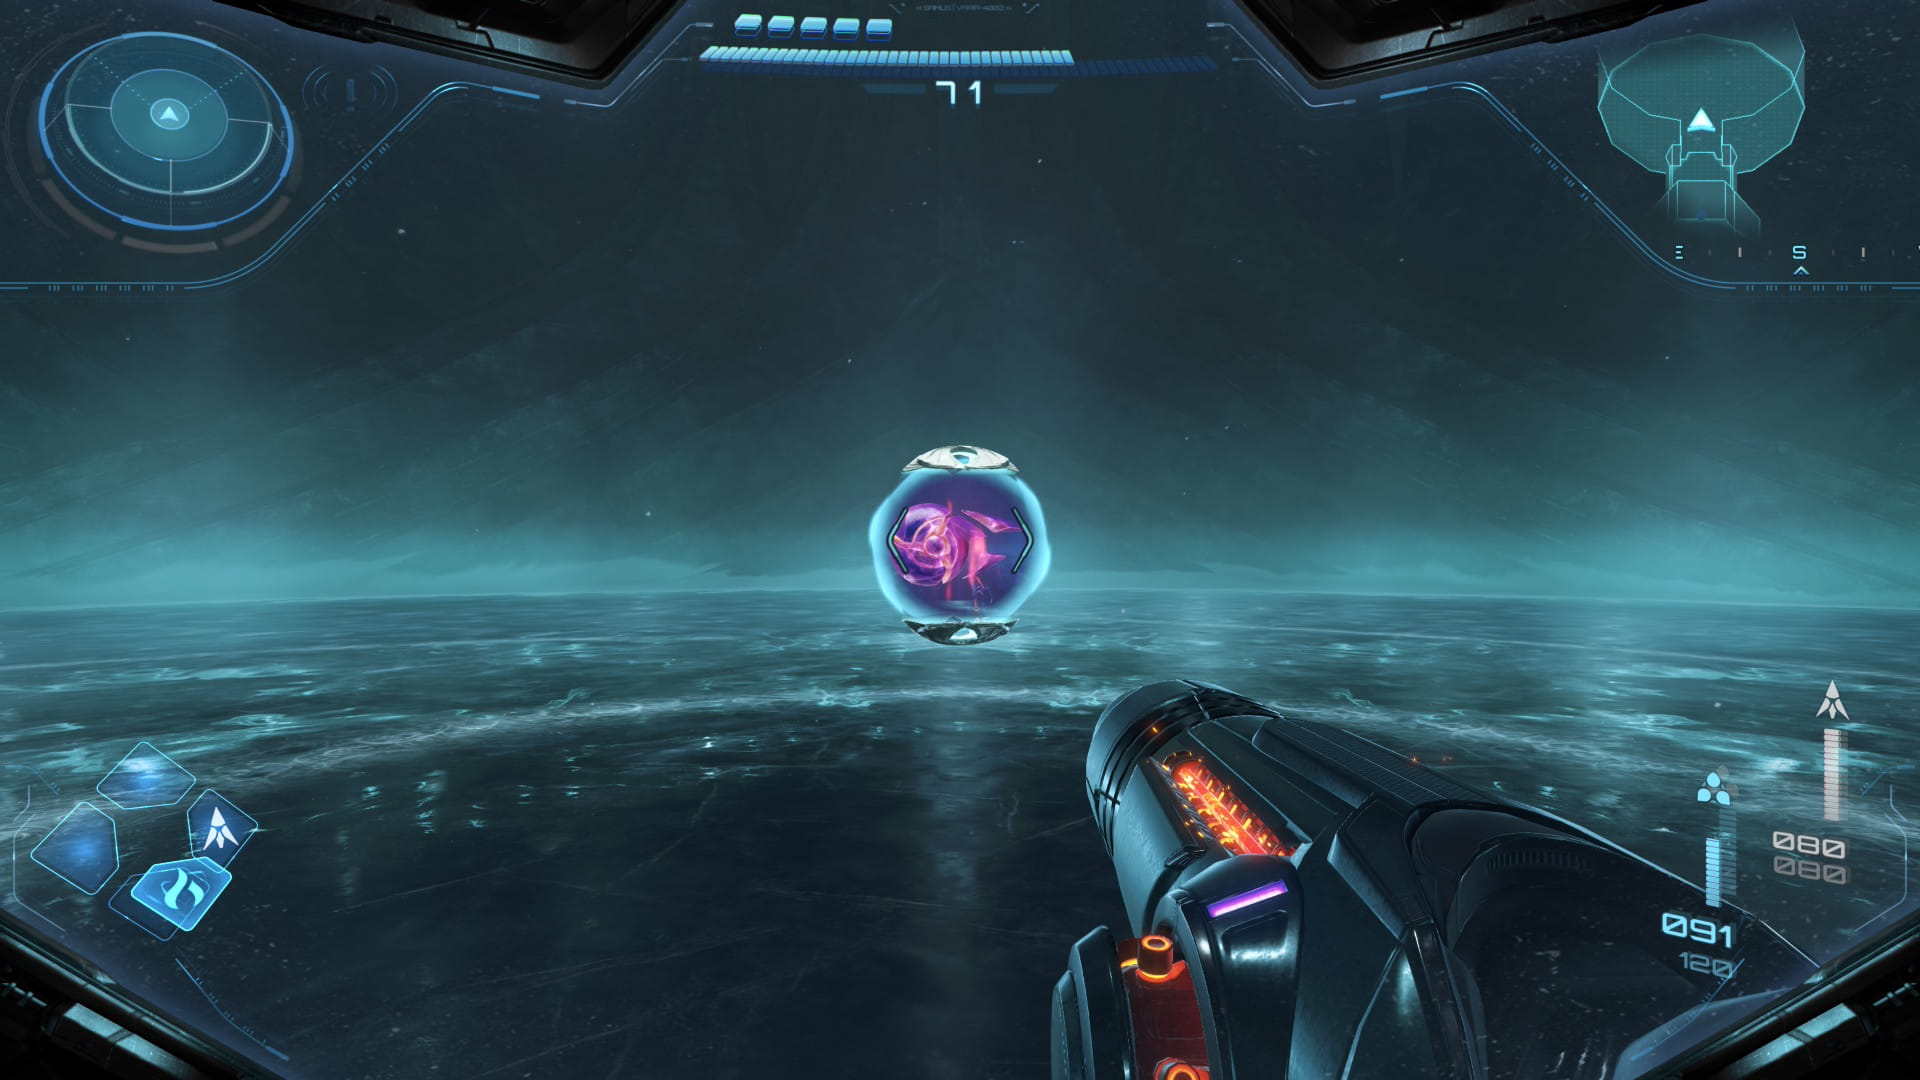
Chapter 2: Psychic Boost Ball
Scans
| Flight Drone |
Interact with the console to mount the bike. Then drive forward through the door. Scan the Flight Drones to the right. Then continue to Tower 2.
Scans
| Spinner |
Scan the console by the window to get the area map. Then head through the west door. Take the elevator down and proceed to the next room. Scan the Spinner on the central platform. Head toward the next door to begin a battle against some bots. After defeating them, continue through the next door.
Scans
| Psy-bot Teleporter |
Take the elevator down and go to the next room. Head to the exit to encounter a Psy-bot Teleporter, who needs to be scanned. After defeating it, continue to the next room.
Scans
| Flight Drone MCU (SCAN NOW) |
Go down another elevator and enter the next room. Head through the small space on the opposite side of the room. Use the bomb slots to move the apparatus into place and restore electricity to the apparatus. Head toward the small space to begin a fight against the Flight Drone MCU, who needs to be scanned. To lower the drone's shield, you must hit all 3 of the spheres with a control beam. Once the shield is down, it can be damaged normally.
Energy Tank #3
Return to the Archives to encounter Sylux. He can't be scanned now. Sylux can be damaged with normal beam attacks. When he uses a tornado attack, you can use bombs to get him out of it. Defeating him will give you Energy Tank #3.
Scans
| Psy-bot Shield |
| Psychic Grapple Point |
Proceed to Storage to encounter a Psy-bot Shield and scan it. Use side dashes to damage it. After defeating it, scan the Psychic Grapple Point at the top of the room.
Scans
| Lamorn Beam Turret |
Continue up to Processing and scan the Lamorn Beam Turret.
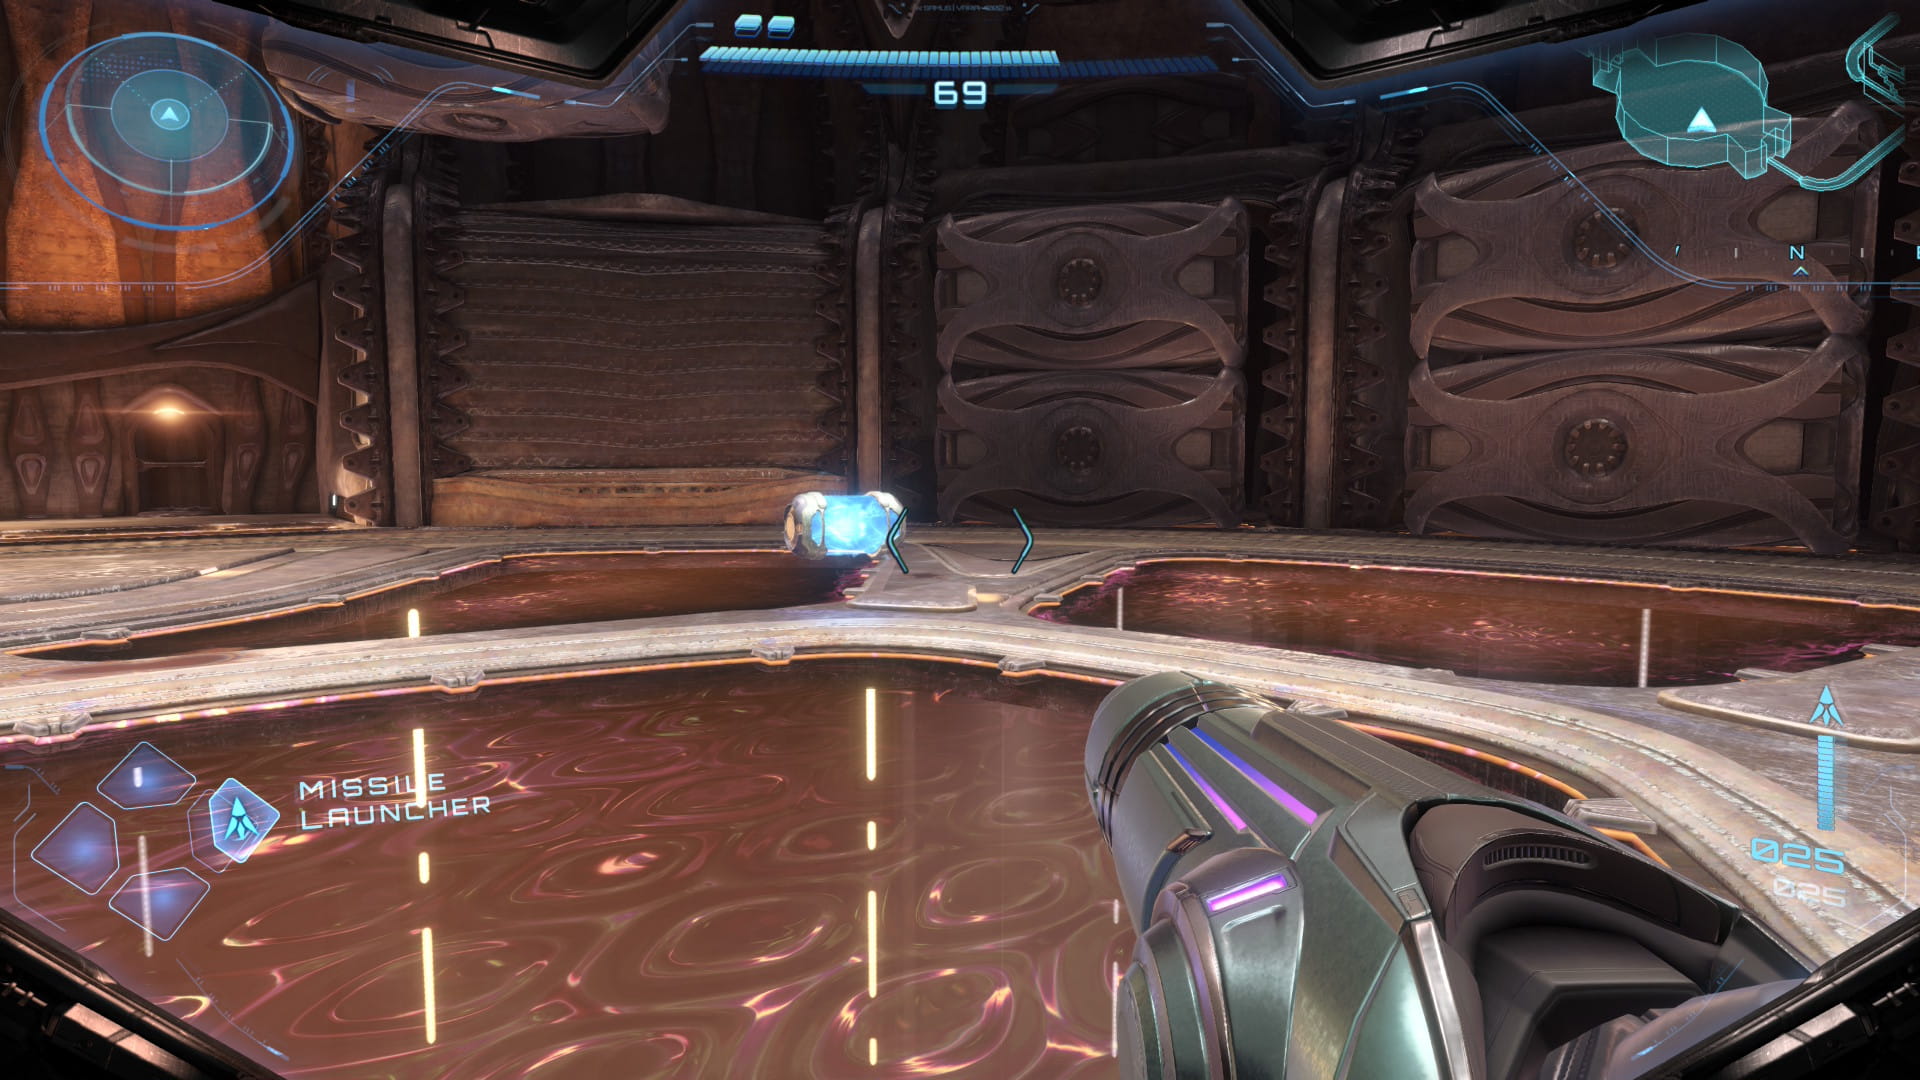
Missile Expansion #4
Return to the Receiving Lobby. Use the console to the left to enter the floor and grab Missile Expansion #4.
Missile Expansion #5
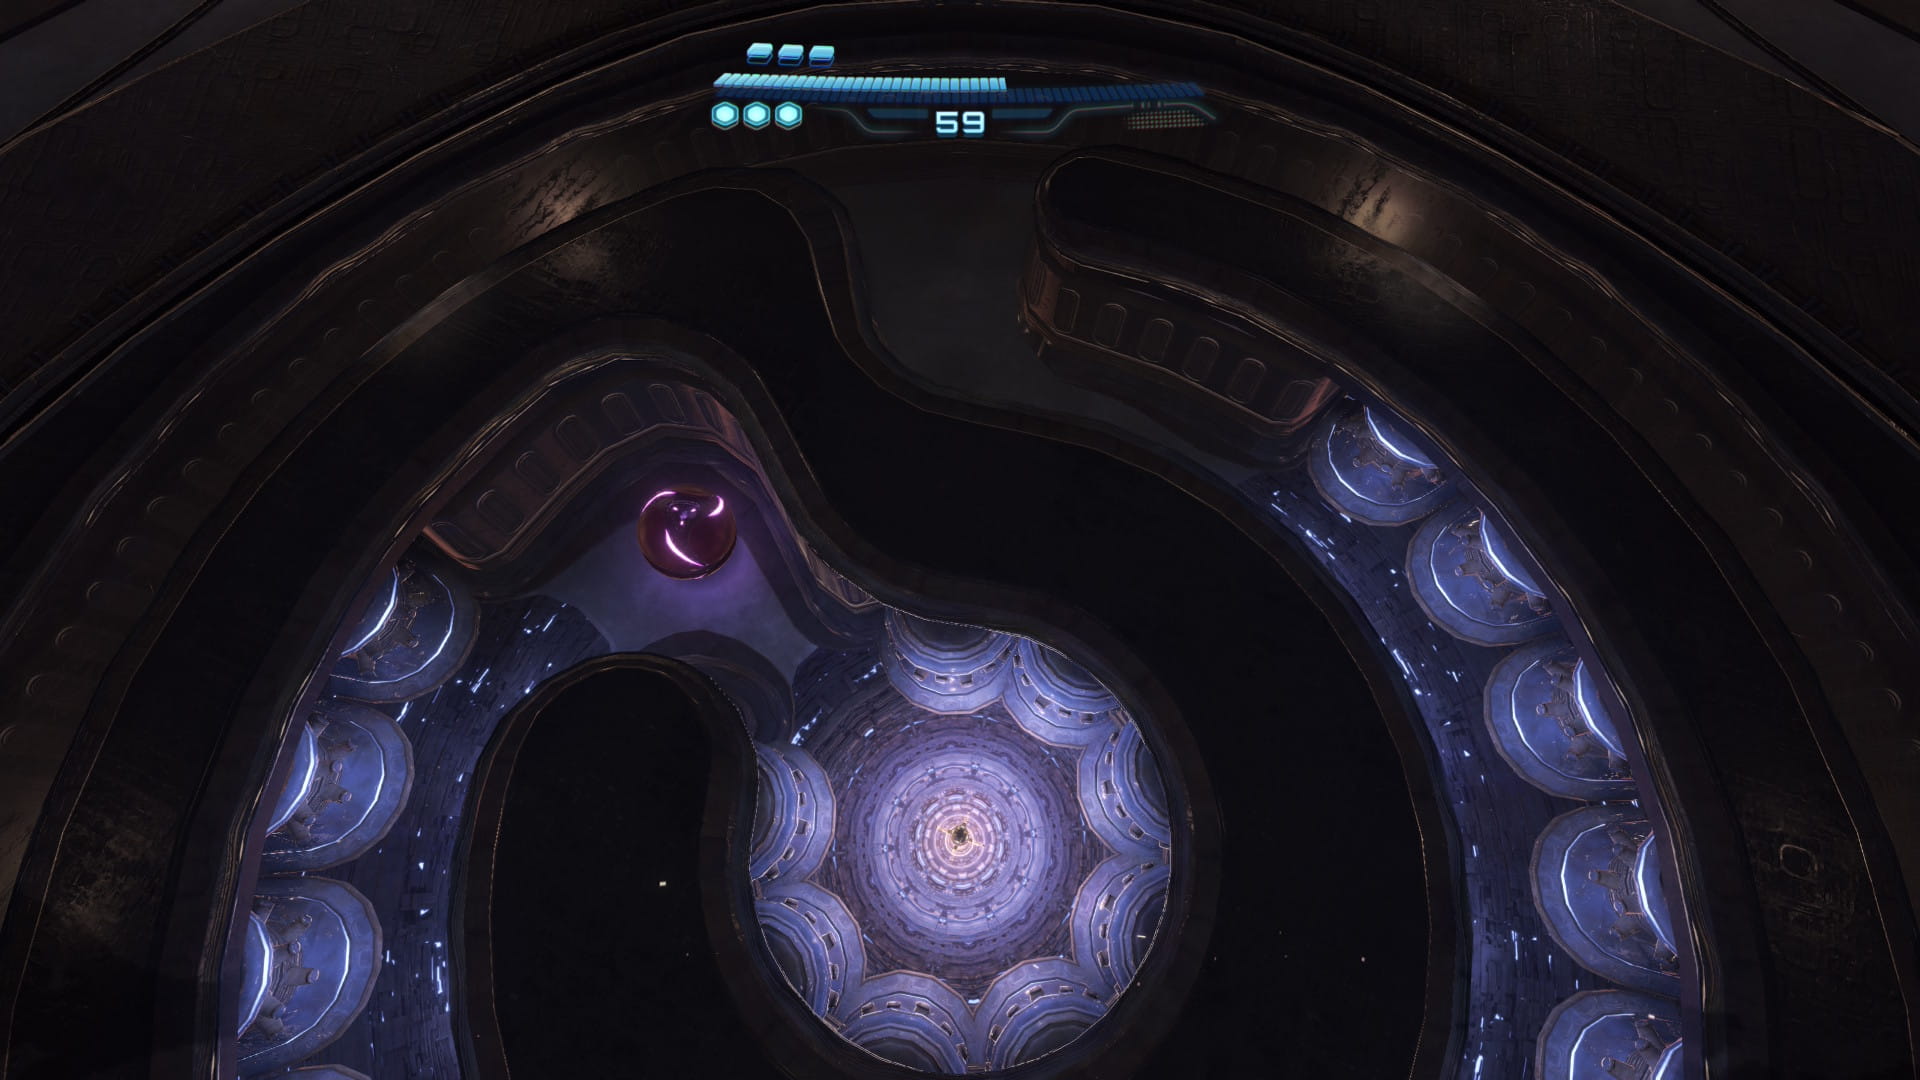
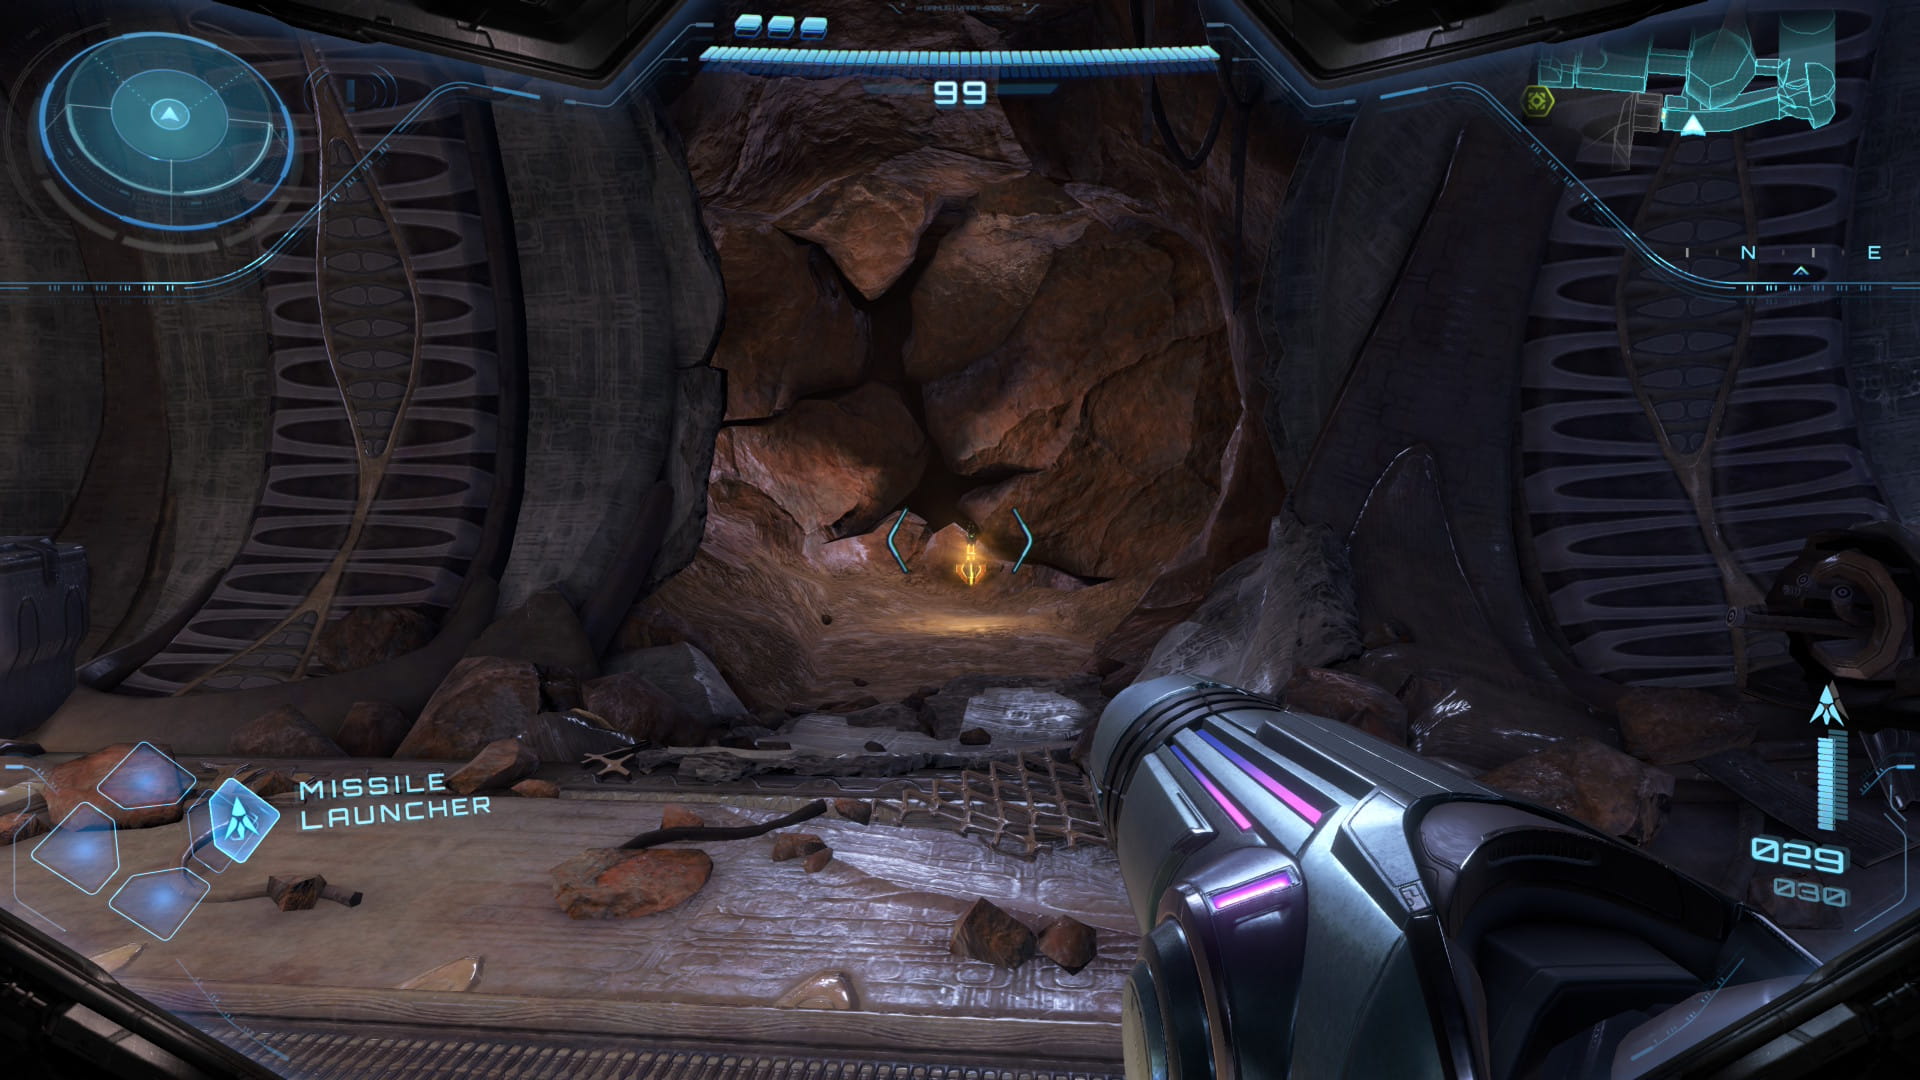
Ride your bike west to Tower 3. Scan the console to get the area map. Enter the opening below to begin the driving tutorial. There are 3 different tracks, each with 3 objectives. After completing all these, take the final elevator down. Follow the path forward. Just before entering the Facility Core, destroy the right wall with a missile to find Missile Expansion #5.
Psychic Boots
Scans
| Xelios (SCAN NOW) |
Proceed to the next room to start the boss battle against Xelios. The body is protected by a shield. The shield fragments can be destroyed when they glow blue. So defeating Xelios is a simple matter of shooting through its shield and dodging any attacks it throws at you. Afterwards, you'll get the Psychic Boots.
Missile Expansion #6
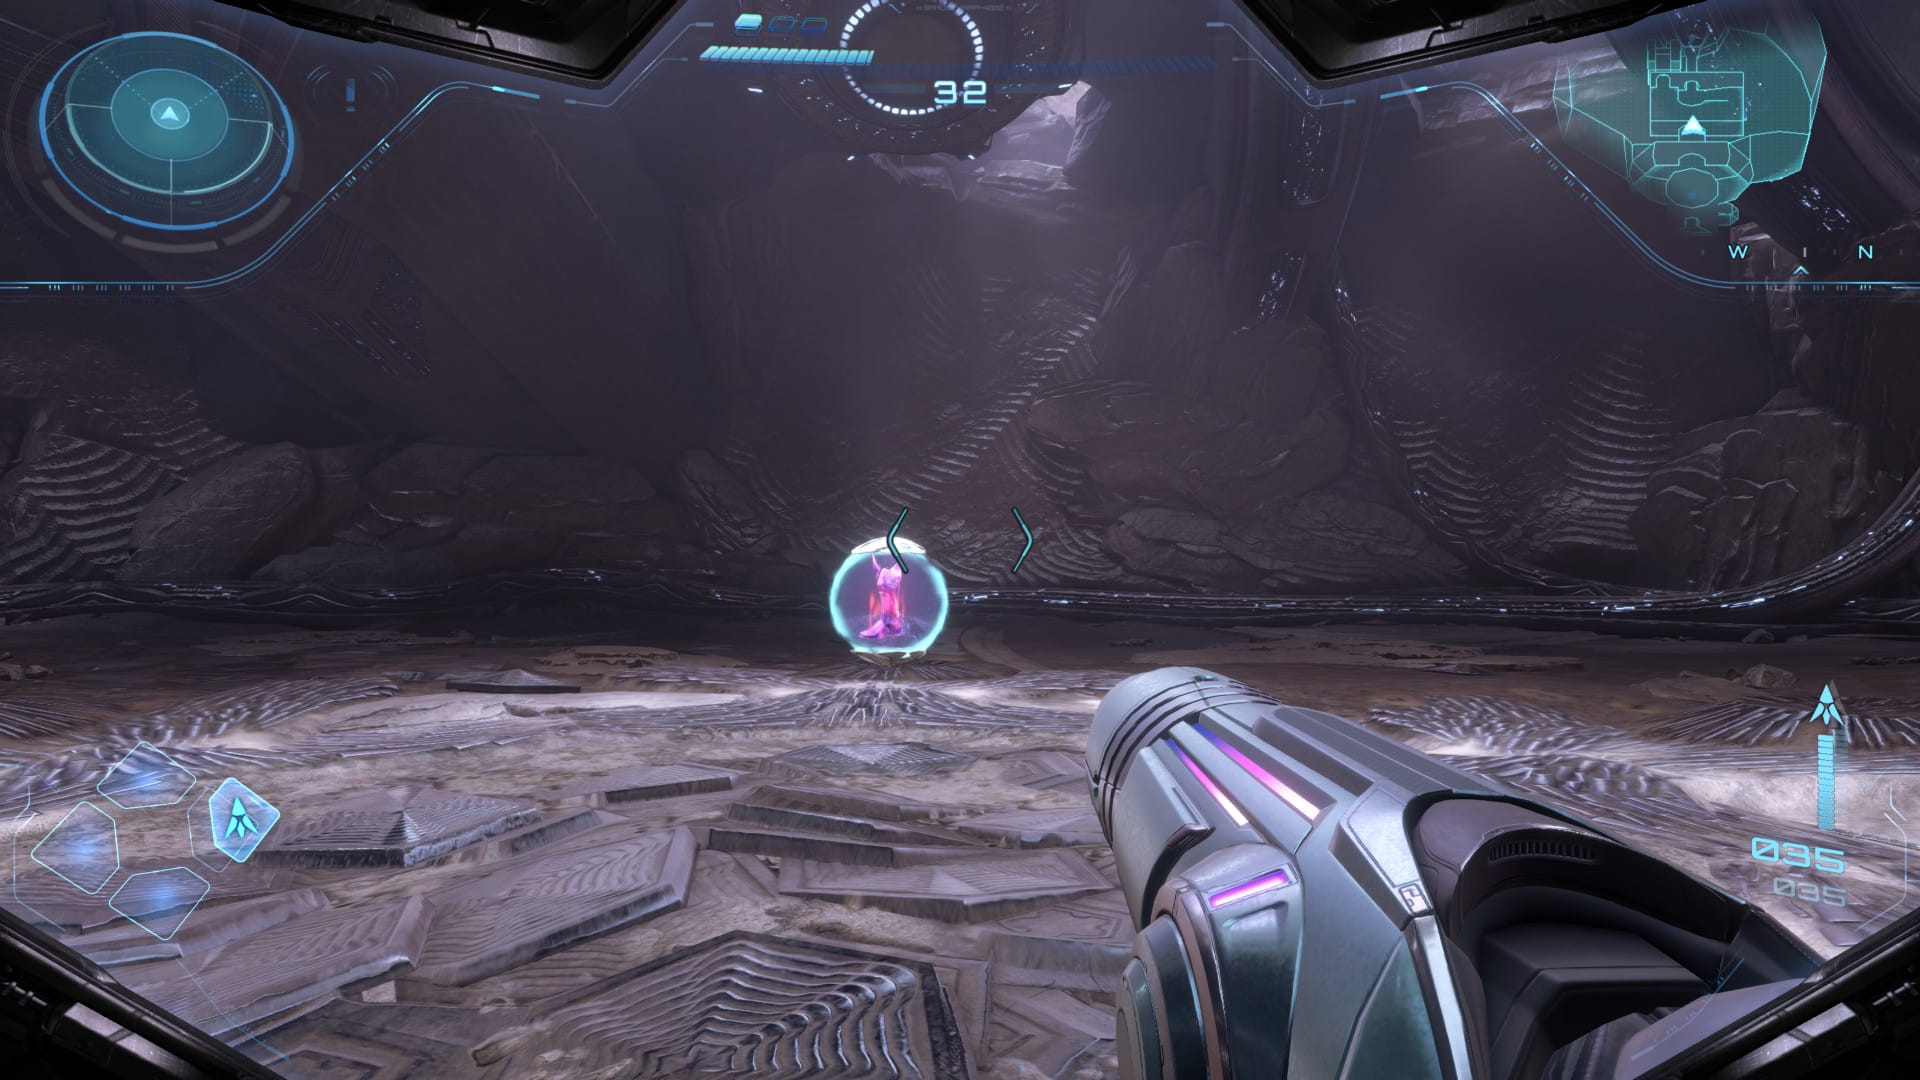
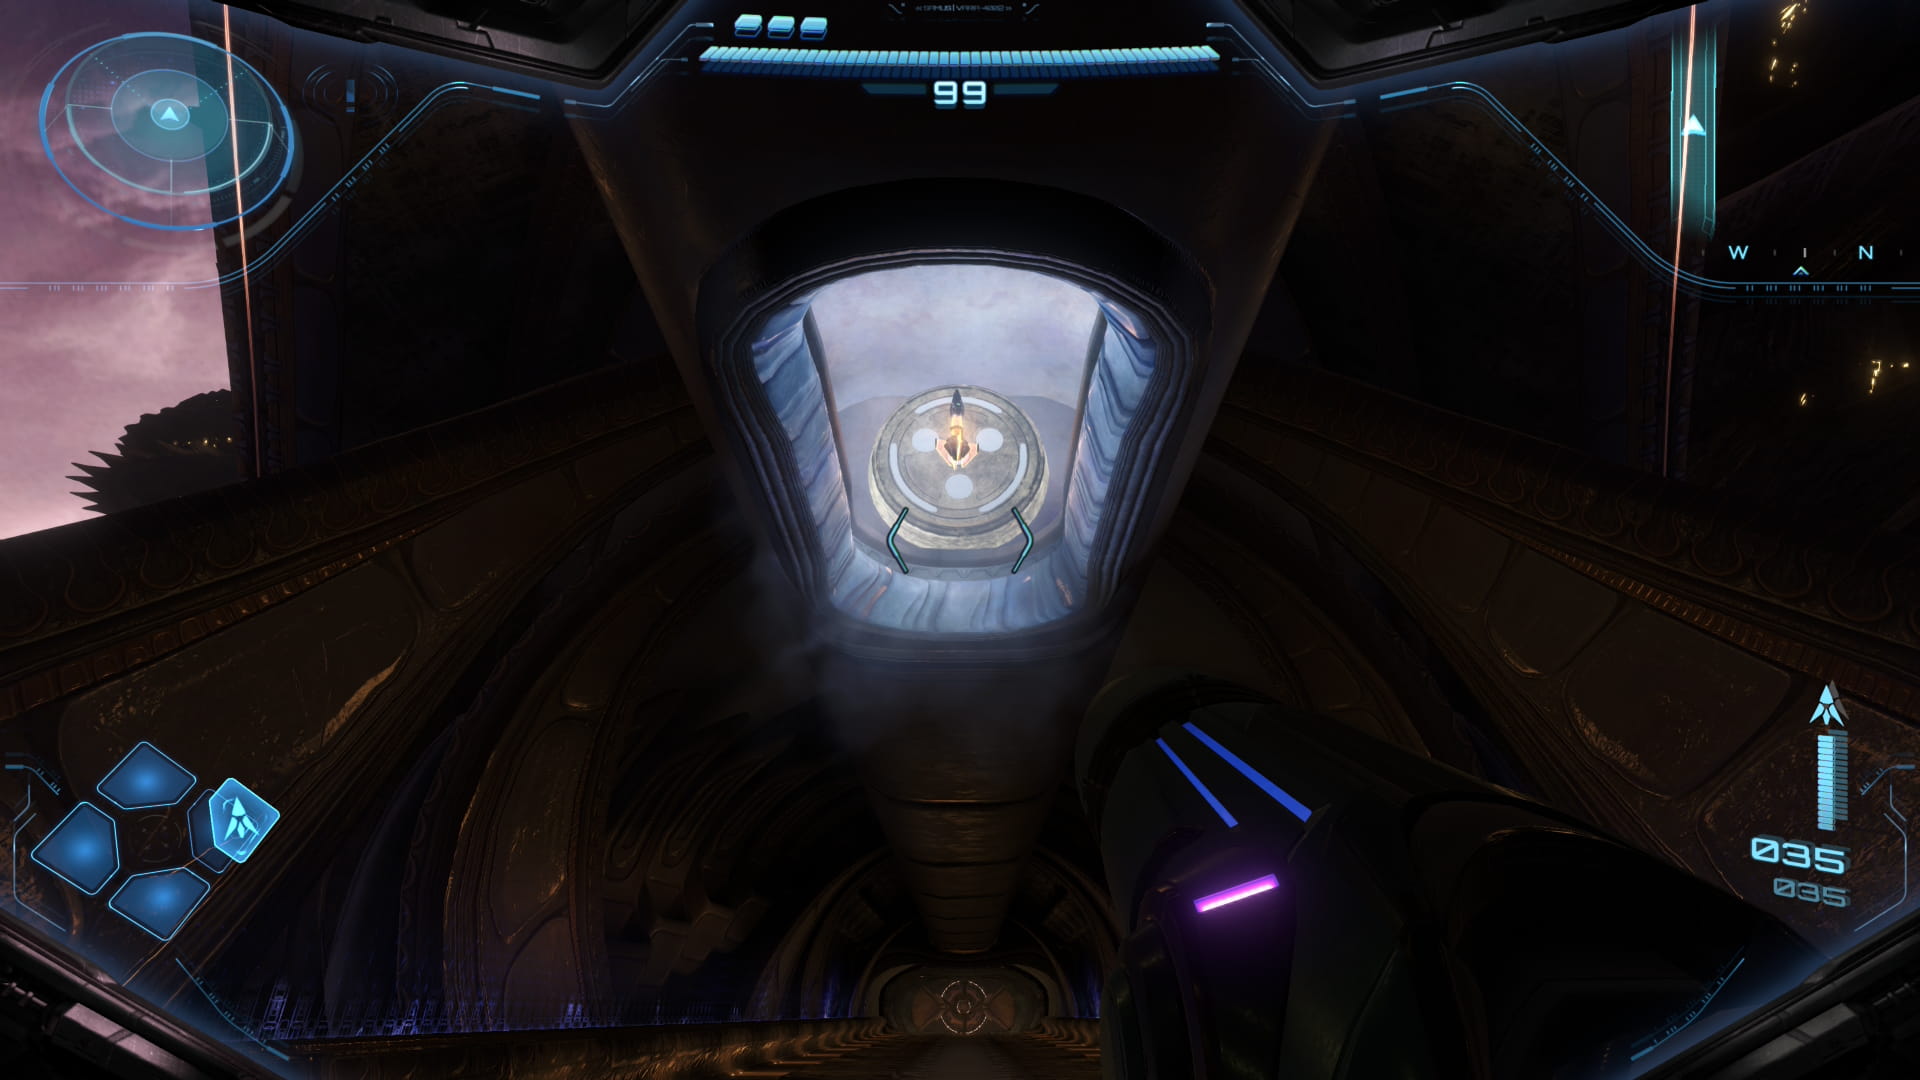
Stare at the eye of the statue to get the next Master Transporter Key. Use the psychic platforms to leave the room. Then return to Test Circuit Security. Drive through the north door. After you jump over the gap, get off the bike. Shoot a control beam into the structure in the ceiling to hit the target, revealing Missile Expansion #6.
Scans
| Kyuveria |
Drive west to the tower. Then head north to go to Volt Forge's entrance. Use the large crates to jump up and enter the small space in the west wall. Use a bomb to activate the bike hologram and then leave Volt Forge. Proceed out to Sol Valley. Drive to the northwest and scan the Kyuveria plant.
Missile Expansion #7
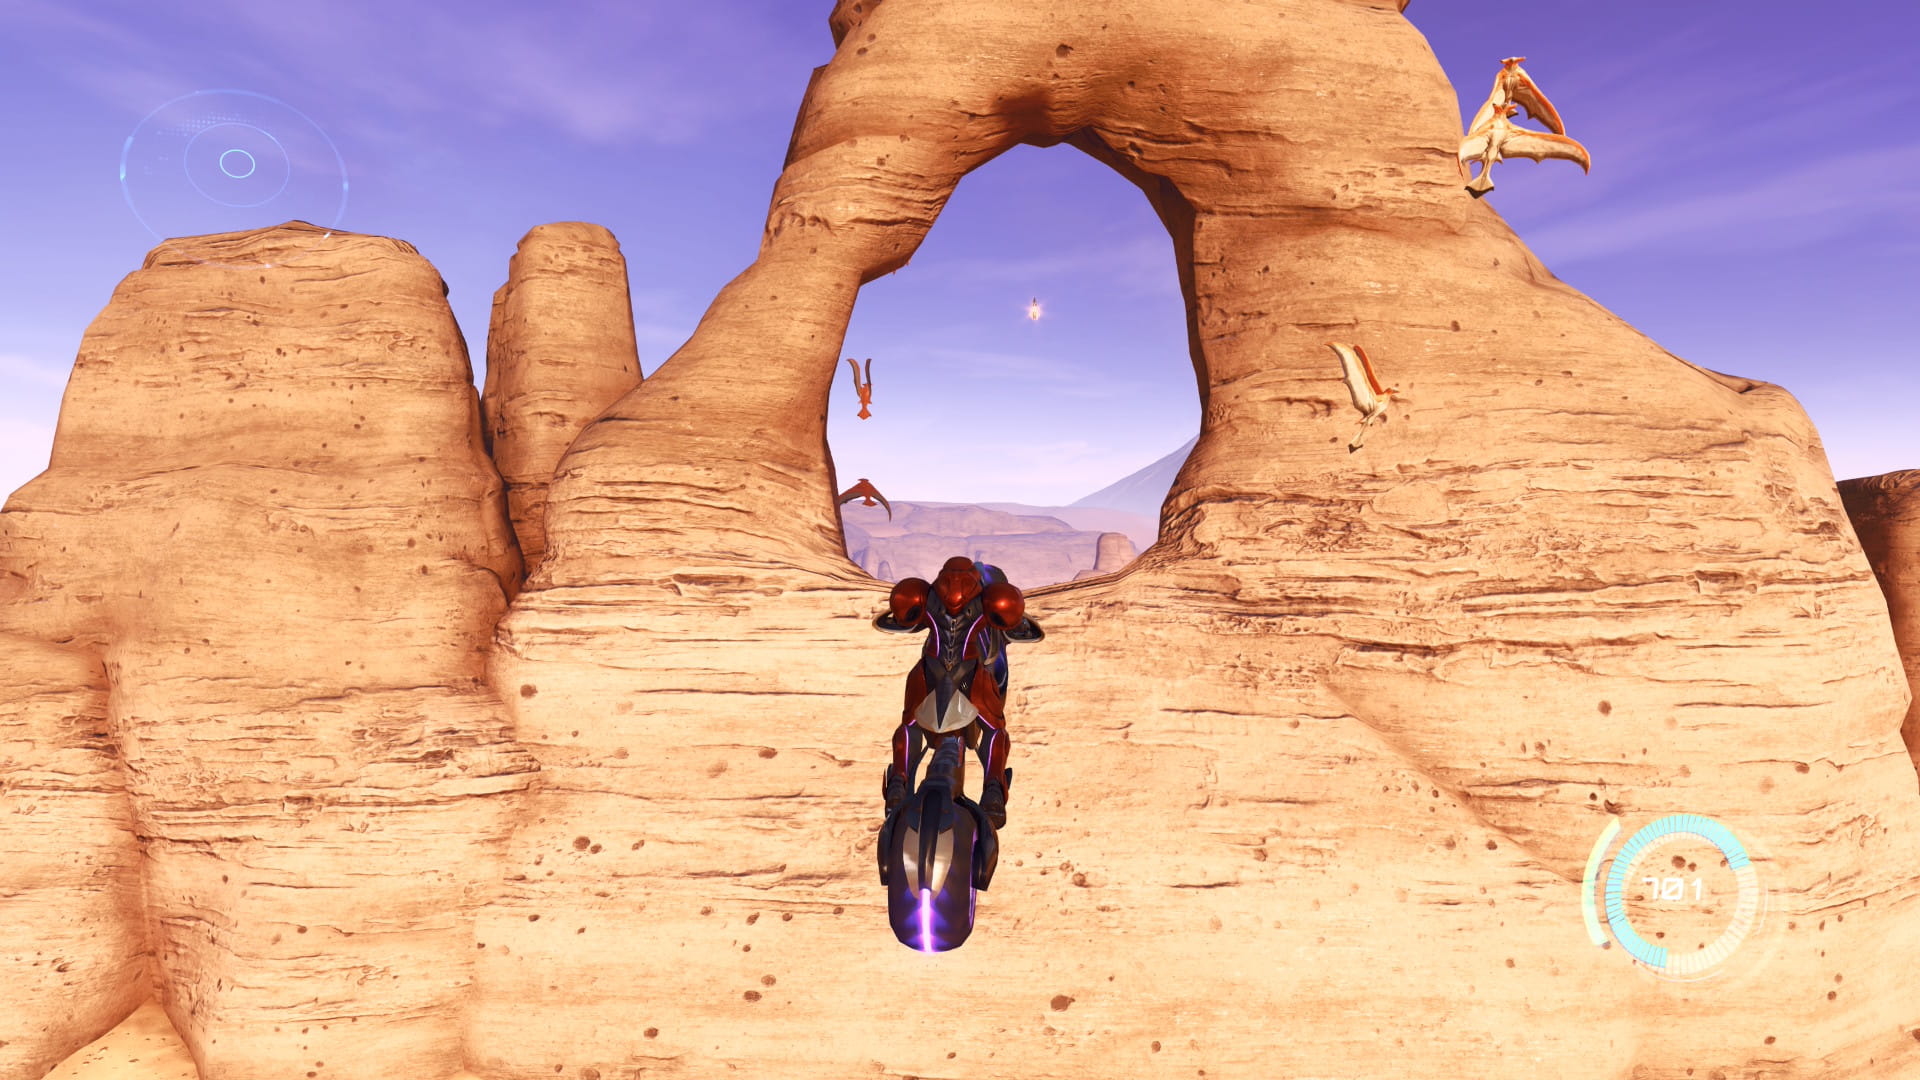
Now that you have the bike, you can drive around to break and collect green energy crystals. Otherwise, drive to the southwest corner of the map. Then drive due east to find a large ramp. Jump off it and through the hole to get Missile Expansion #7.
Scans
| Sand Shren |
Drive all the way east. Then drive north and enter the opening in the east wall. Follow the path to encounter and scan some Sand Shrens. Then use the spinner to enter Flare Pool.
Missile Expansion #8
Scans
| Swarm Flyer |
| Heatstrap |
| Vaernan |
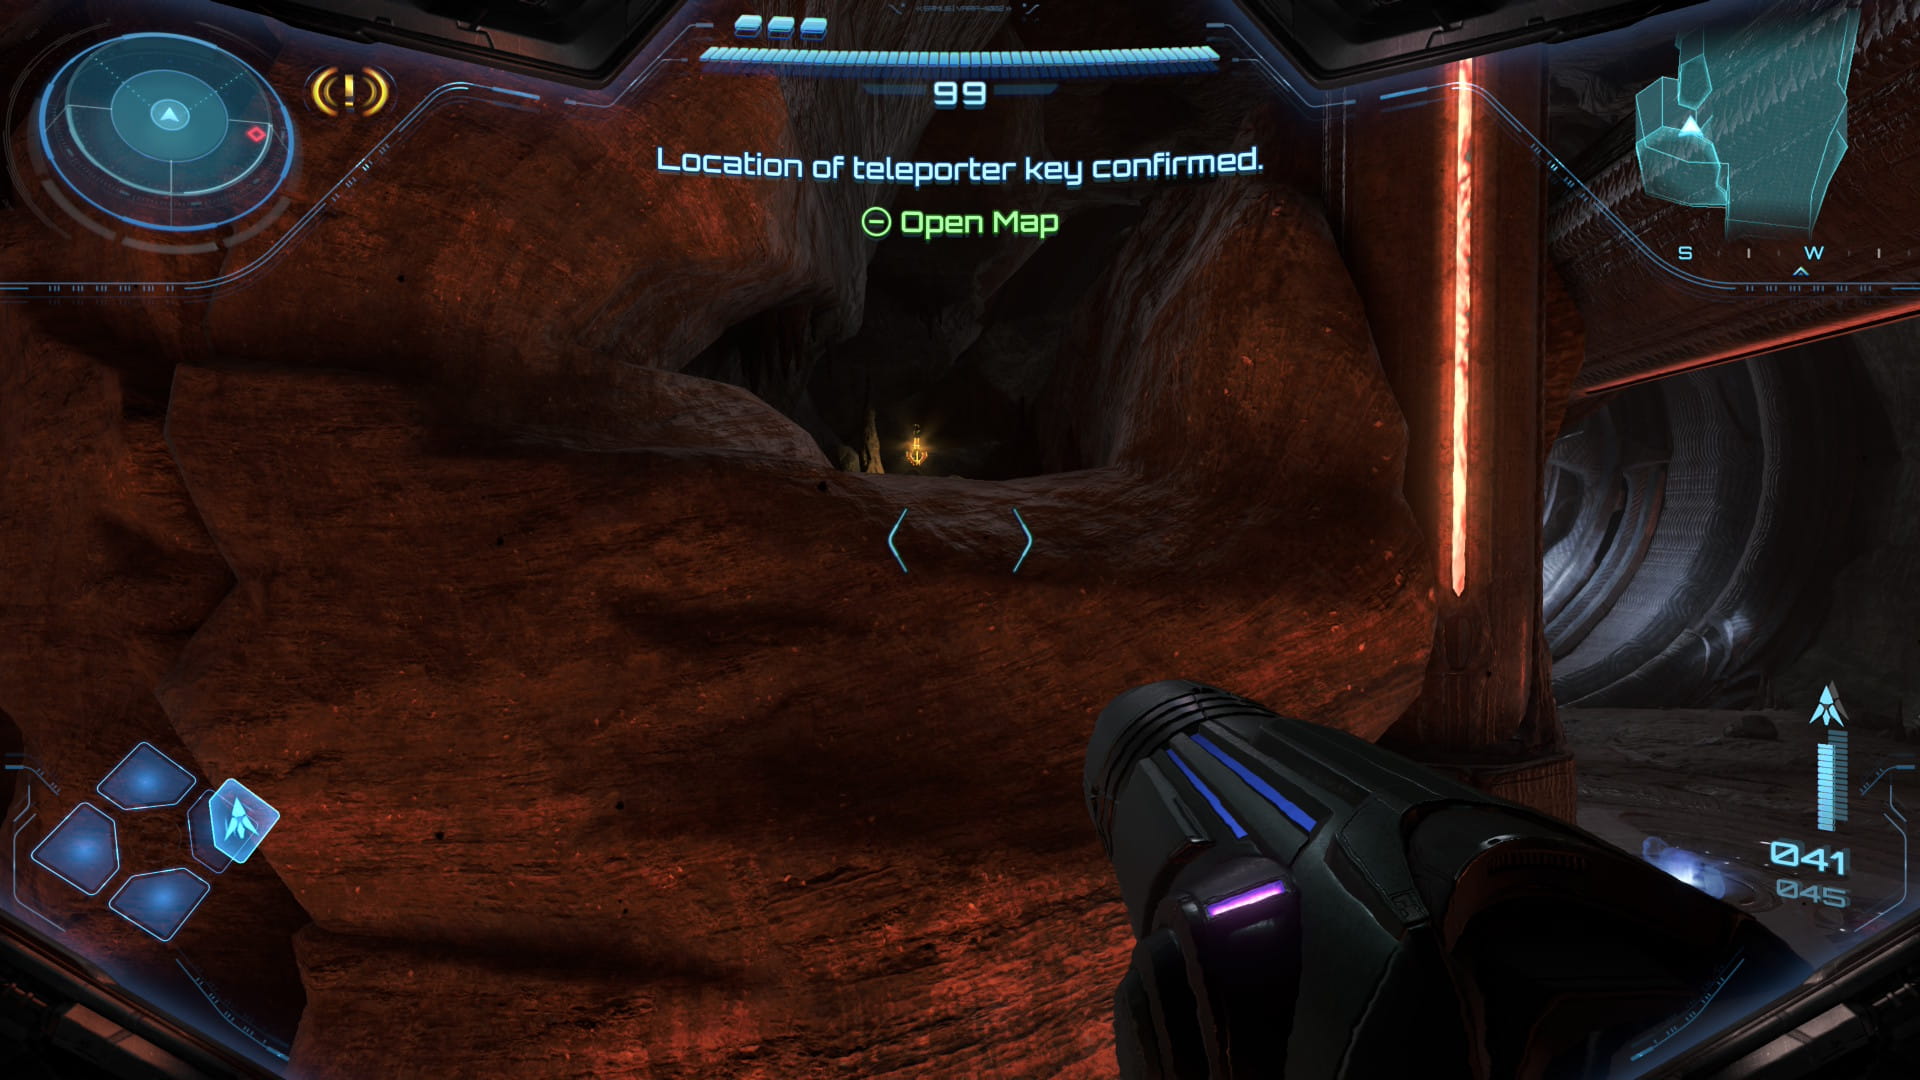
Scan the Swarm Flyer. On the right wall is a Heatstrap that can be scanned. Also scan the Vaernan on the ground. Near the Heatstrap, create a set of psychic platforms. Jump up them to reach Missile Expansion #8. Then continue forward until you start the area's cutscene.
Fire Chip
Scans
| Pyremite |
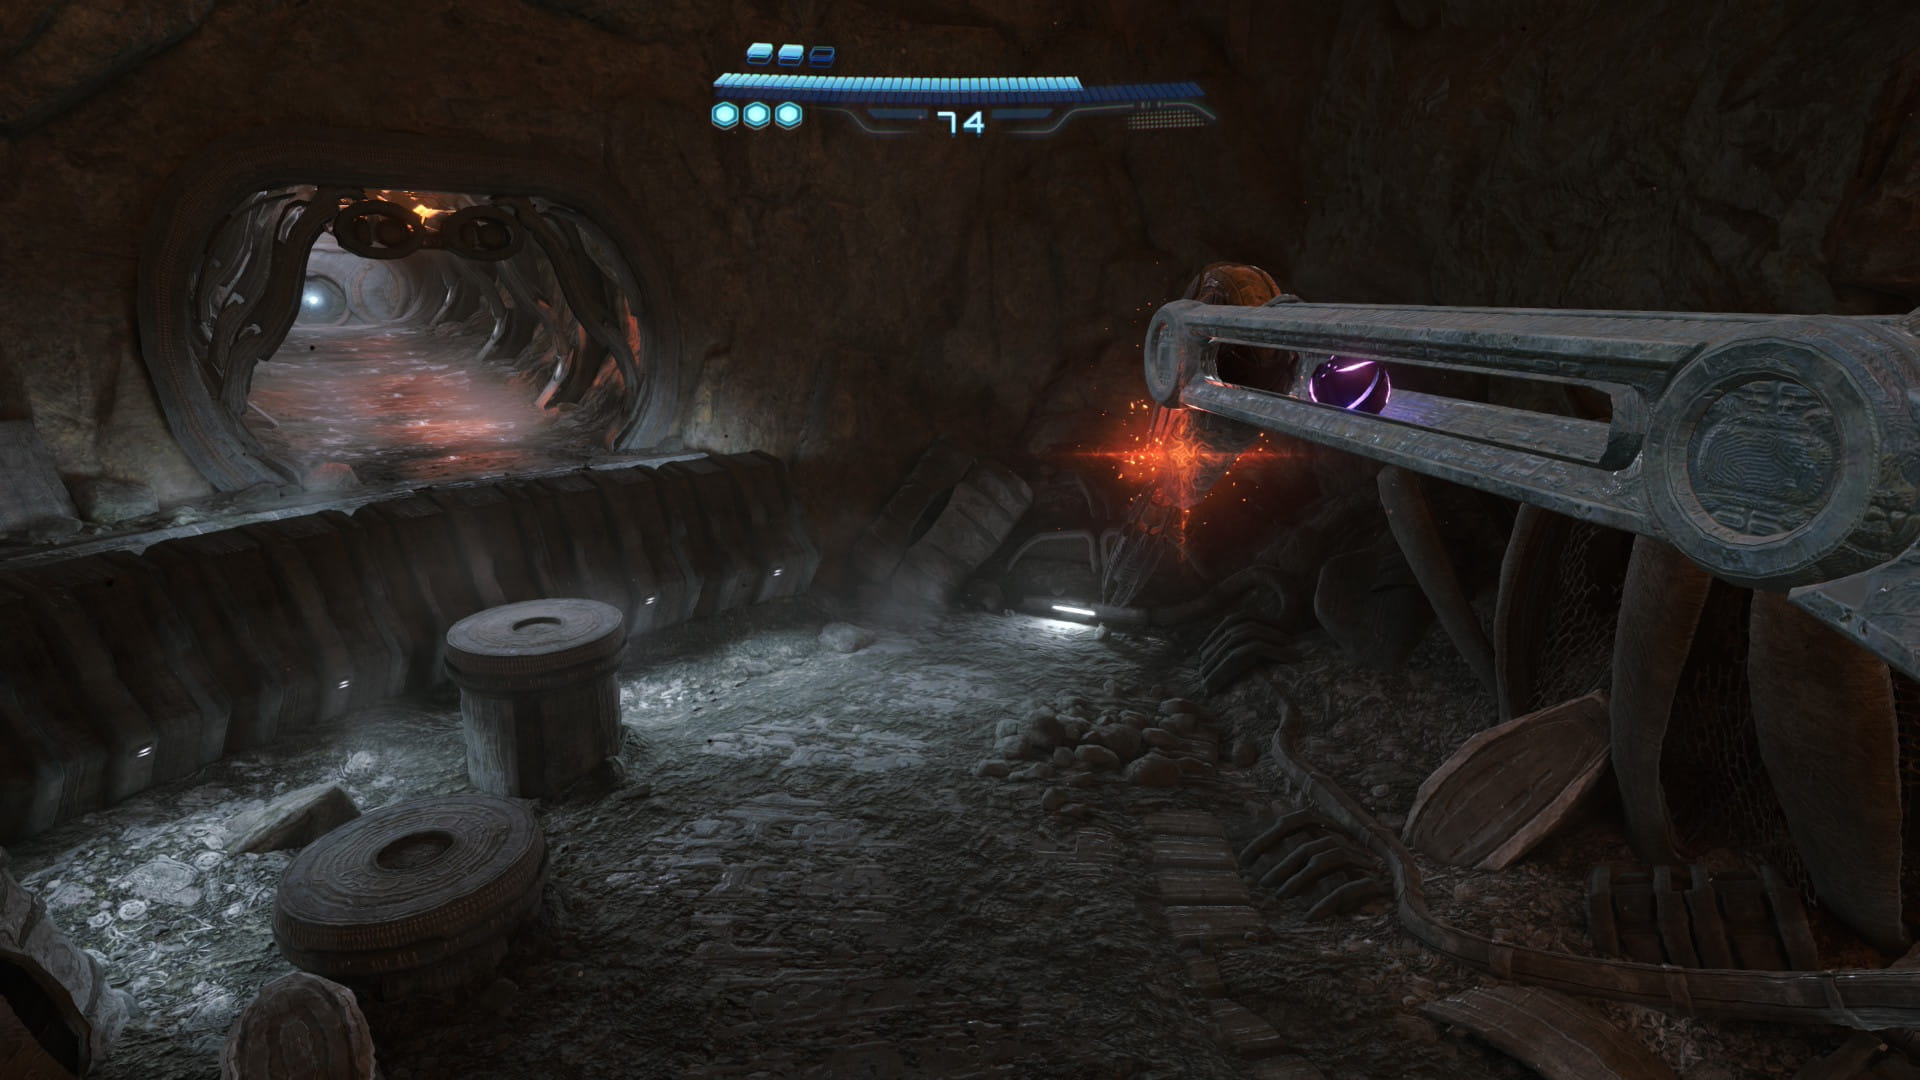
Use the spinner to start another cutscene. Return to the previous room and drive forward until you encounter some bots. After defeating them, head through that door. Proceed to the next room. Scan the Pyremite that comes out of the ground. After defeating them, jump on the cylinders to enter the small space in the smaller structure. Use a bomb to acquire the Fire Chip.
Scans
| Gullbat |
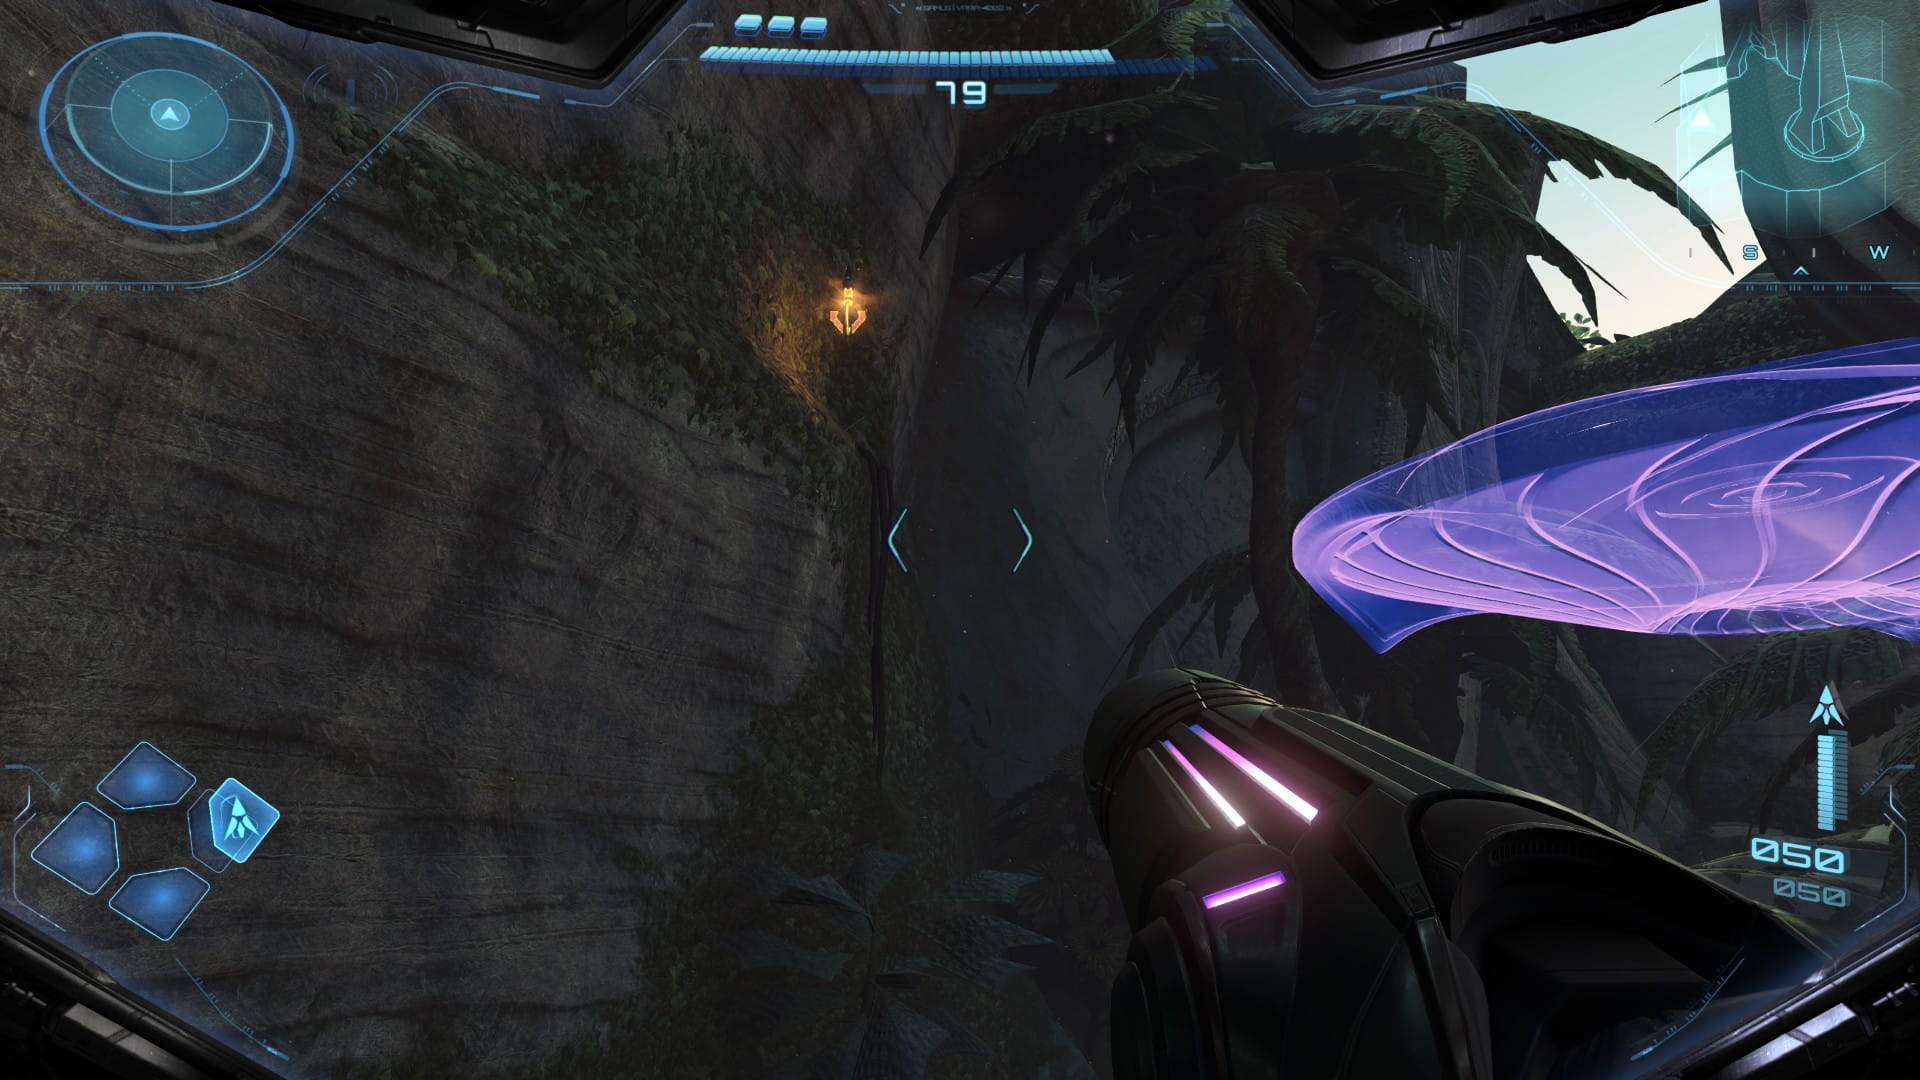
Leave Flare Pool and head out to Sol Valley. Drive west and scan a Gullbat flying through the air.
Missile Expansion #9
Proceed west and enter Fury Green. Go through the cargo launcher. After landing, jump up the psychic platforms to get Missile Expansion #9.
Fire Shot
Return to Base Camp and speak with MacKenzie. He'll give you the Fire Shot.
Shot Expansion #1
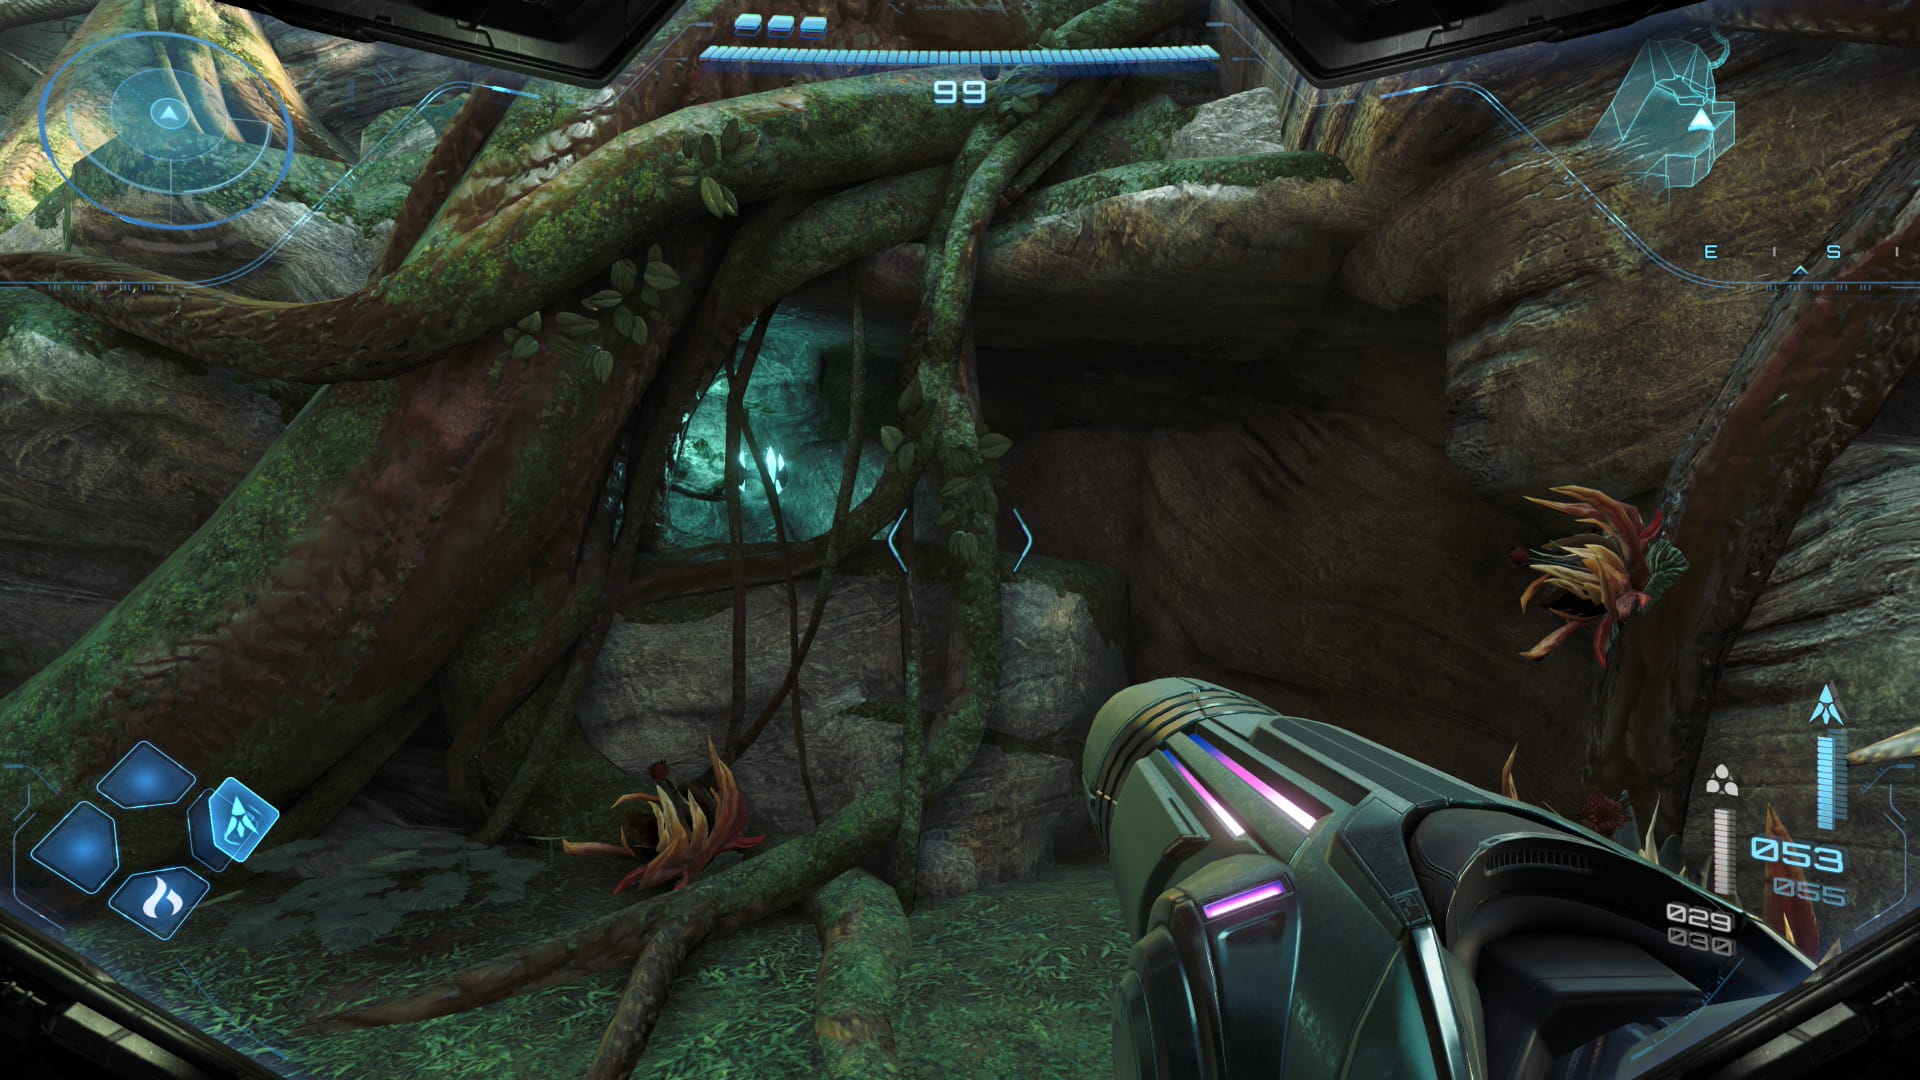
Head south until you encounter some Grievers. After defeating them, go through the small space in the west wall. Go south 1 more room. Burn the webbing in the south with a fire shot to find Shot Expansion #1.
Shot Expansion #2
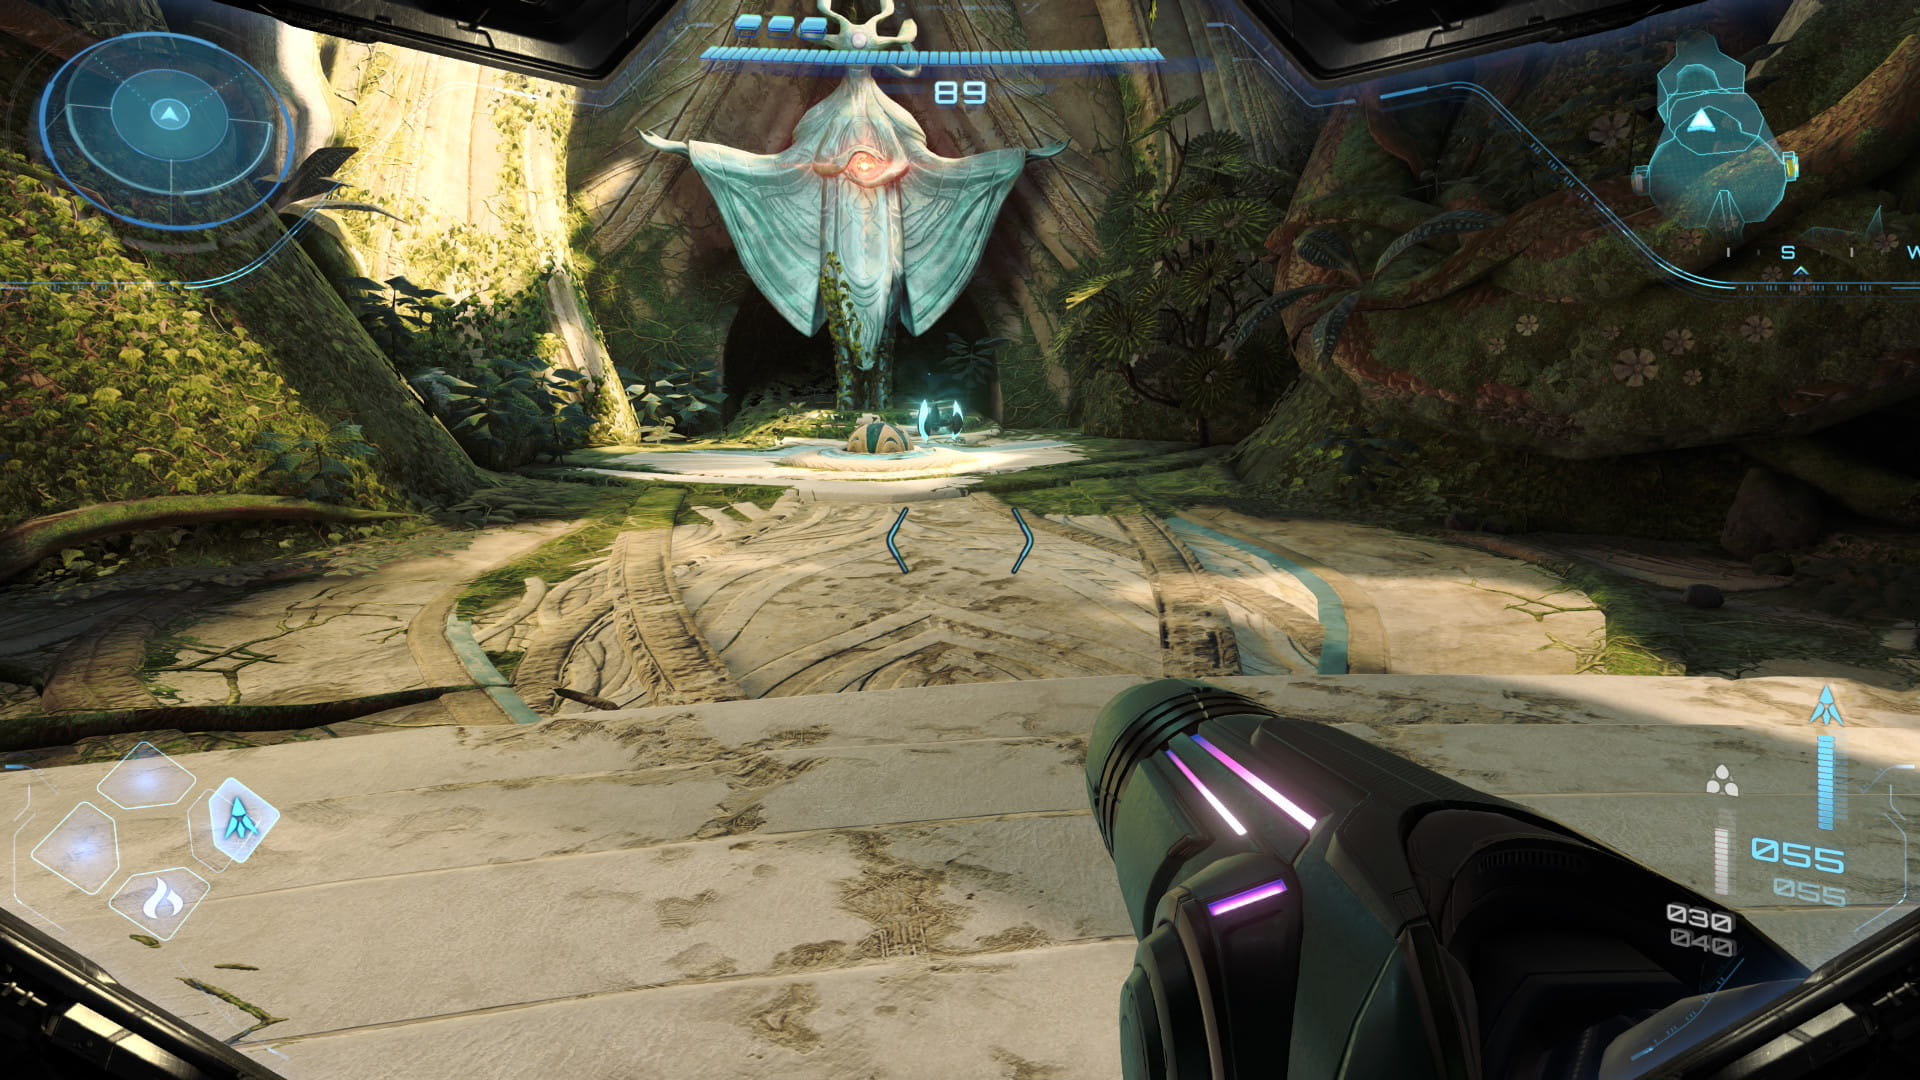
Return back to Base Camp and take the east door. Then go through the fire shot door. Stand on the center platform in this room. Then use the psychic glove to move the looking glass around and shoot a fire shot through it to light the 3 torches. This will reveal Shot Expansion #2.
Shot Expansion #3
Go back to Base Camp. Head north and cross the great bridge. Then head to Isopod Lair. Shoot the webbing with the fire shot to get Shot Expansion #3.
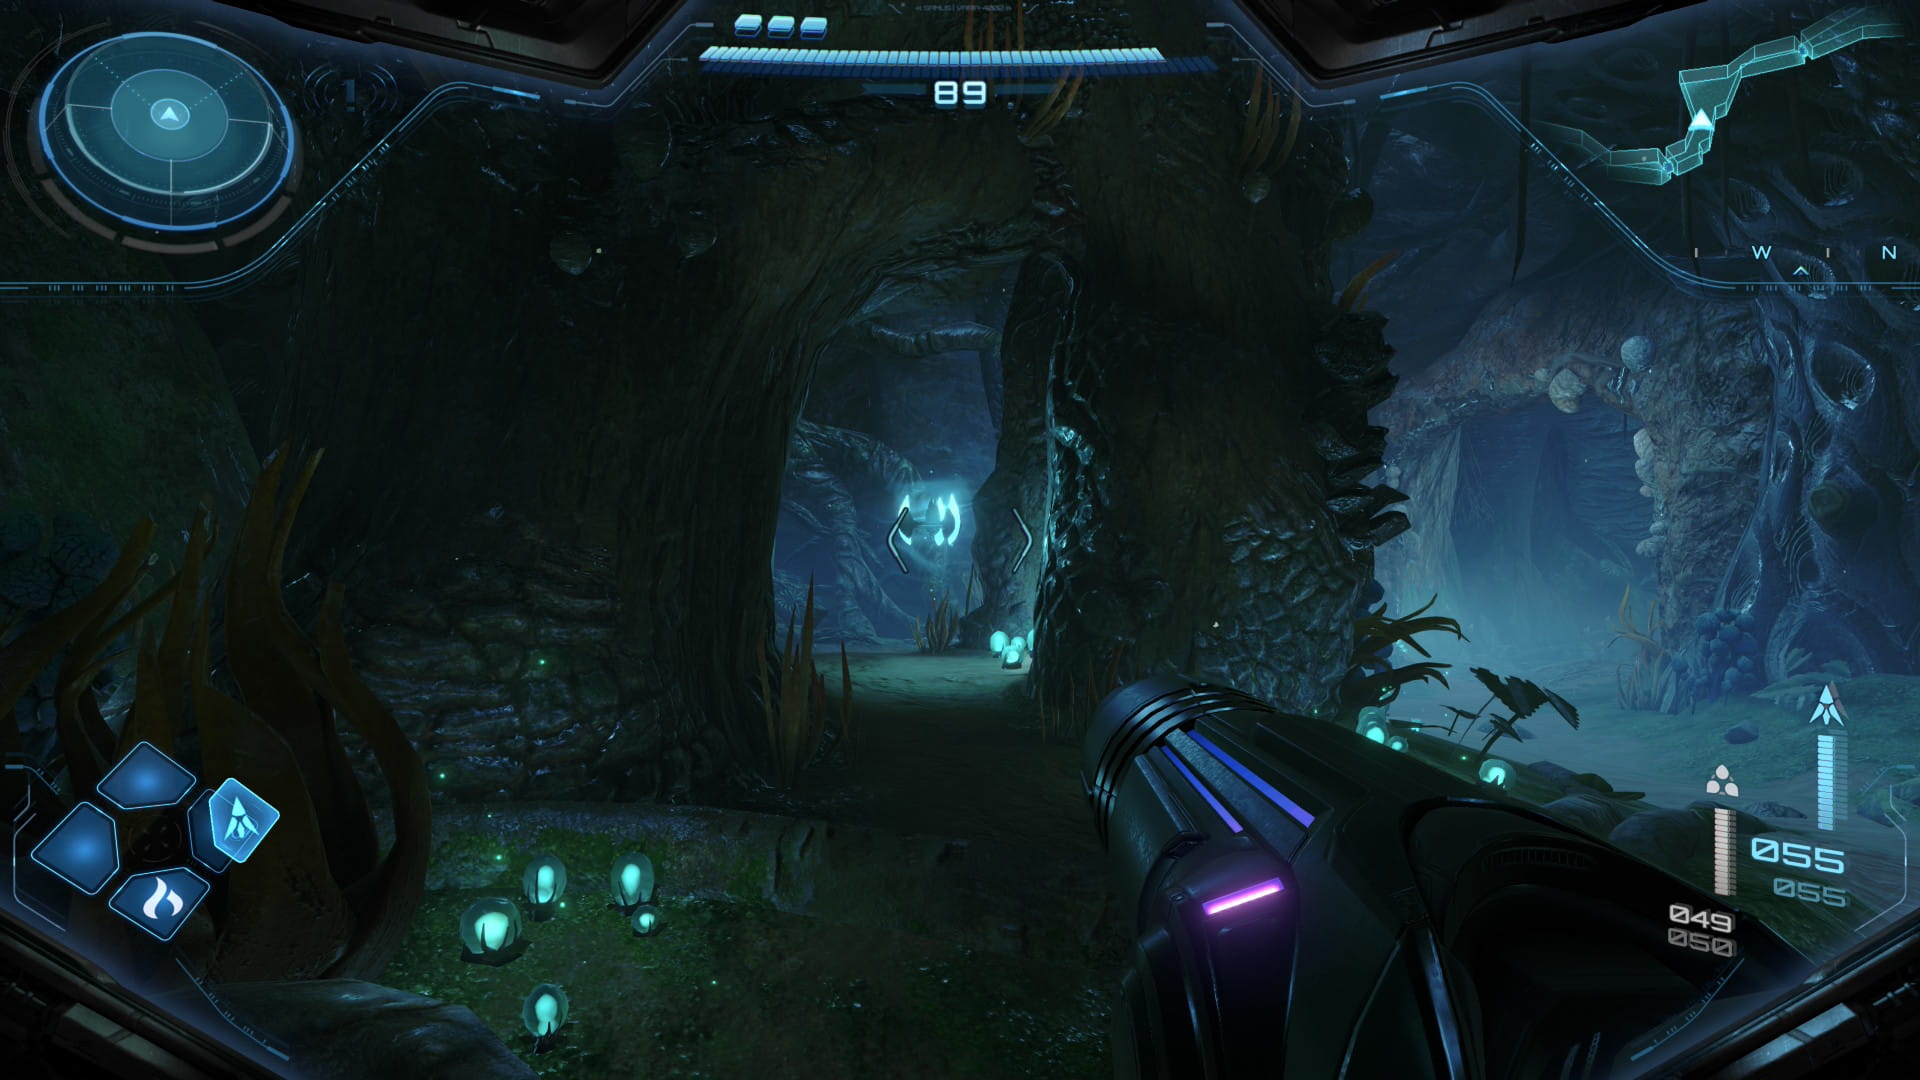
Missile Expansion #10
Head north 3 rooms. Use a bomb to find Missile Expansion #10 in the left wall.
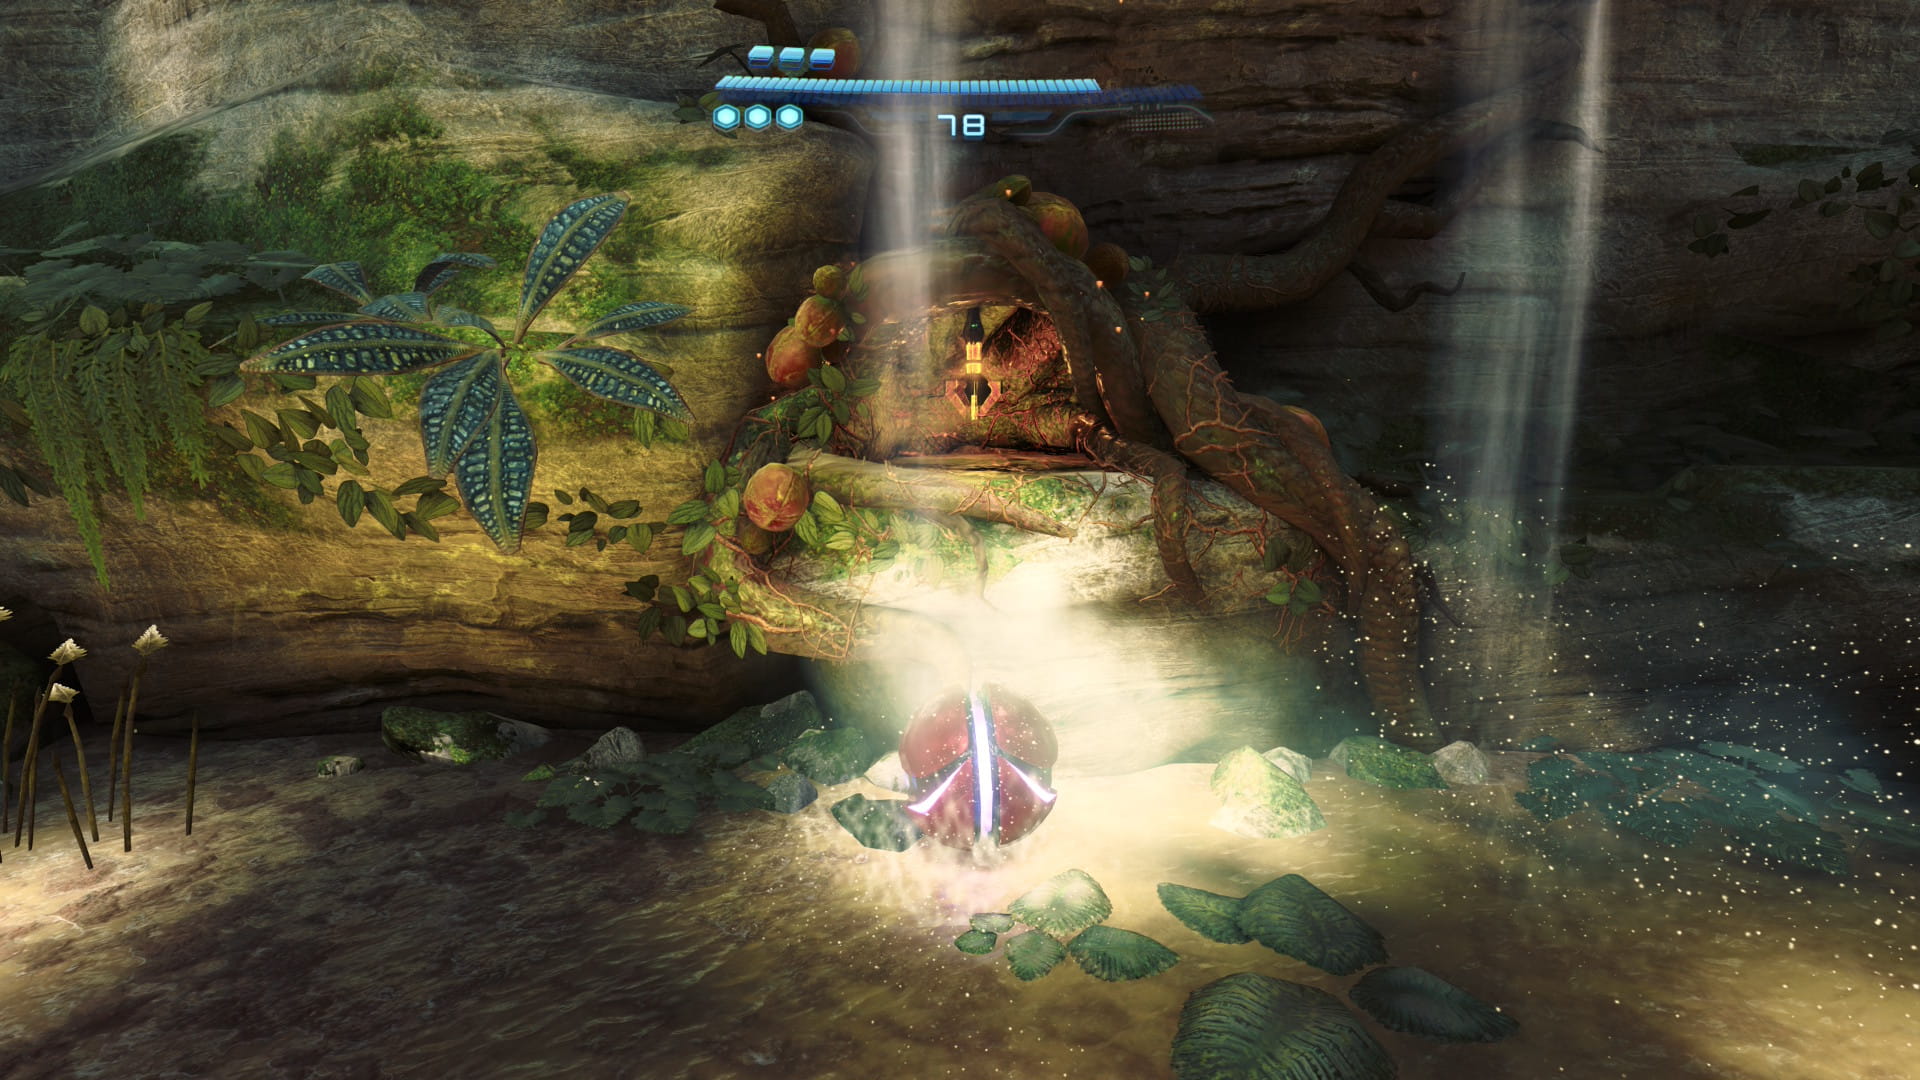
Missile Expansion #11
Take the south door. Then head east 2 rooms. Jump up a set of psychic platforms to find Missile Expansion #11.
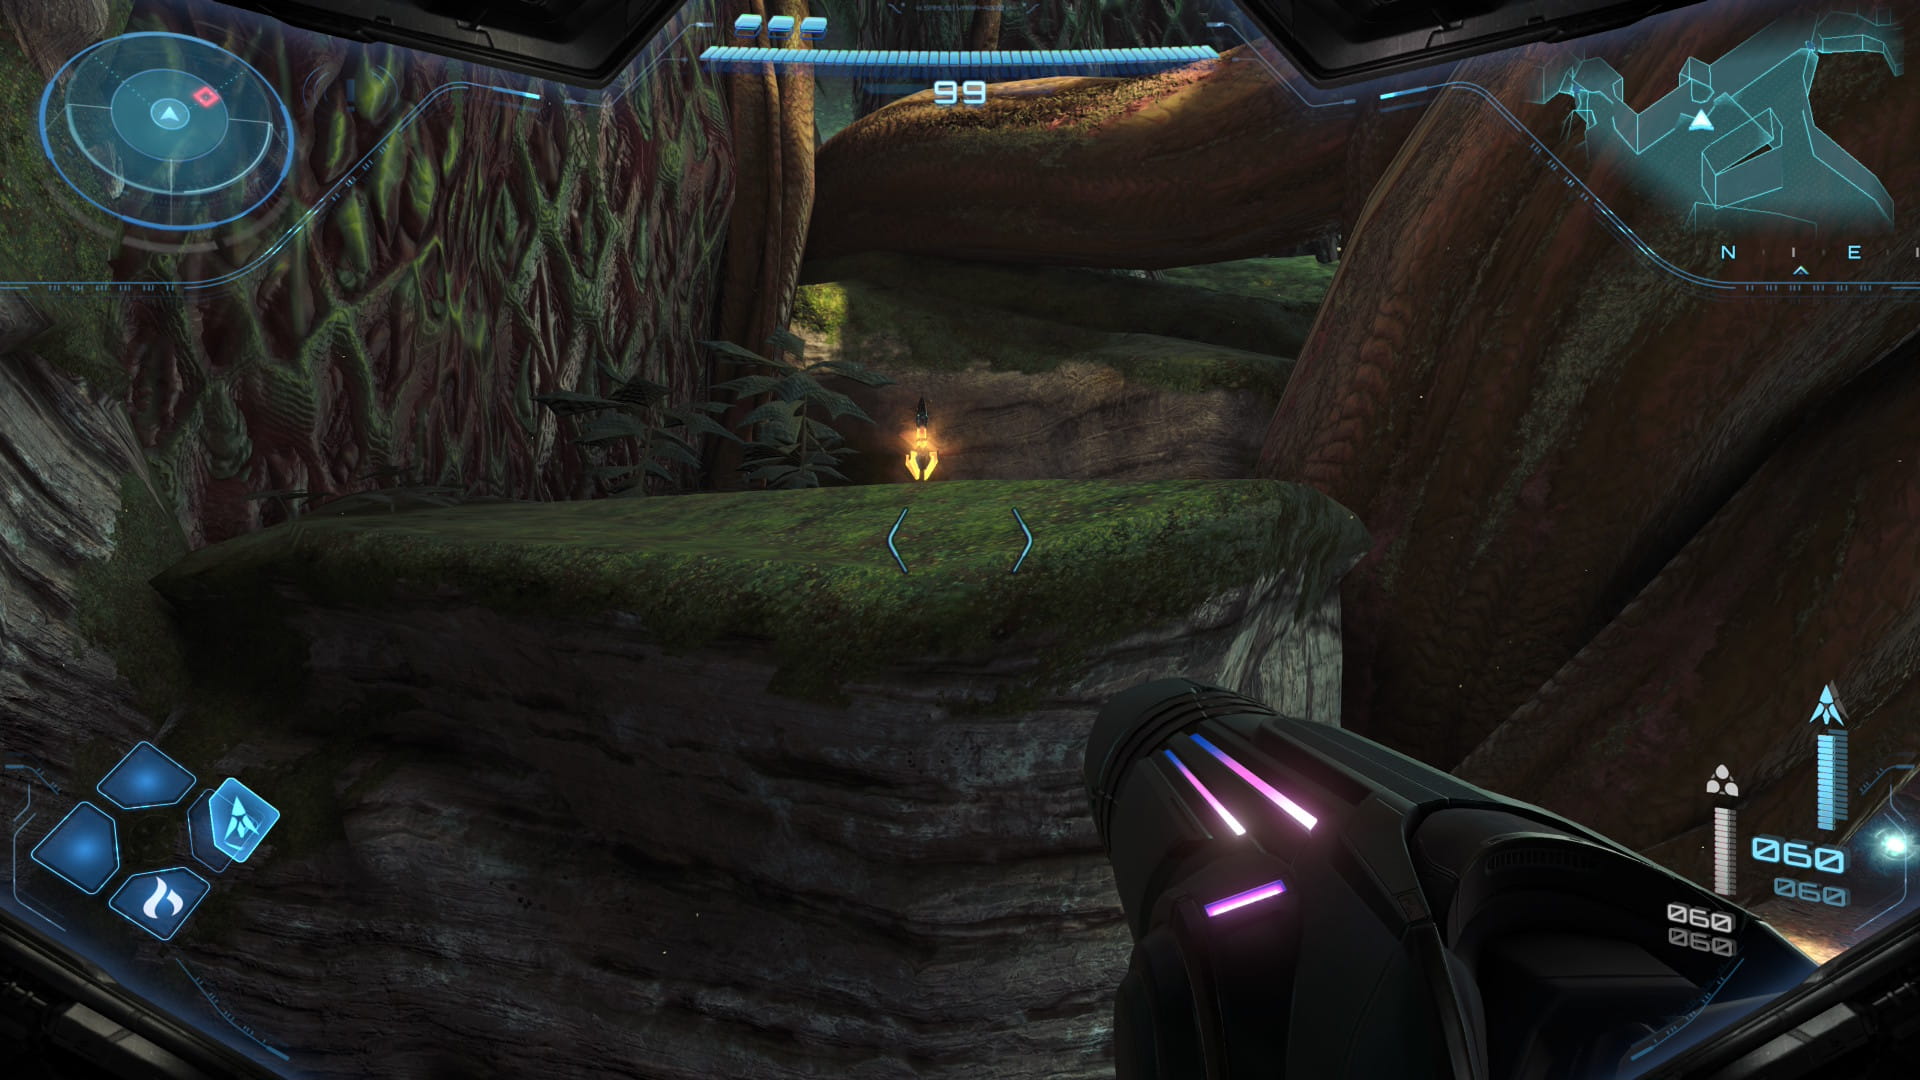
Shot Expansion #4
Proceed east 2 more rooms. Shoot the webbing in the left wall with a fire shot to get Shot Expansion #4.
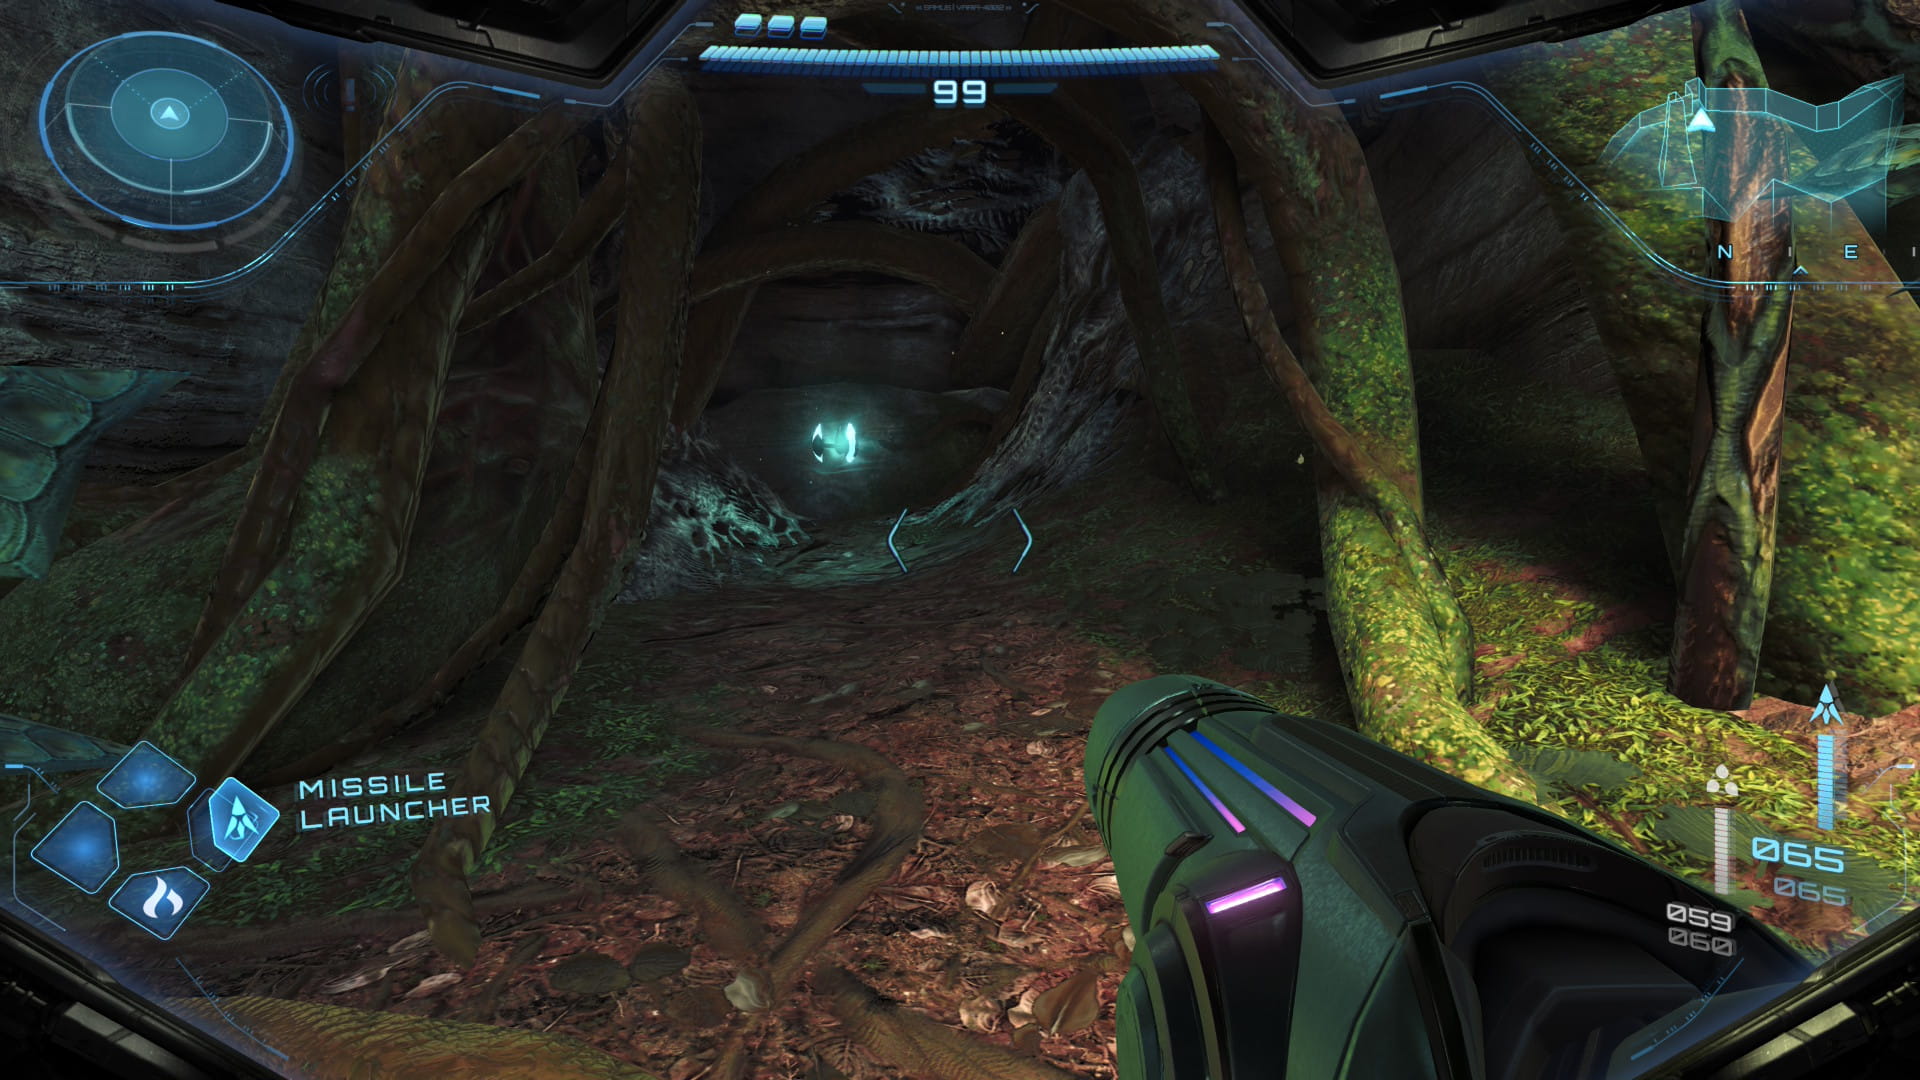
Shot Expansion #5
Continue all the way east to leave the area. Shoot the webbing to the left to find Shot Expansion #5.
Scans
| Sand Shren |
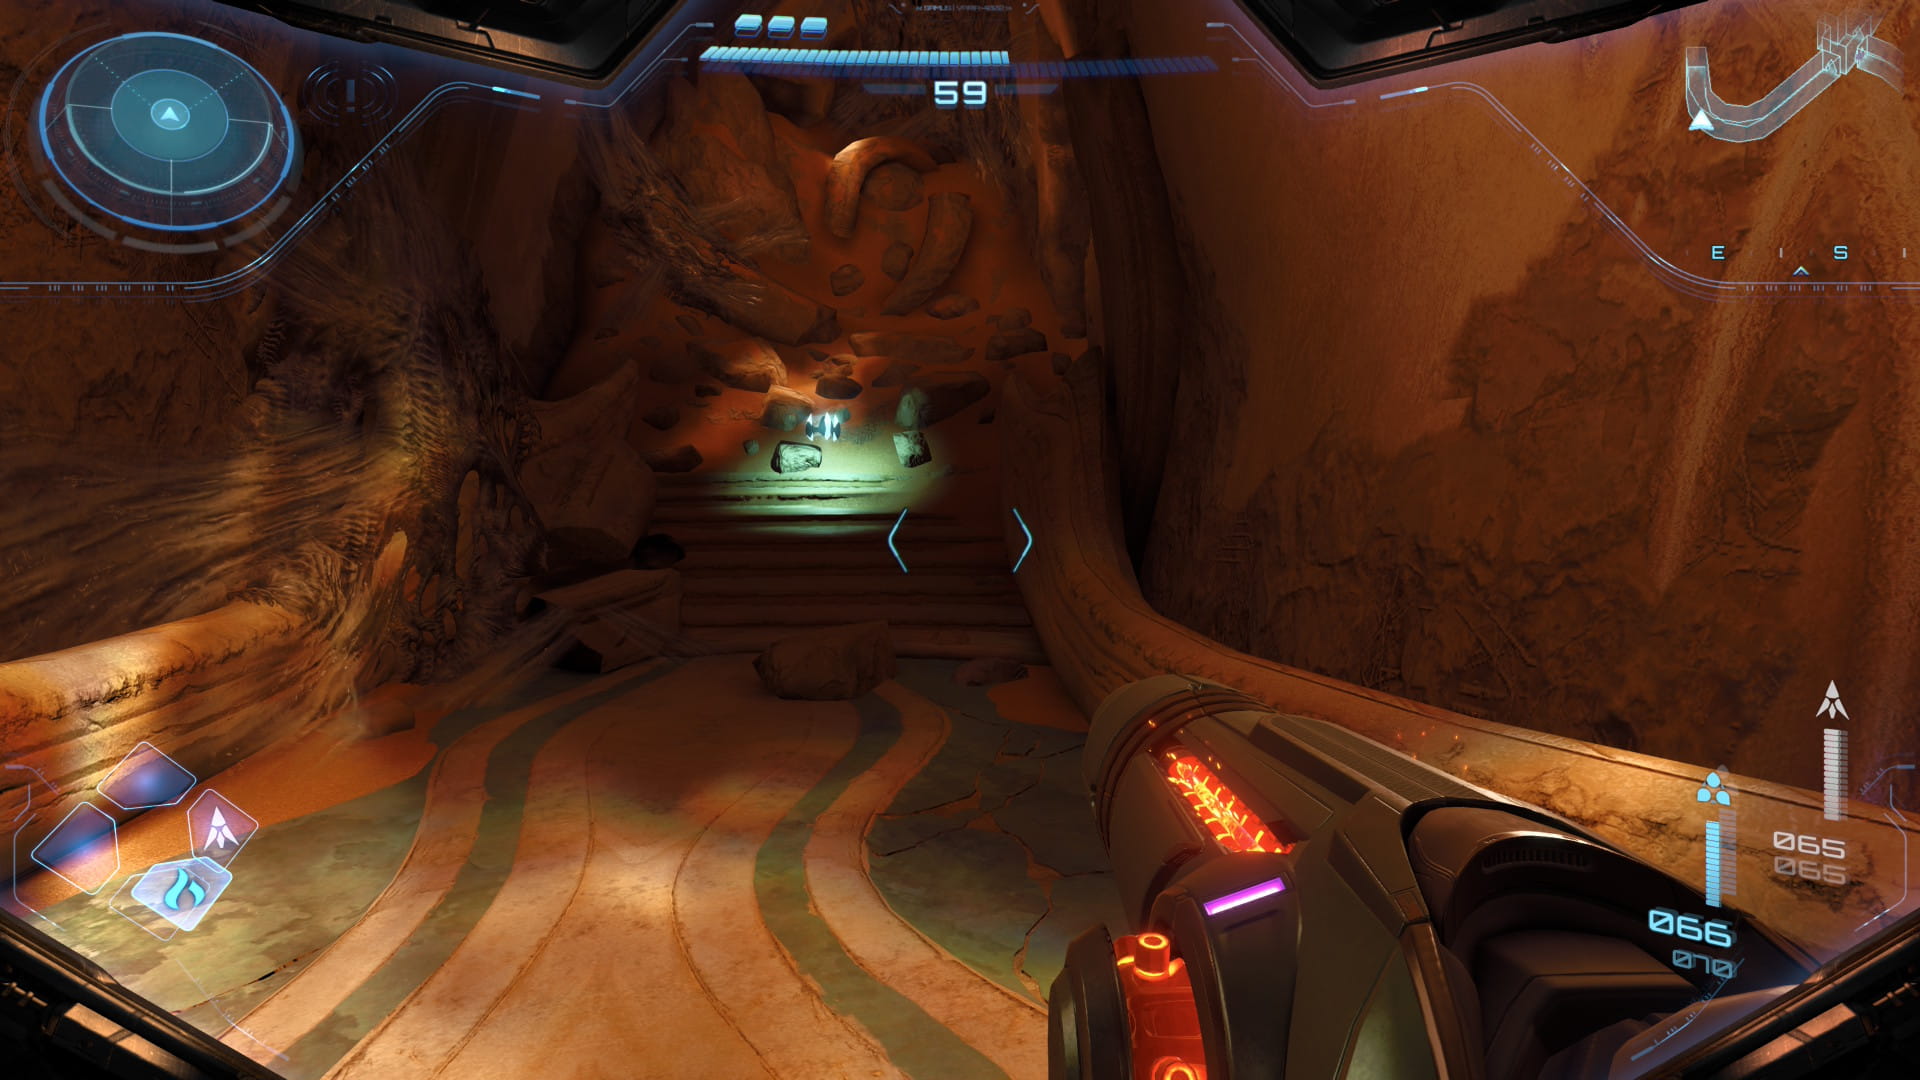
Leave Fury Green to start a cutscene. Then scan the Sand Shren.
Energy Tank #4
Scans
| Web Crawler |
Head out to Sol Valley. Drive north along the west wall until you find the Lamorn statue with heat emitting from its eye. Use the psychic glove to go down the elevator. Burn the webbing to enter the next room. Scan the Web Crawlers in here. Make sure to collect all the energy crystals in here. Then destroy the webbing covering the platform in the middle of the room. Use the psychic glove to lift the platforms up and jump onto the upper platform. Destroy the webbing on the wall. Go through the small space to get Energy Tank #4.
Charged Fire Shot
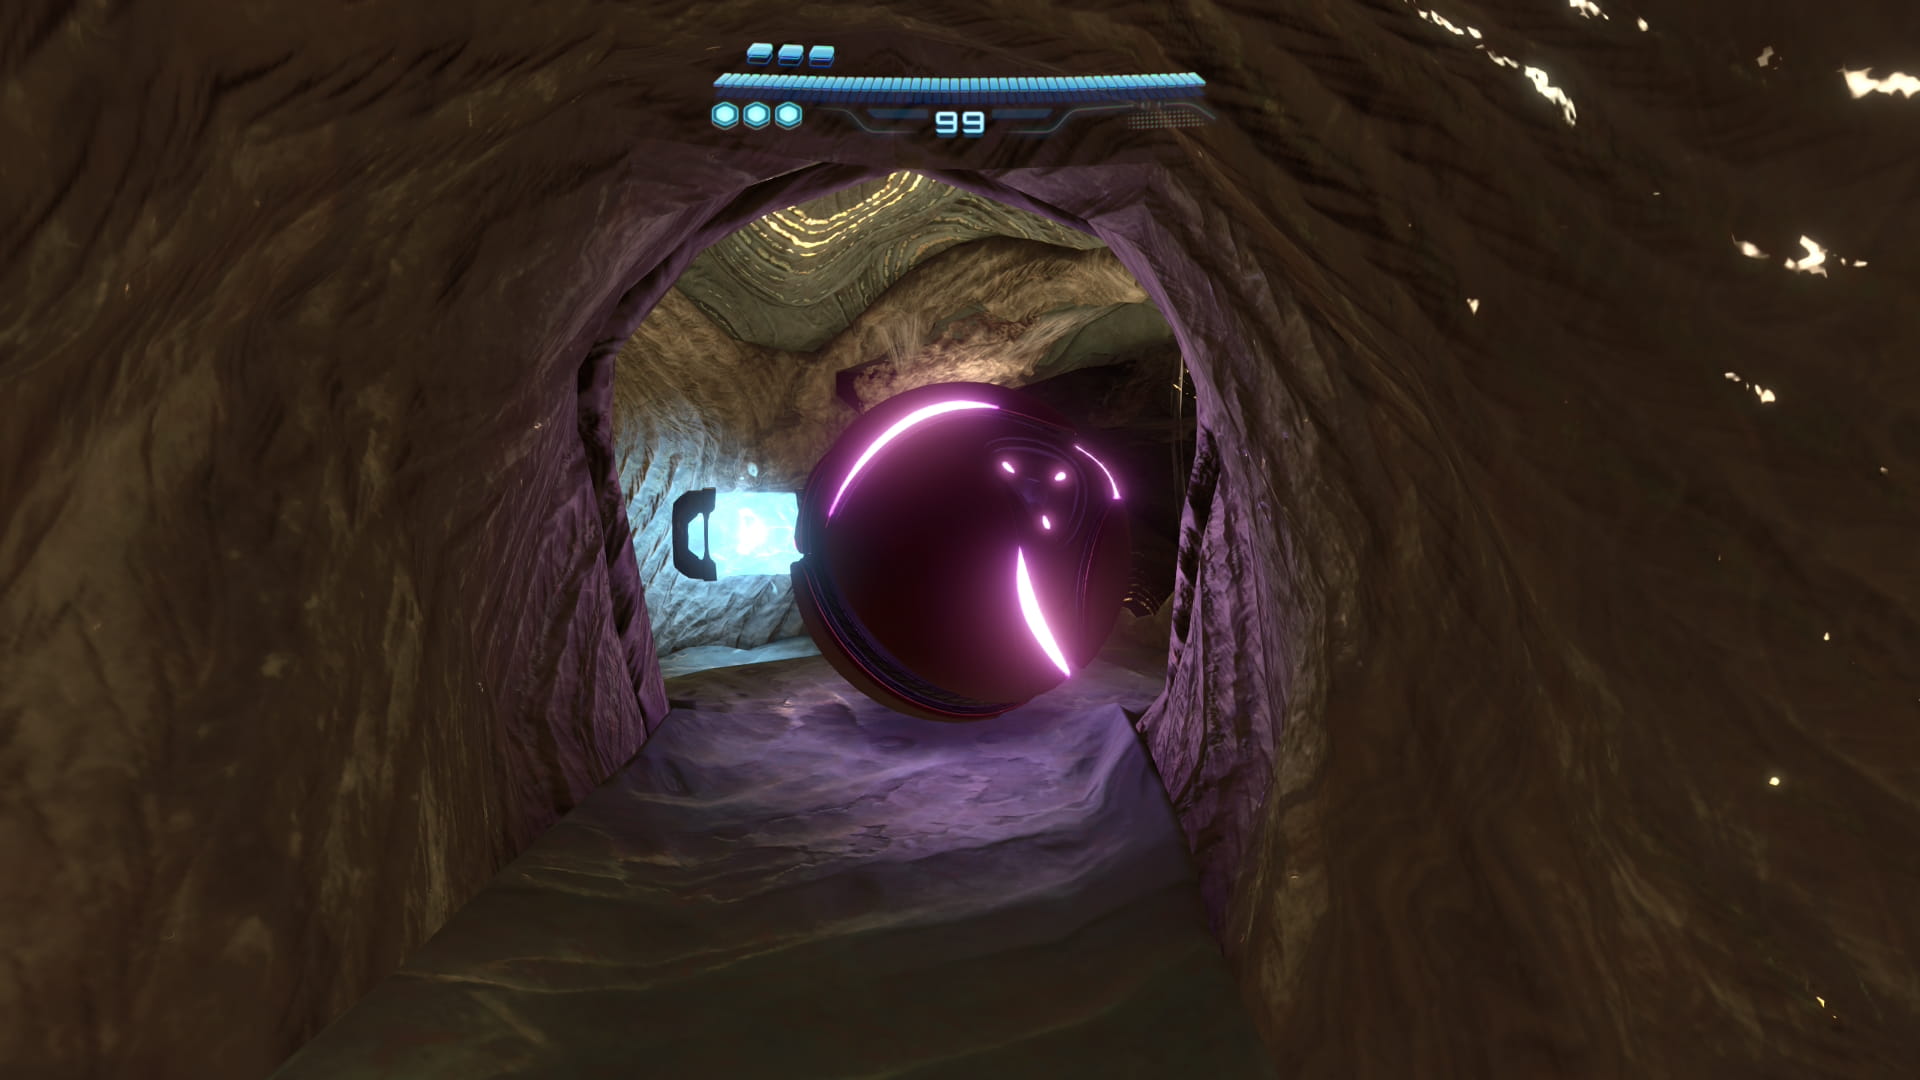
Return through the small space. Take the nearby door to get the Charged Fire Shot. Then head back up to Sol Valley.
Missile Expansion #12
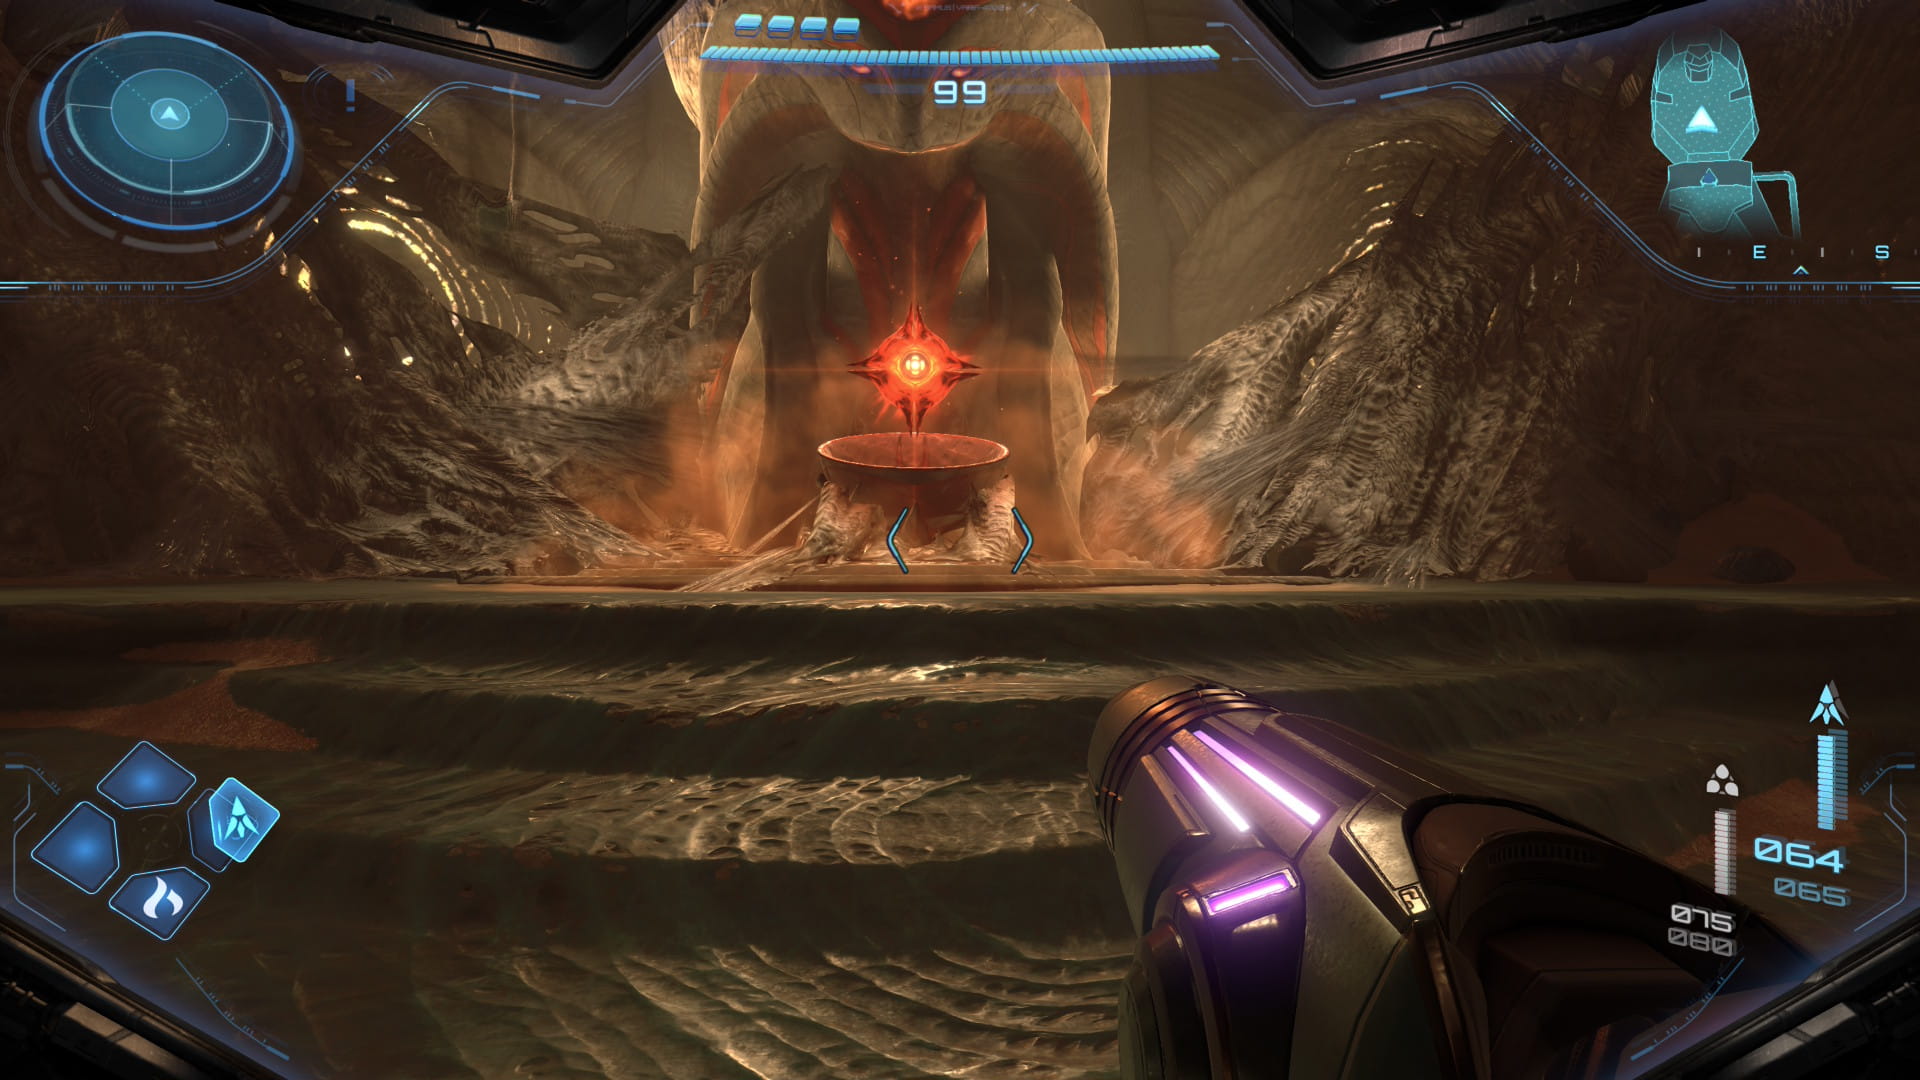
Continue north and enter the gate in the west wall. Jump up the psychic platforms to the right and go through the door there. Follow the path and go up the elevator. Ride the tram, then enter the next room. Use the bomb slot in the right wall to get Missile Expansion #12.
Scans
| Ice Crawler |
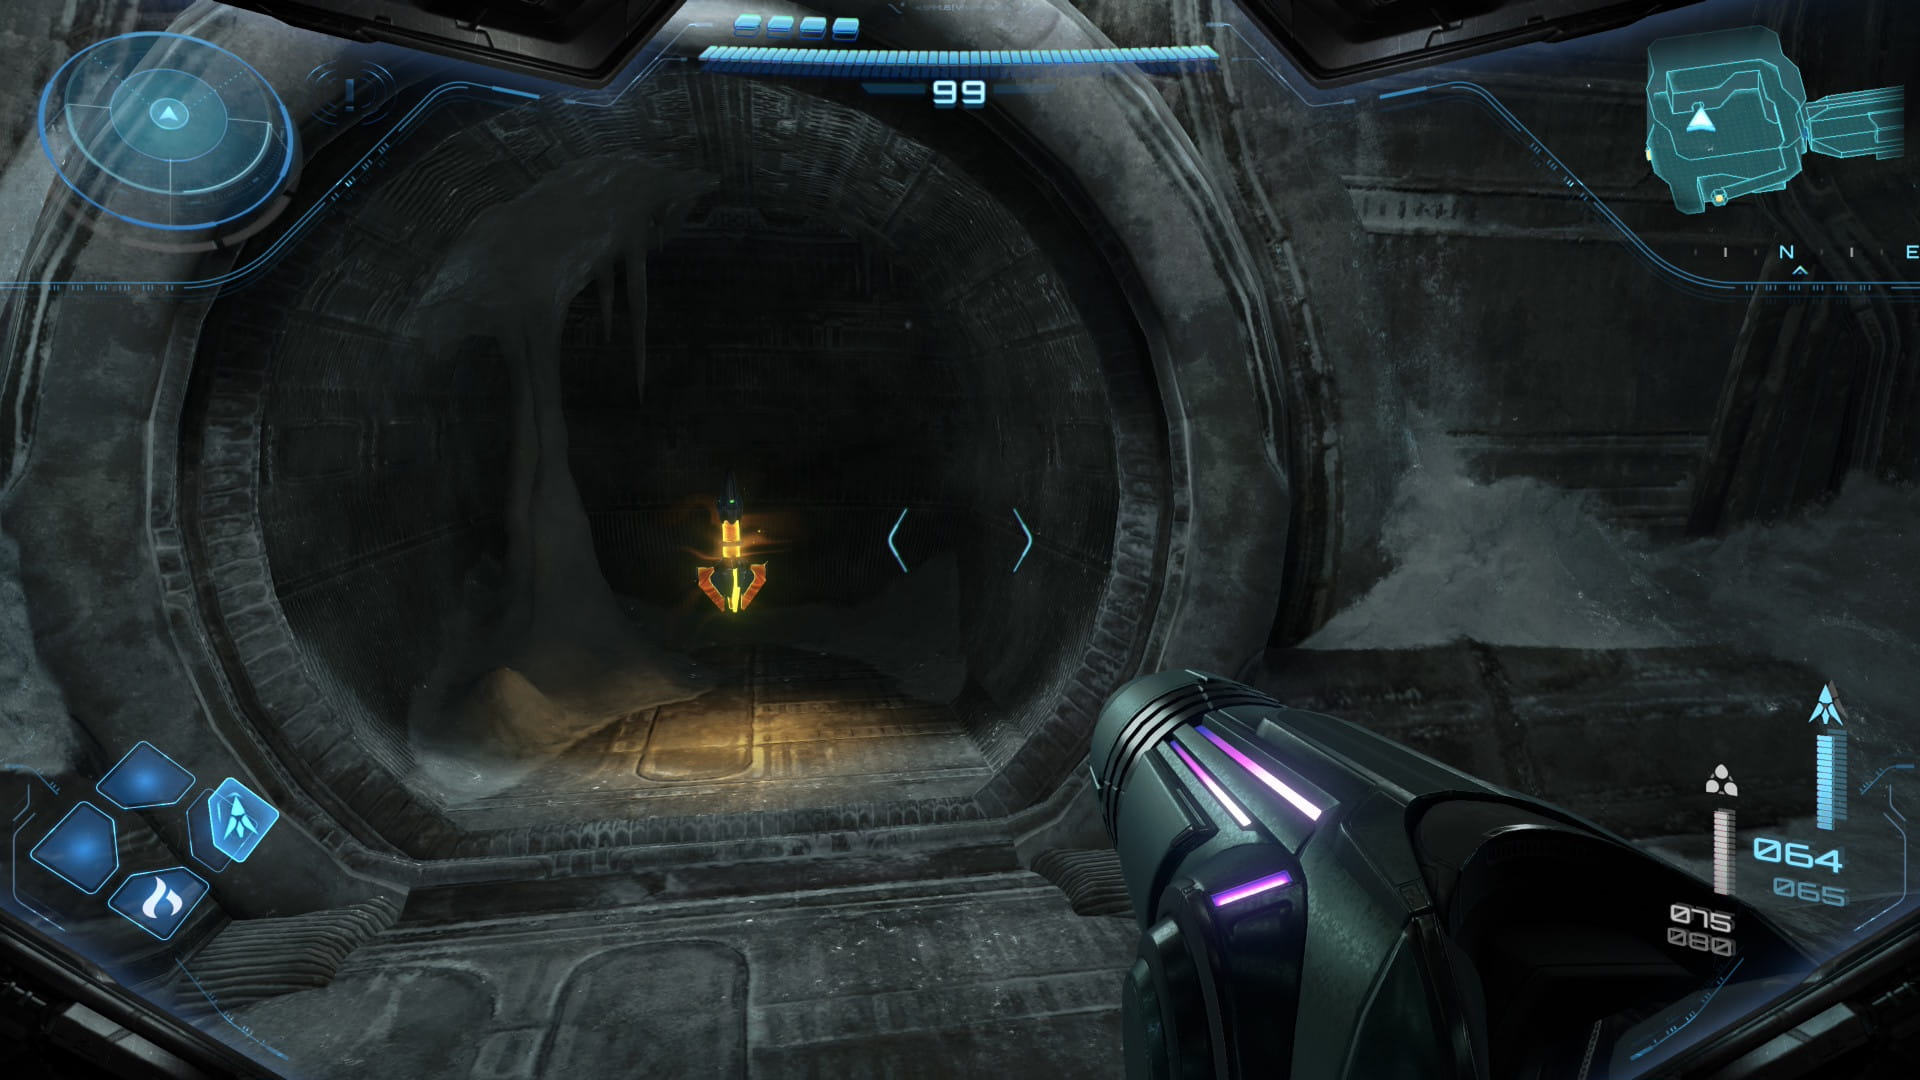
Go west 1 room and scan the Ice Crawler. Then melt the ice with a fire shot to enter the next room.
Shot Expansion #6
Proceed forward to start a cutscene. There's a small mound to the right. Here you'll find some ice you can melt to get Shot Expansion #6.
8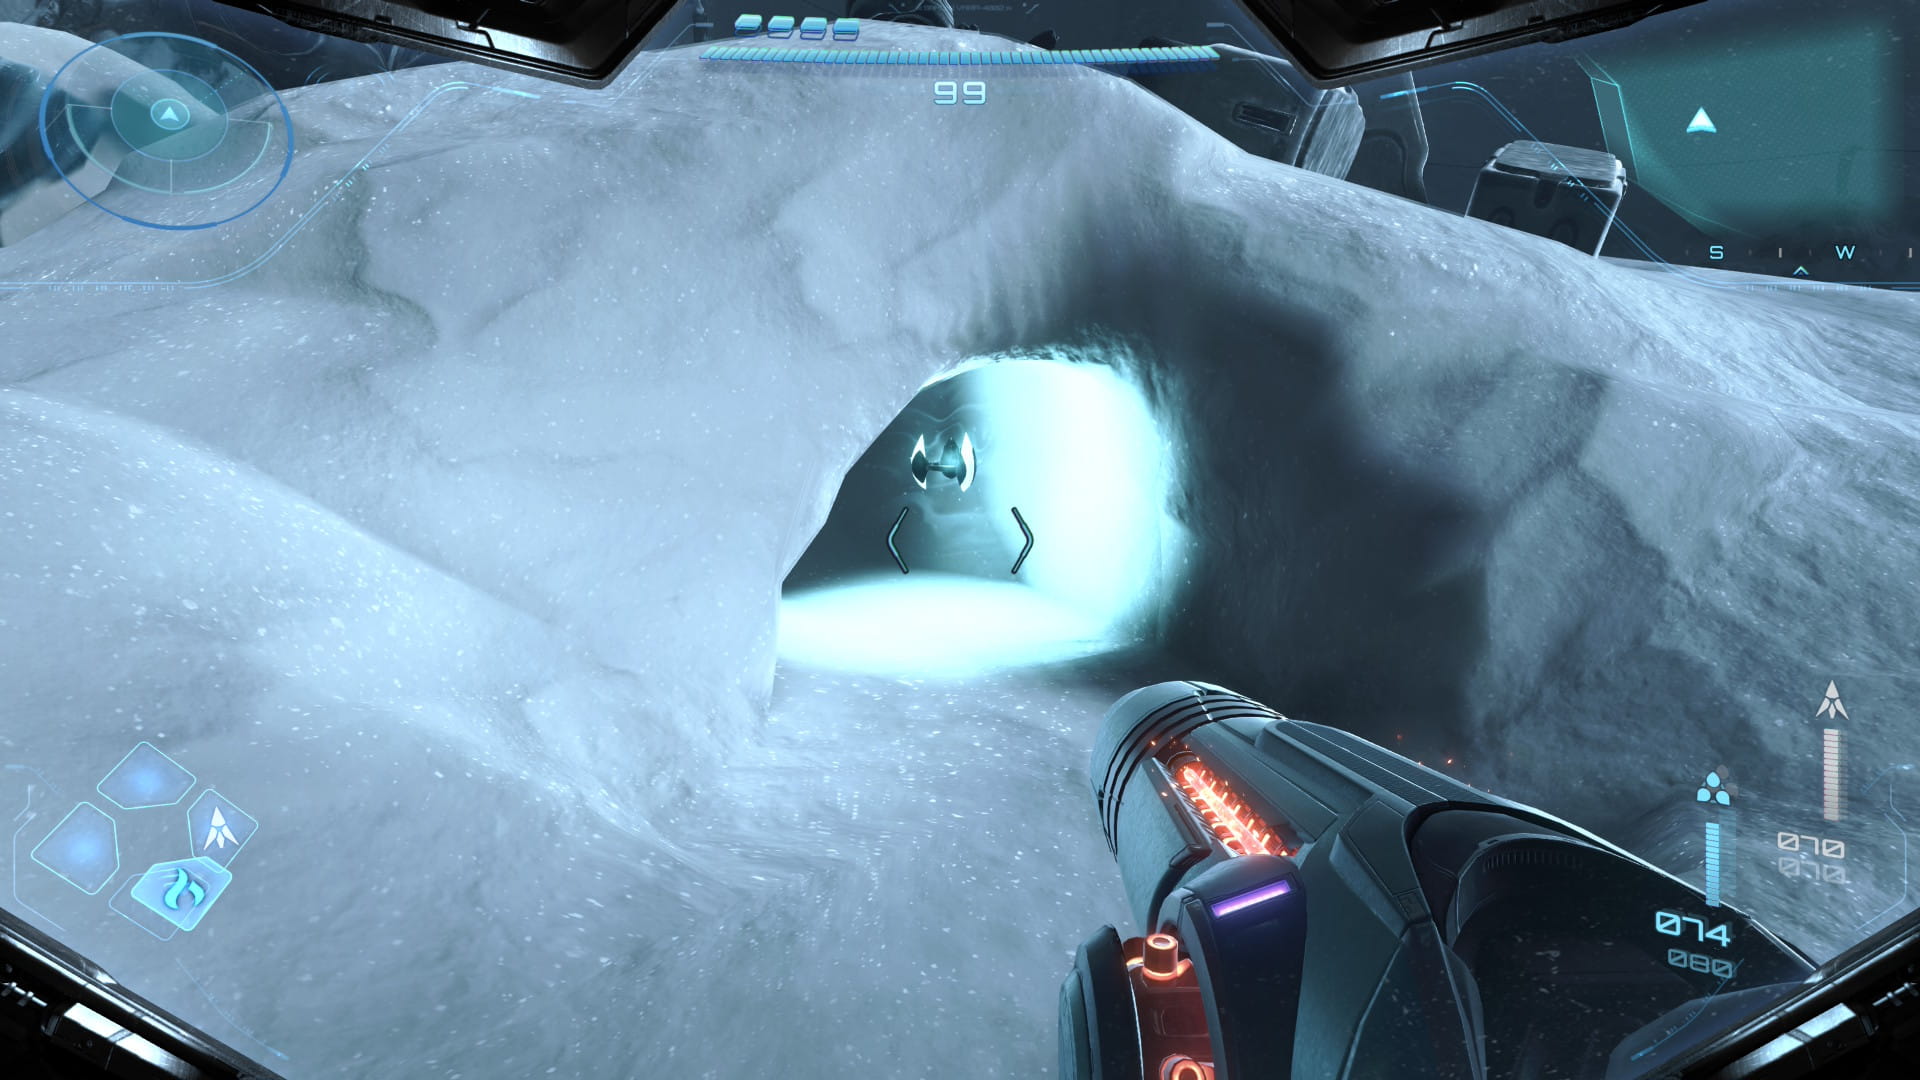
Scans
| Snow Wolf |
Walk onto the ice to start a battle against a pack of Snow Wolves, who need to be scanned. The strategy for this is to shoot each wolf that charges at you with a fire shot. After defeating enough wolves, a cutscene will play that chases them all away. Proceed through the next door.
Scans
| Reger Tokabi |
Continue through 1 more door. Take the path to the left to go to the upper level, then head through the south door. After the cutscene, scan the console to get the area map. Then scan Reger Tokabi and return to the previous room.
Scans
| Snow Roach |
| Dartwing |
Go through the glass door to the left. Shoot the floor with a missile to fall down. Scan the Snow Roaches here. Then scan the Dartwings hanging from the ceiling. Use fire shots to go through a small space. Then take the door to the left.
Scans
| Endeavor |
Continue forward all the way to the lock unit, then take the door to the left. Melt the ice in the right wall and use the bomb slot. Scan the diary in this room for the Endeavor entry. Then interact with the console.
Psychic Lasso
Scans
| Gifts |
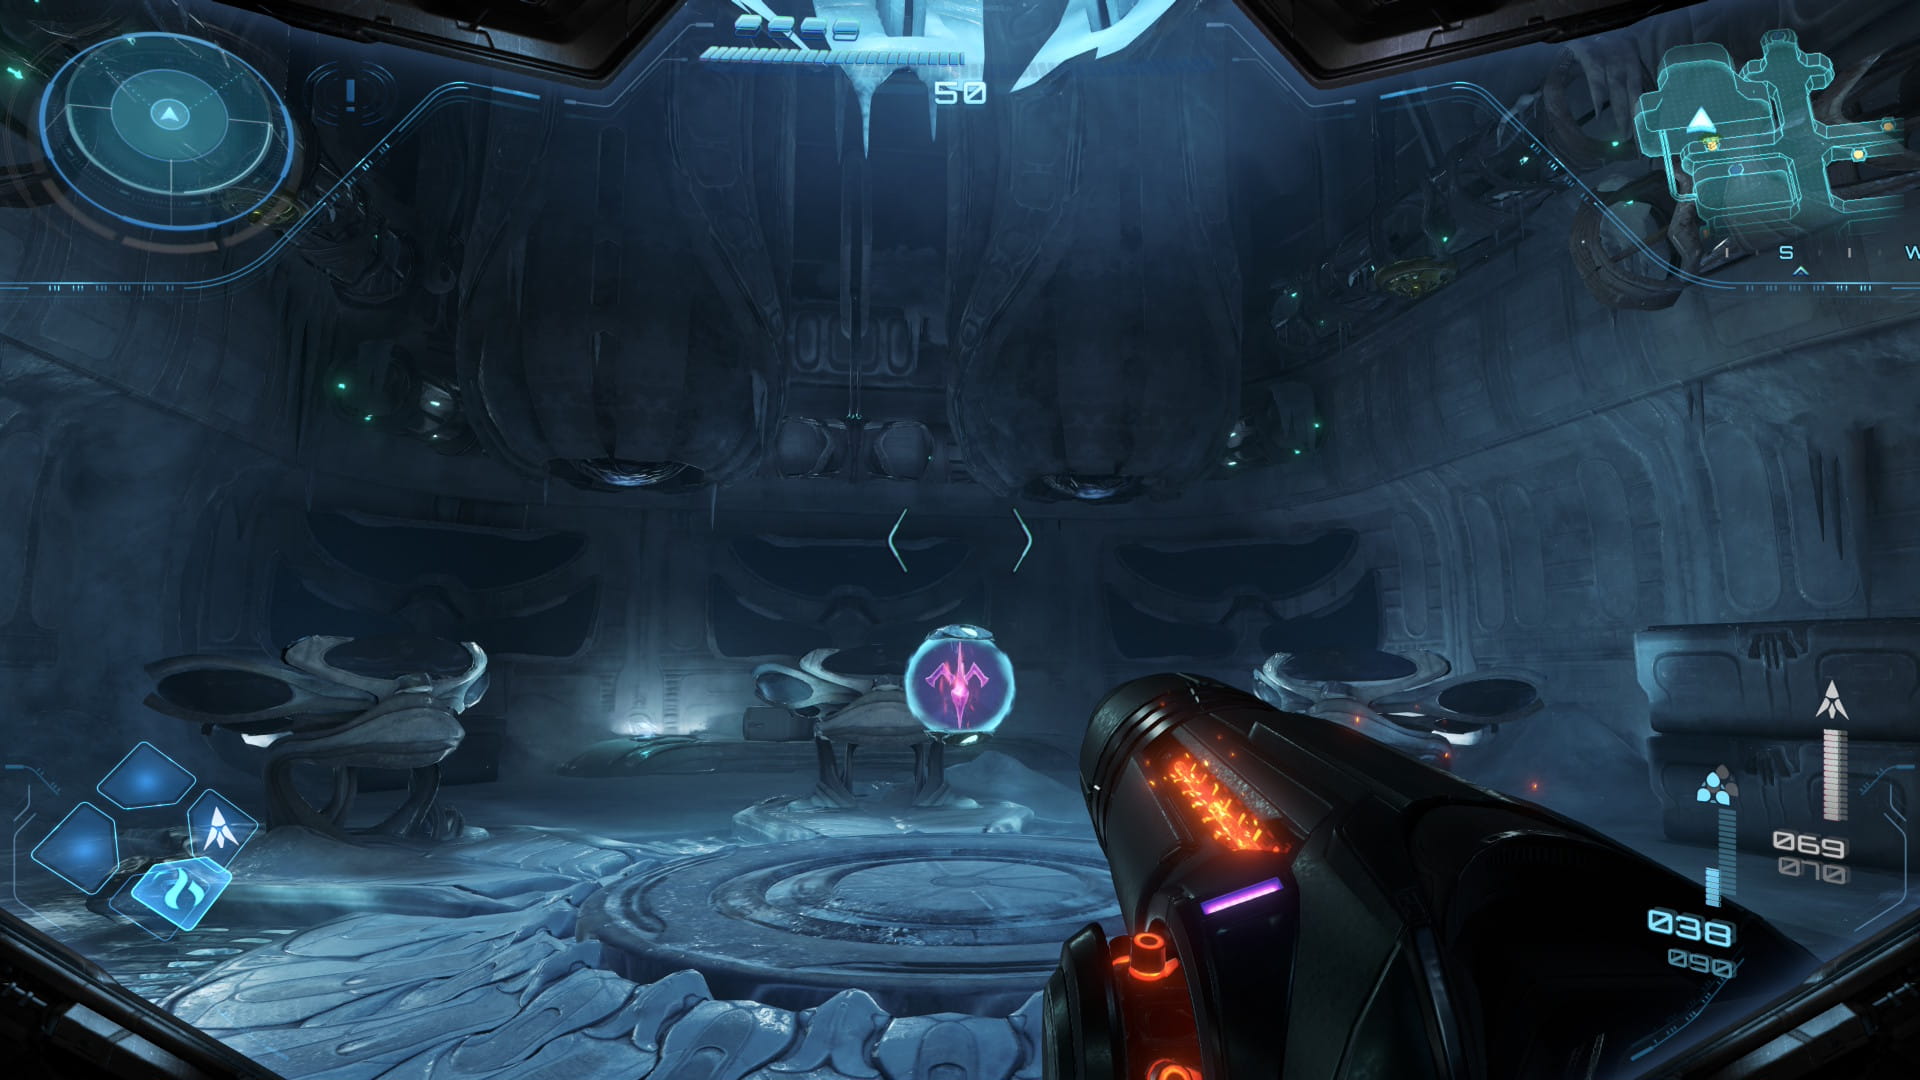
Return to the previous room. Walk out to the lock and turn right. Then head down the first hallway to the left and enter the left door. Use a bomb to go through the small space in the right wall. Drop down and scan the diary for the Gifts entry. Then use the psychic glove to get the Psychic Lasso upgrade.
Shot Expansion #7
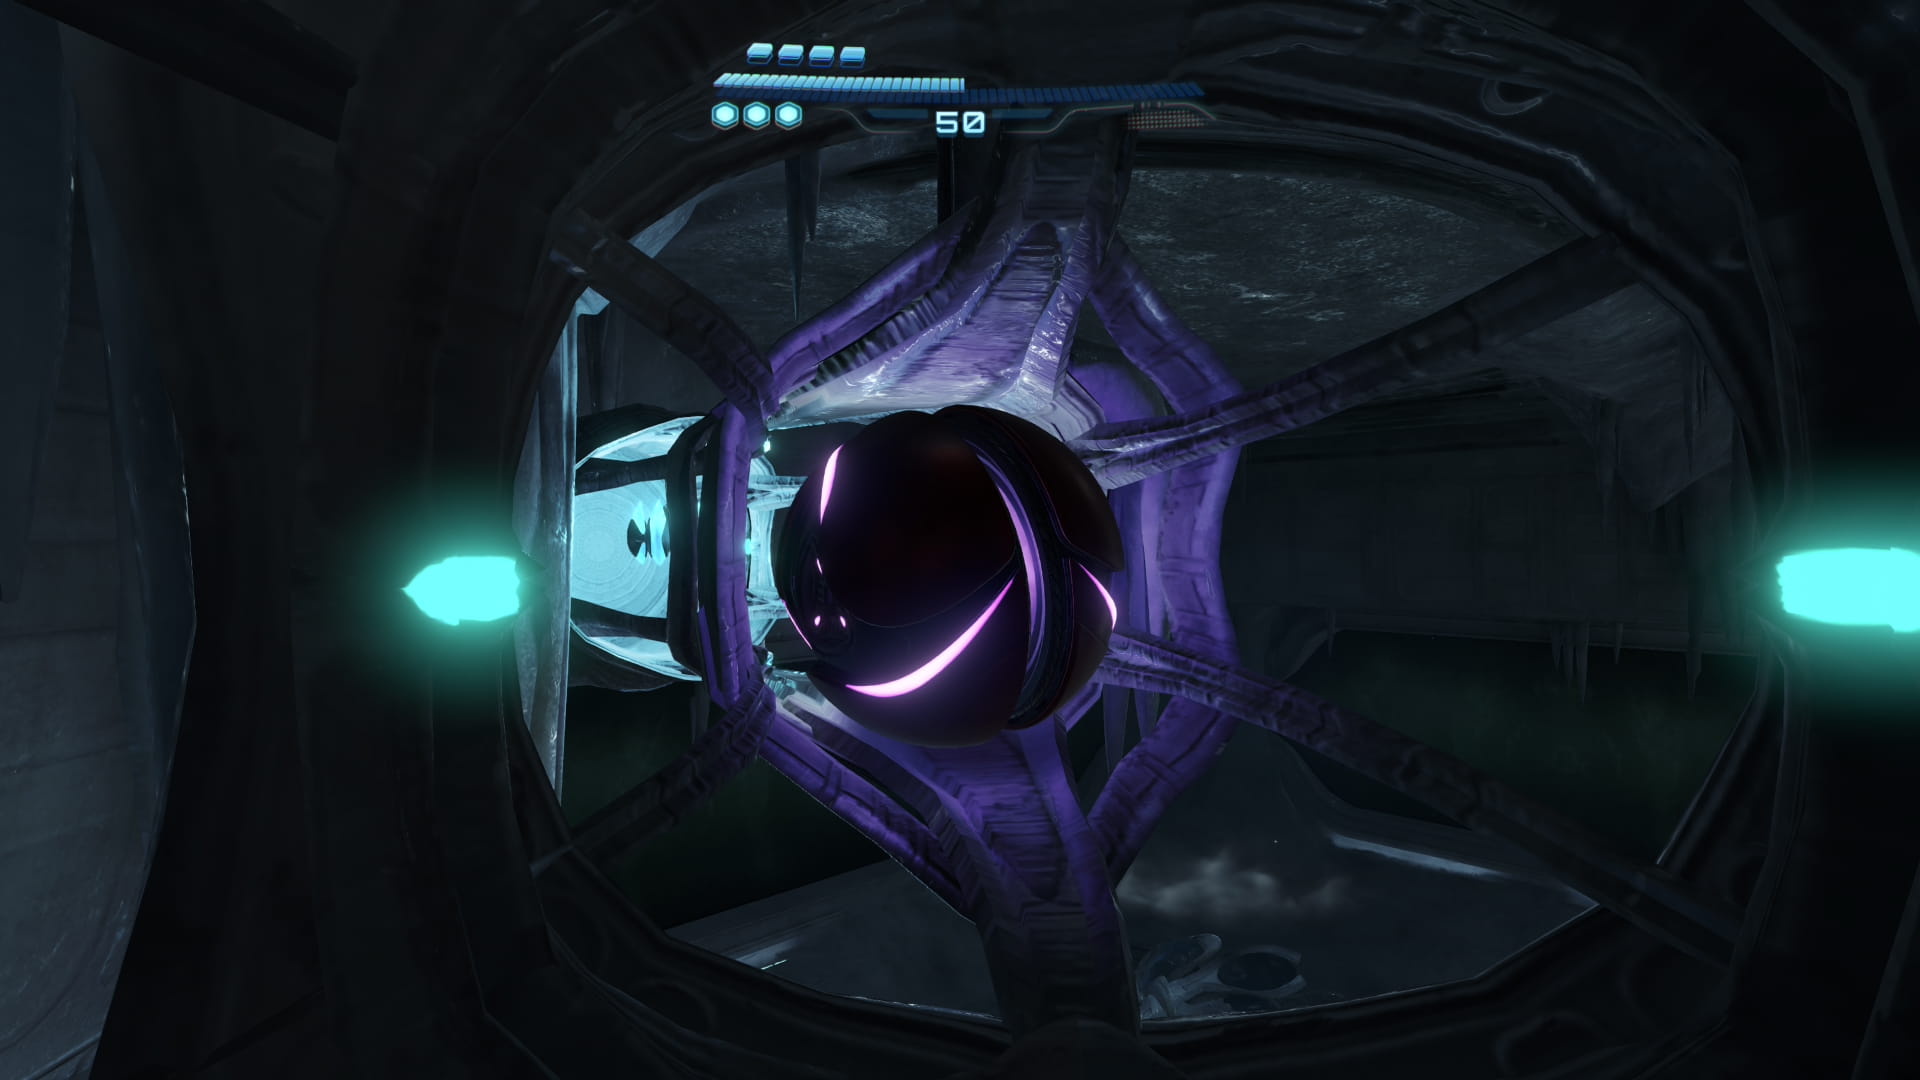
Pull down the tracks from the ceiling. Then use the lasso to reveal a bomb slot, which activates a lift. Take the lift up and roll to the right to find Shot Expansion #7.
Scans
| Security |
Roll the other way to enter the next room. Use the lasso to open the case on the north side of the room. Then scan the vial to get a TK Code Fragment. Head through the door, turn right, walk past the intersecting hallway, and take the door on the right. Scan the middle tank for another TK Code Fragment. Return to the hallway and take the door you see to the right. Scan the diary on the desk for the Security entry. Then return to the hallway.
Missile Expansion #13
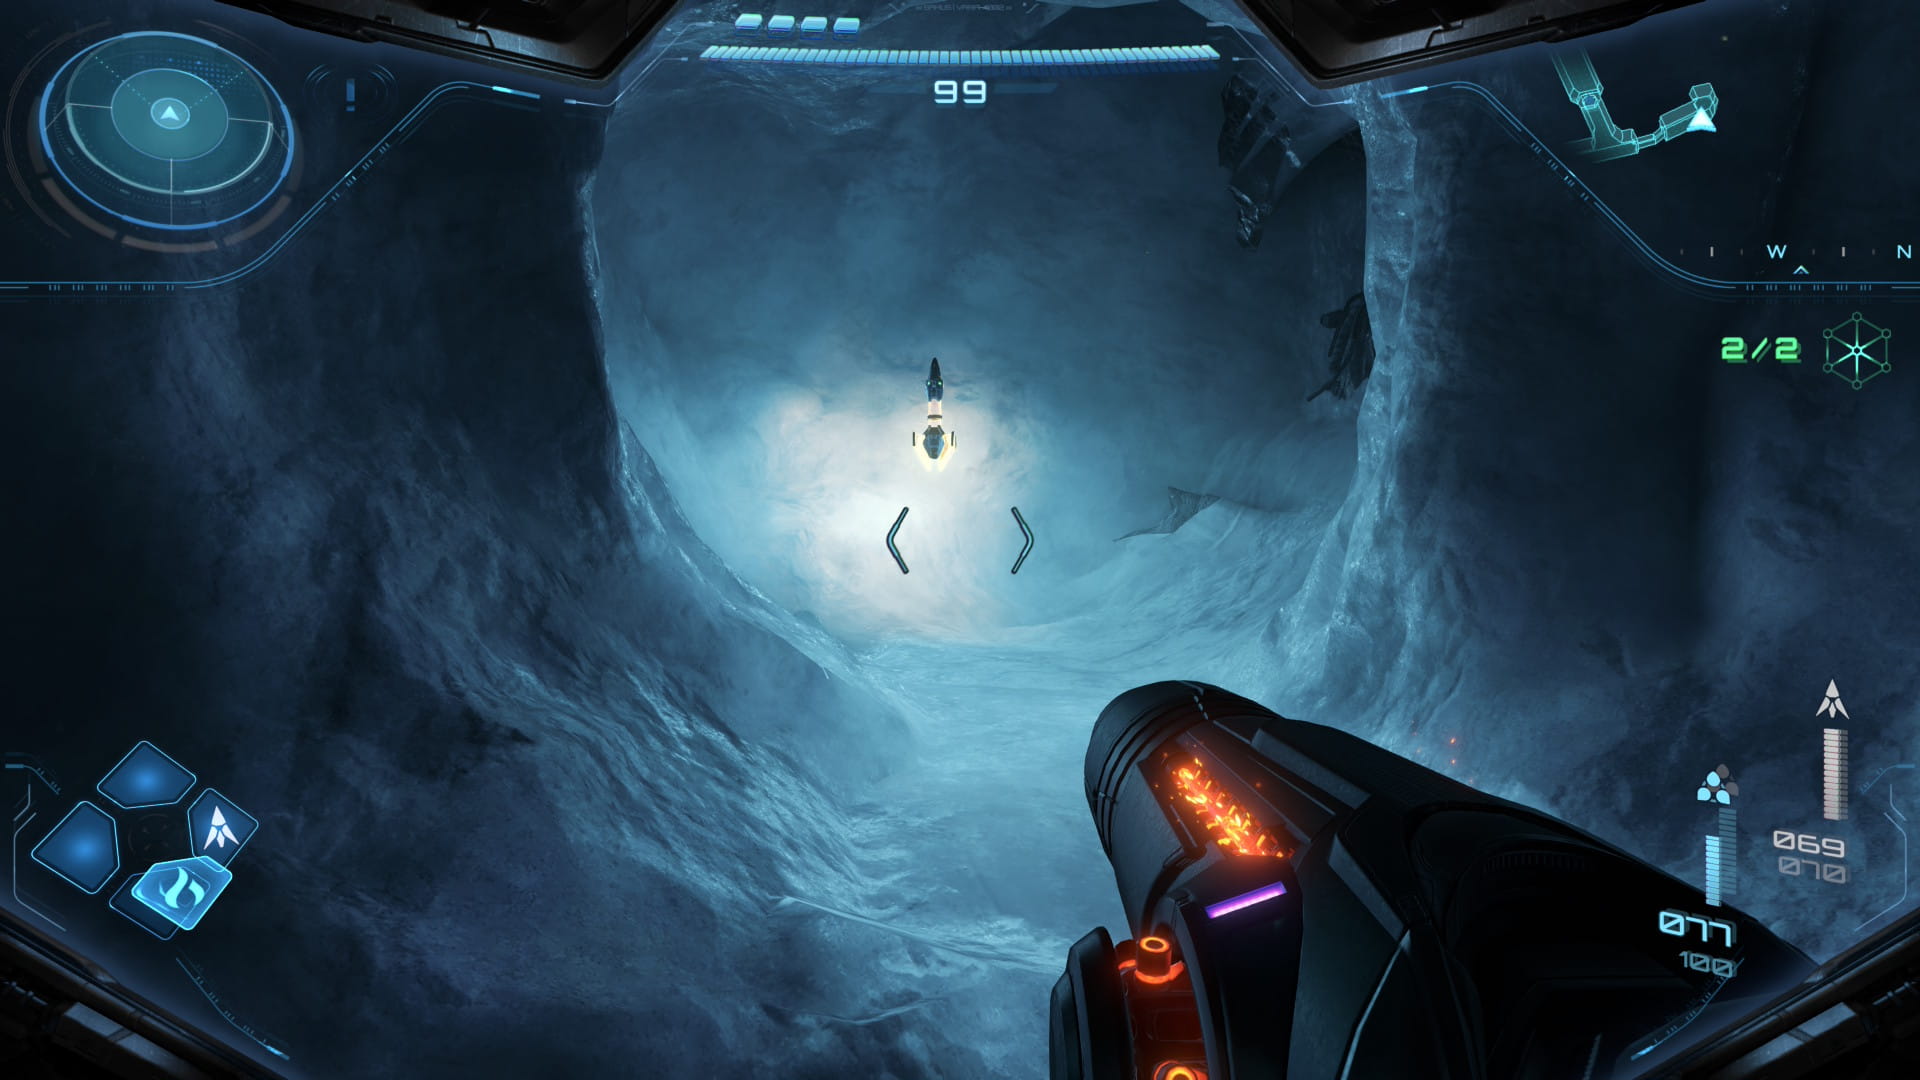
Turn right, take the hallway to the left, then the hallway to the right, and use the lasso to go through the door. Proceed through another door. Scan the console to get the area map. Return to the previous room and use the lasso to go through the small space. Melt the ice with a fire shot to get Missile Expansion #13.
Scans
| Light Maintenance Tank |
Return to the lock unit and use the psychic glove to unlock it. Proceed through the next door. Scan the Light Maintenance Tank you encounter here. Then continue down the ramp and through the door.
Scans
| Anxiety |
Scan the diary to get the Anxiety entry. Then break the window next to it with a missile and jump through. Head down the hall and through the last door on the right. Use a bomb to enter the small space. Scan one of the vials for a TK Code Fragment. Return through the small space, head out to the hallway, and take the door on the right.
Scans
| Awakening |
Use the lasso to go through the west door. Scan the diary to the right for the Awakening entry. Then proceed through the door ahead.
Scans
| Analysis |
Continue forward and use a bomb to go through the right side of the curved wall. Scan the diary for the Analysis entry. To the left is a monitor that you need to thaw with a fire shot and then pull it down with the lasso. Scan it to get a TK Code Fragment. Then return back to the Medical Hub.
Scans
| Breakthrough |
Take the south door now. Scan the diary to the left for the Breakthrough entry. Then continue through the next door.
Scans
| Attempt |
Scan the console on the far side of the room. Then scan the system in the middle of the room for a TK Code Fragment. Return to the Medical Hub and take the east door. Scan the diary to the left for the Attempt entry. Proceed through the next door.
Scans
| Limit |
Follow the path to the left and scan the diary for the Limit entry. Head through the door in the right path. Walk down the hallway and enter the door on the left. Melt the ice at the top of the room and interact with the console. Scan the pod that opens to get a TK Code Fragment.
Scans
| Resignation |
Return to the lock in the Staging Corridor and unlock it. Walk down the ramp. Scan the diary to get the Resignation entry. Then proceed to the next room.
Scans
| Blue Krauk |
Continue forward 2 more rooms and then use the door on the left. Proceed through 1 more door. Scan the Blue Krauks that fly by you. Drop down to the lower ledge and cross the first pair of bridges. Follow along the path until some of the ground collapses. Look to the left and you'll see a bridge stuck to a wall. Shoot it with a missile to create a path forward. After the bridge falls, proceed through the door.
Scans
| Records |
Use a fire shot to go through the small space in the next door. Scan the diary to the left for the Records entry. Then take the door to the left.
Scans
| Query |
Proceed forward through 3 more doors. Scan the diary to the right for the Query entry. Follow the path downward and through the next door.
Energy Tank #5
Scans
| Prayer |
Use some fire shots to go to the next room. Scan the diary to the left for the Prayer entry. Turn around and thaw the ice that's below the central platform. Then use the lasso to move the bomb slot to the front and power it. Interact with the console to start the fans. They'll get stuck and you'll need to hit 3 targets with control beams to activate them (one in the middle of the first fan, one in the left wall, and one in the right wall). Interact with the console to lower the ramp. Walk down it and use a bomb to go through a small space. Avoid the electricity as you push forward to get Energy Tank #5.
Shot Expansion #8
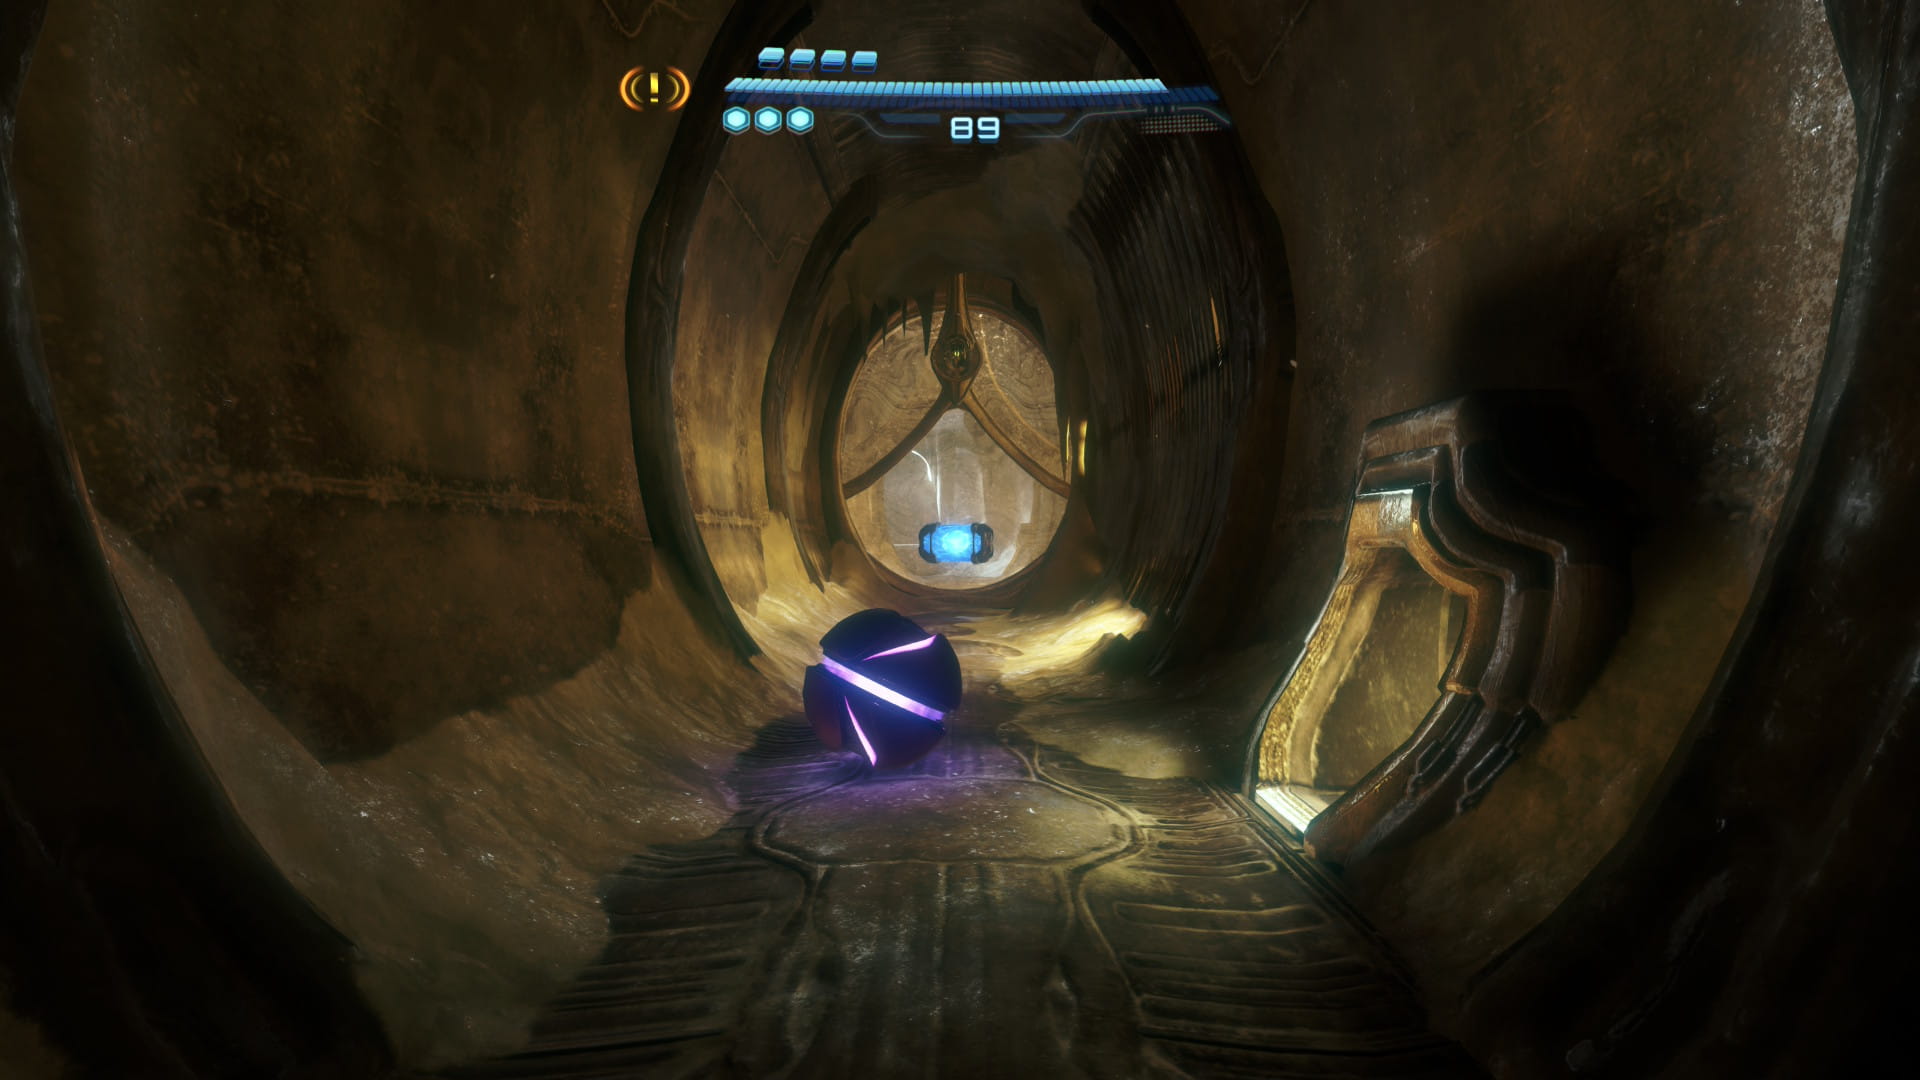
Return to Deep Archive and use the bomb slot to start a cutscene. Afterwards, go through the small space in the north wall. Use a psychic bomb on the bomb slot to the right. In one of the pods you'll find Shot Expansion #8.
Scans
| Frostburn Griever |
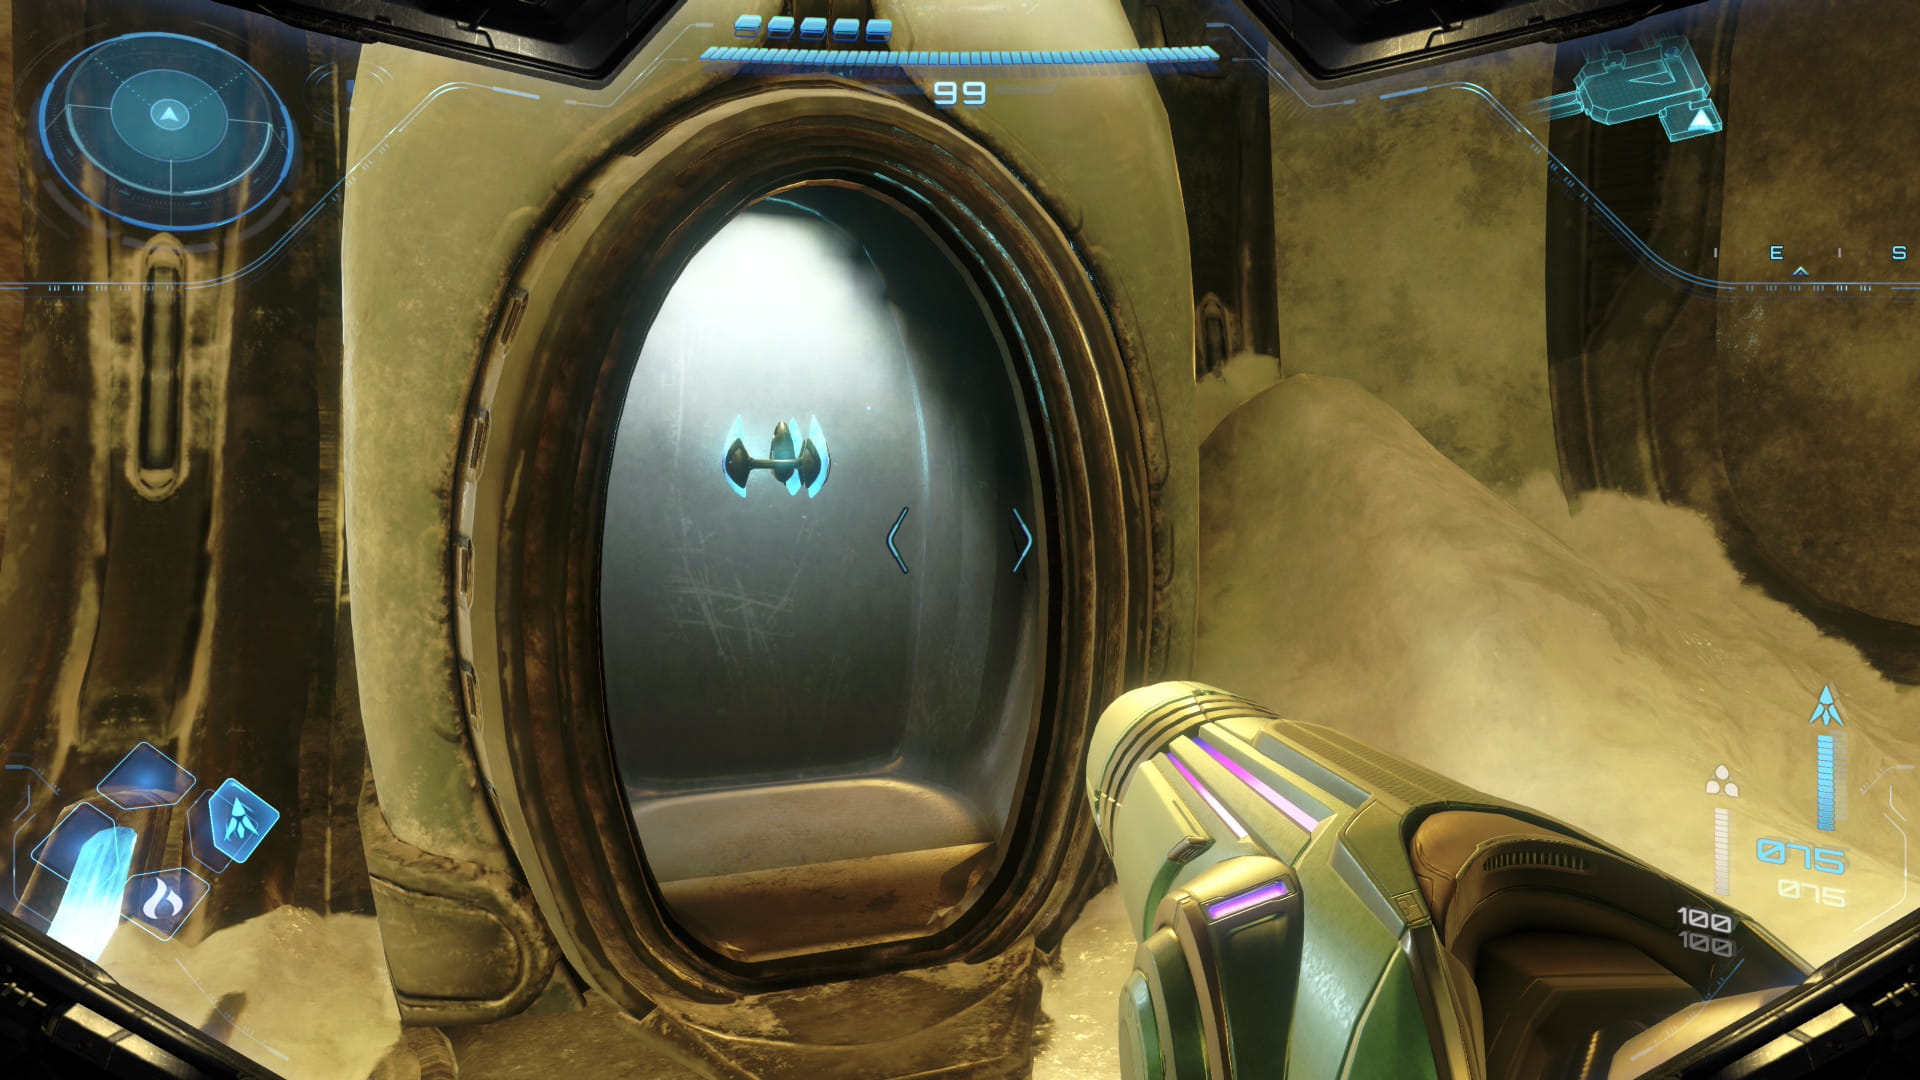
Head north 2 rooms and interact with the console to the right. Follow the new path to the right and then go through the next 4 doors. Head through the small space in the left wall. Here you'll encounter some Frostburn Grievers. Proceed through the corridor and enter the large area of the room. Go through the small space in the left wall.
Missile Expansion #14
Defeat the Grievers in this room and proceed through the small space in the west wall. Return to the Medical Hub and defeat the Grievers there. Destroy the blockage covering the west door with a missile and head through. Defeat the Grievers and go through the last door on the right. Head through the small space to find Missile Expansion #14.
Shot Expansion #9
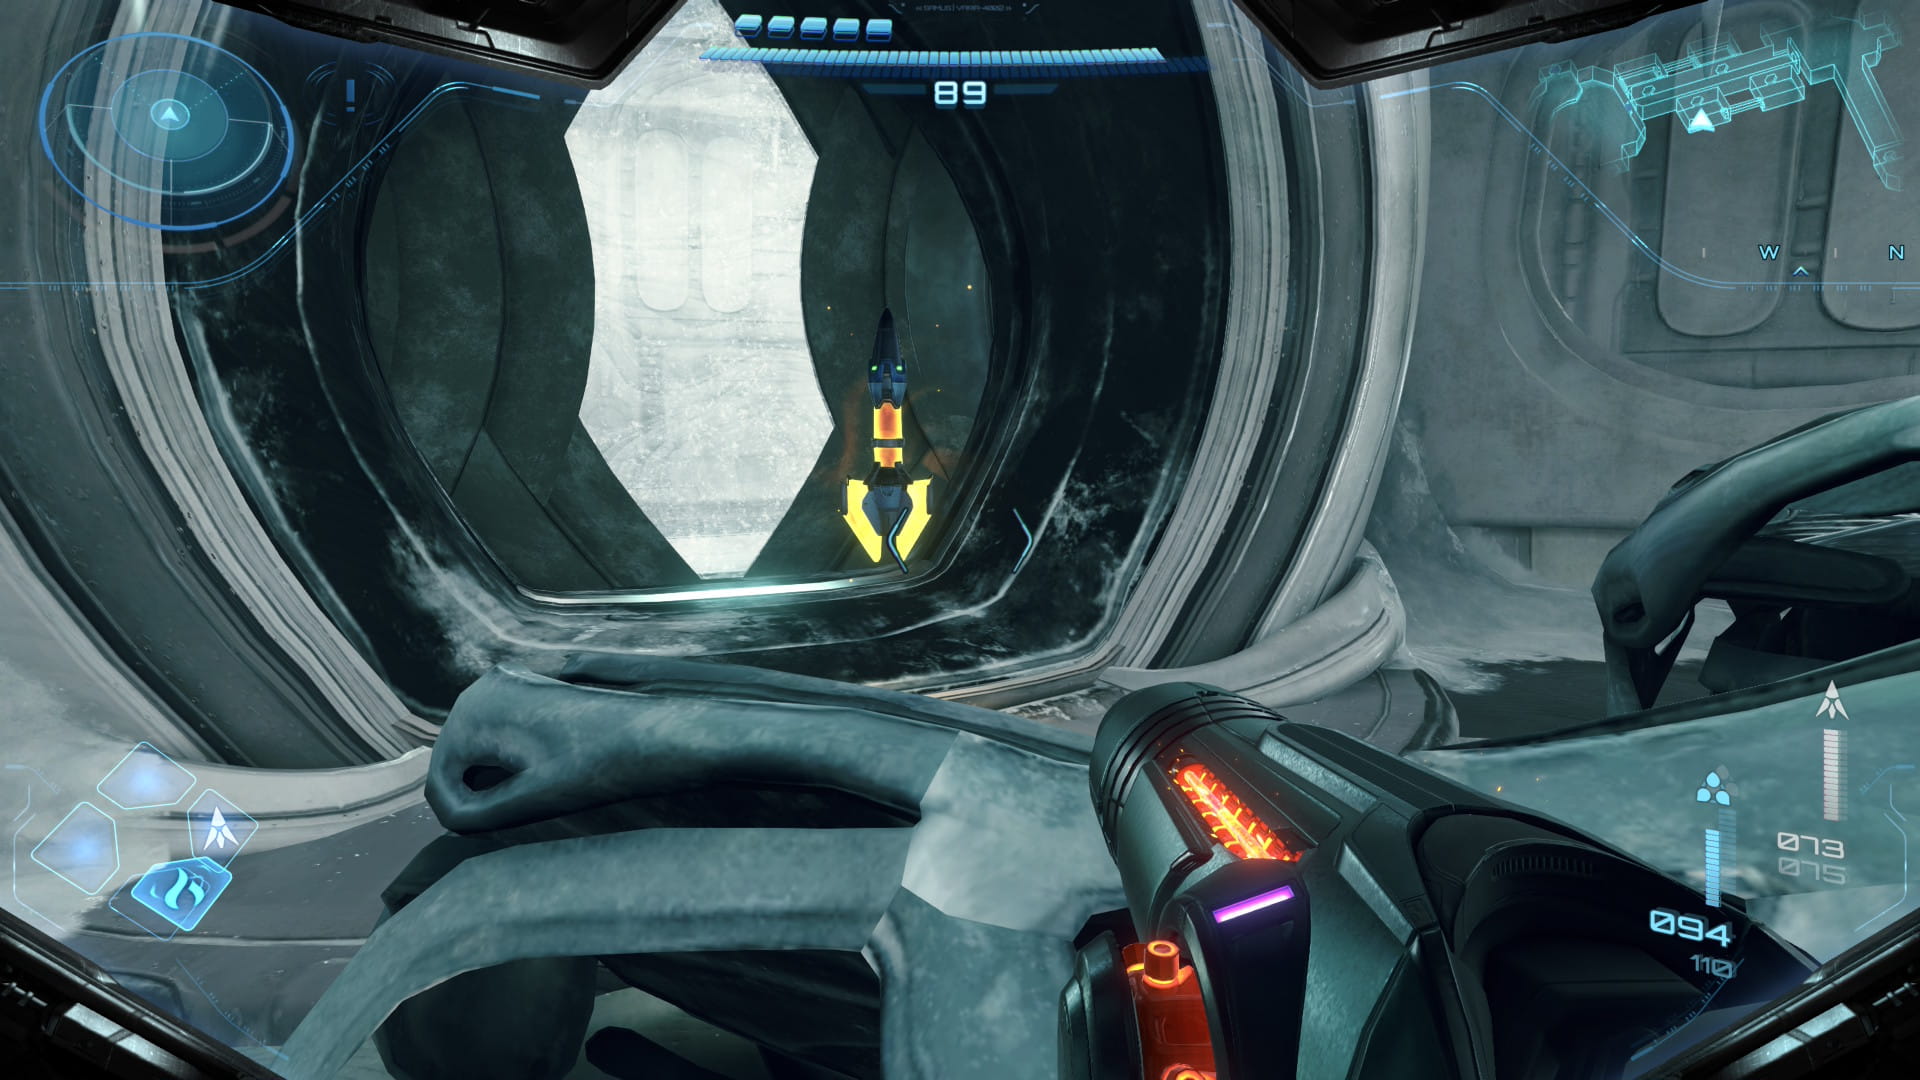
Return through the small space and continue upward to the Cryopod Conveyor. Enter the small space in the left wall. Use bombs under the yellow lines to be launched upward and exit the room. Jump to the upper level and protect Tokabi from the Grievers. After the cutscene, take the elevator down. Proceed forward 1 room. Use a bomb to go through the left wall and find Shot Expansion #9.
Psychic Boost Ball
Scans
| Keratos (SCAN NOW) |
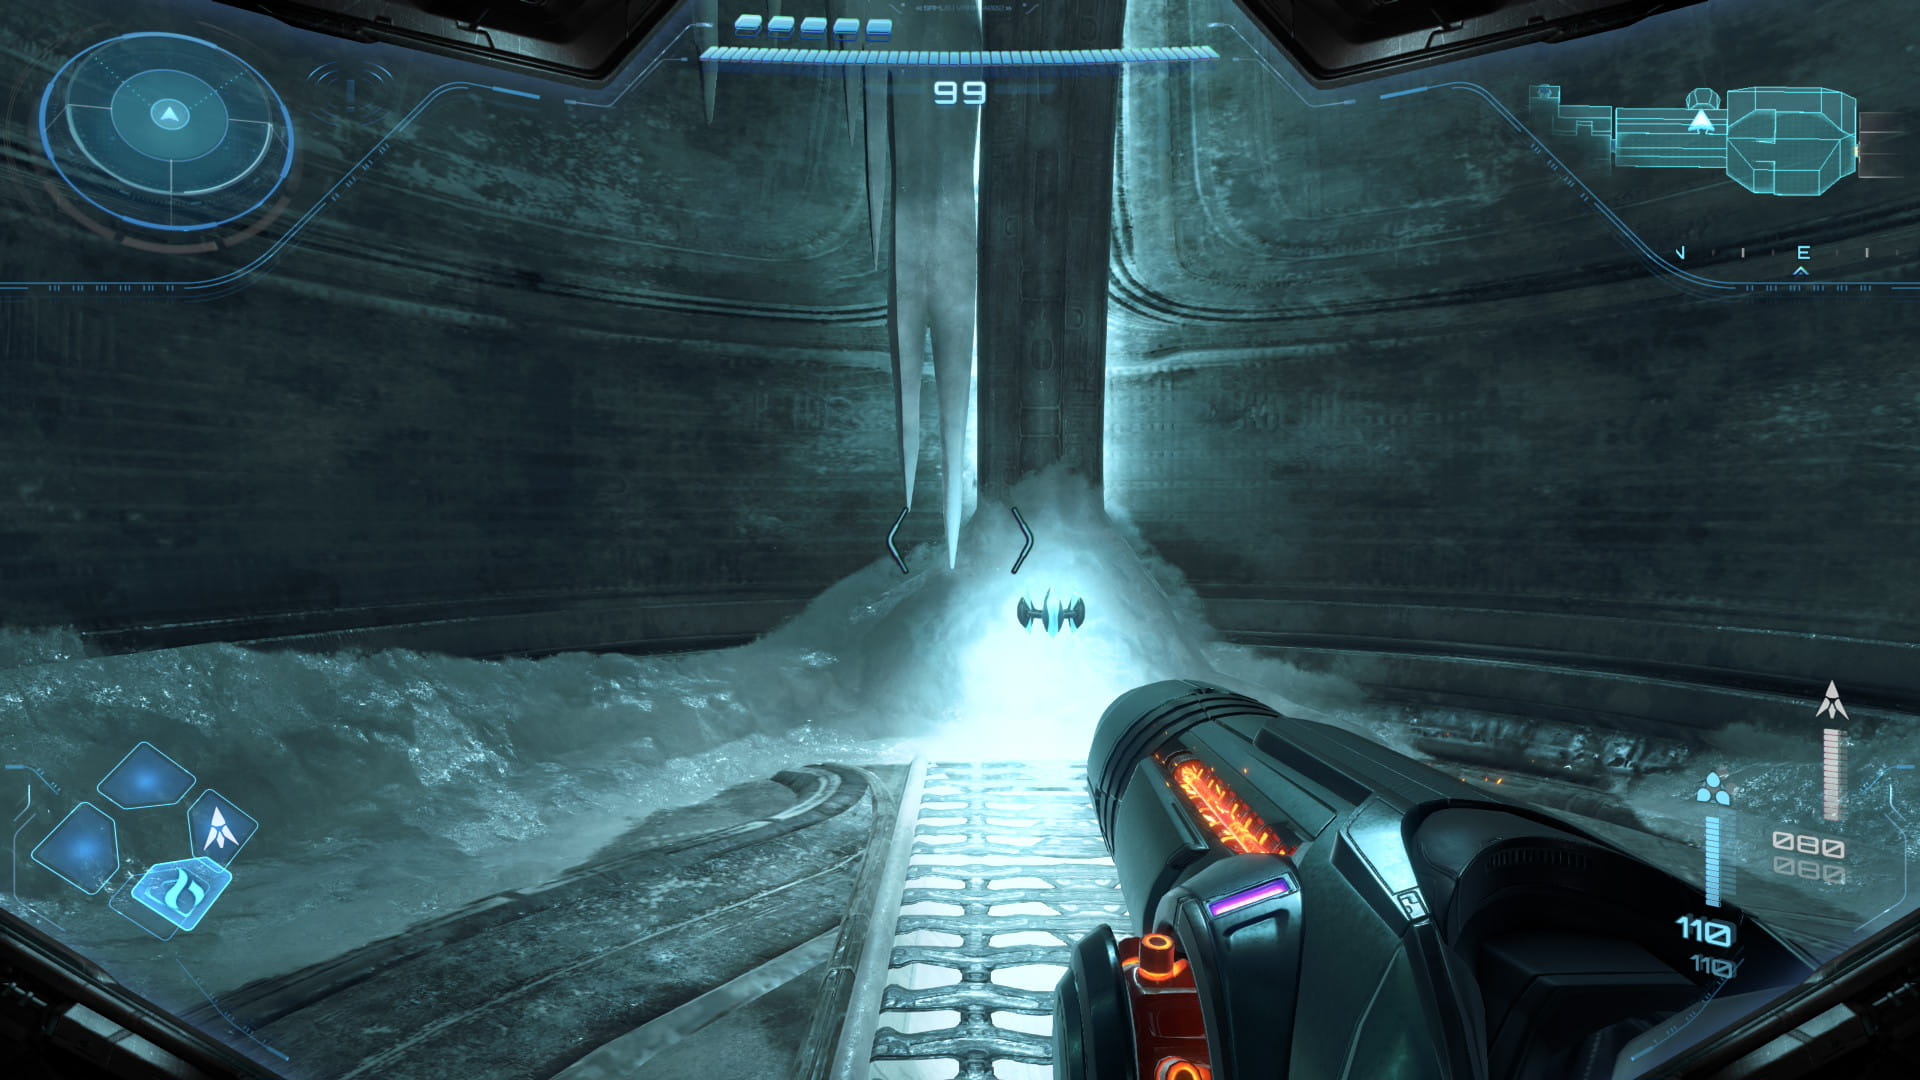
Return through the wall and use the lasso to open the gate. Proceed forward to start the boss battle against Keratos. Scan him as soon as the battle begins. Keratos is mostly invulnerable. When he exposes his eye, shoot it to stun him. Then he'll curl into a ball and charge at you. Evade his attacks to make him ram into the wall. Once he does, his weak point will appear, which you can shoot to deal damage. Defeating Keratos will give you the Psychic Boost Ball.