Chapter 1: Varia Suit
This opening section of Metroid Prime introduces exploration mechanics, scanning, and combat fundamentals. While the early areas are fairly straightforward, it's easy to miss important scans and upgrades if you move too quickly. This guide will help you progress efficiently while ensuring you don't overlook key details.
Tips For This Section
Take time to scan as many objects and enemies as possible early on, since some scans can be missed later in the game. It's also helpful to explore each room fully before moving on, as upgrades and lore entries are often hidden in less obvious areas.
Common Mistakes
A common mistake is rushing through the opening areas without scanning important objects, which can make it harder to complete the logbook later. Another issue is overlooking destructible objects that may contain health or missile refills.
Strategy: Scanning Effectively
Scanning is one of the most important mechanics in Metroid Prime. Try to scan new enemies and objects as soon as you encounter them, rather than waiting until later. This ensures you don't miss entries that may not appear again and helps you better understand enemy behavior.
Scans
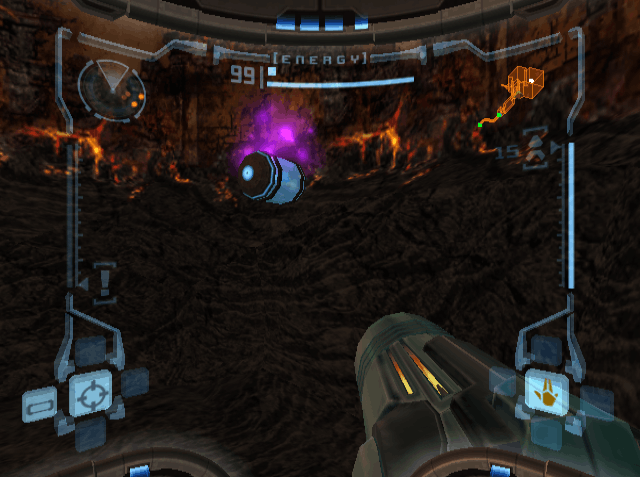
| Parasite (SCAN NOW) |
After landing, shoot the 4 red switches in front of you. Scan the panel the panel to activate 6 more red switches and shoot those. Progress forward to Emergency Evacuation Area. Scan the Parasite here, which must be scanned now.
Scans
| Map Station |
Continue to Map Facility. Go through the small space and scan the Map Station.
Scans
| Small Energy |
Proceed onward to Biotech Research Area 1. Defeat the pirates here and scan a Small Energy that you get for doing so.
Scans
| Auto Defense Turret |
In the next room, scan the Auto Defense Turret.
Scans
| Fall Of Zebes (SCAN NOW) |
In Biohazard Containment, scan the computer in front of you for the Fall of Zebes entry, which must be scanned now.
Scans
| Save Station |
Continue forward until you enter the room with the 2 turrets. Enter the room to the left and scan the Save Station.
Scans
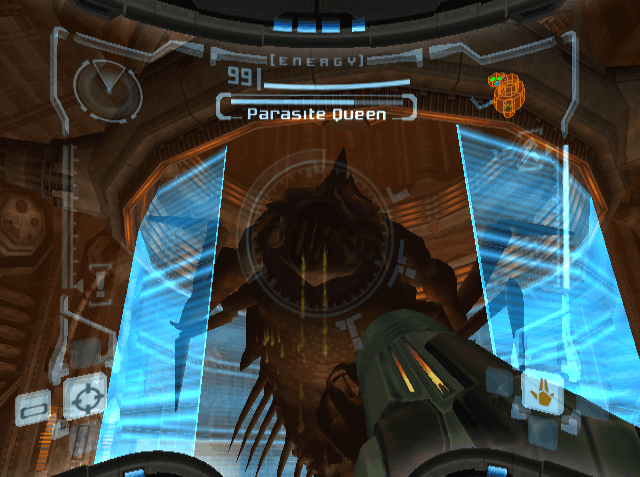
| Parasite Queen (SCAN NOW) |
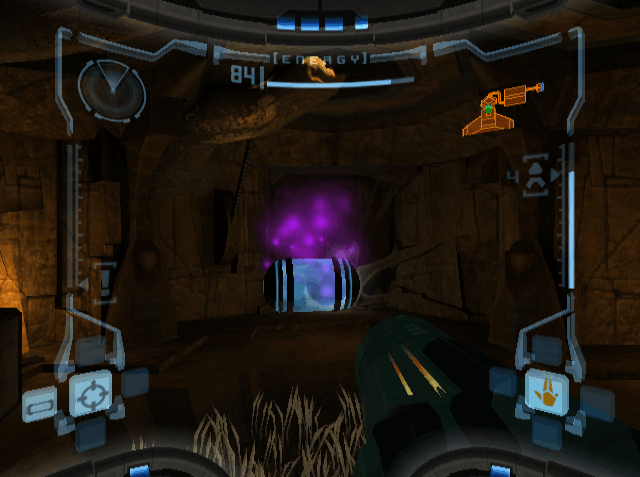
Progress to the Reactor Core to encounter the Parasite Queen, which must be scanned now. This is straightforward, just hit it with the power beam. After the fight, you'll have 7 minutes to evacuate. Just follow the path of unexplored rooms to escape.
Scans
| Gunship |
Upon landing on Tallon IV, scan Samus' ship. Then head through the rightmost door.
Scans
| Beetle |
Scan one of the Beetles that jump out of the ground, then proceed to Tallon Canyon.
Scans
| Sap Sac |
| Zoomer |
| Geemer |
| Blastcap |
Scan the Sap Sac that's just to the left. Head to the main area and scan one of the Zoomers on the ledges. Then scan the Geemer that goes around the highest ledge. Finally, scan one of the Blastcaps in the water. Head through the door at the end of the halfpipe structure.
Scans
| Fountain |
Take the elevator to Chozo Ruins. In Ruins Entrance, scan the lore above the door for the Fountain entry.
Scans
| Scarab |
In Main Plaza, take the left door on the far side of the room. Scan the Scarabs in the Nursery Access.
Scans
| Eyon |
Scan the Eyon in Eyon Tunnel. Then shoot them to pause the laser. They can't be destroyed yet.
Scans
| Exodus |
| War Wasp |
| War Wasp Hive |
After entering Ruined Nursery, scan the lore on the wall for the Exodus entry. Go to the upper level of the room. Scan the War Wasps, as well as the War Wasp Hive. There's a Save Station hidden to the left if you'd like it. Otherwise, continue to the Ruined Gallery.
Scans
| Tangle Weed |
In the Ruined Gallery, scan the Tangle Weed at the bottom of the room. Then continue onward.
Scans
| Plazmite |
| Large Energy |
In Totem Access, scan the Plazmite that's flying in the corridor. If you get a Large Energy from one of the boxes, scan it.
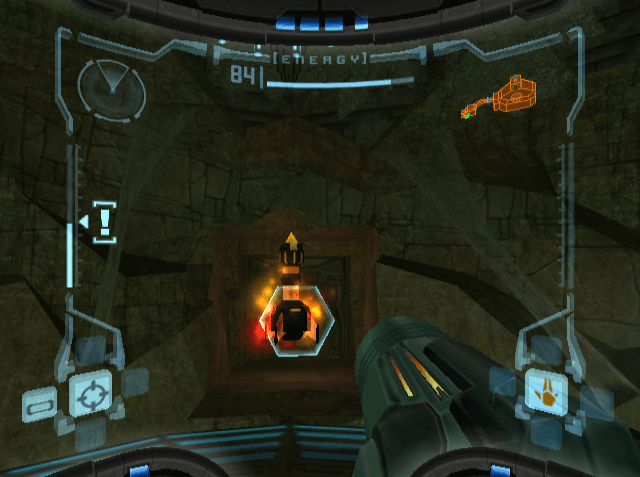
Missile Launcher
Scans
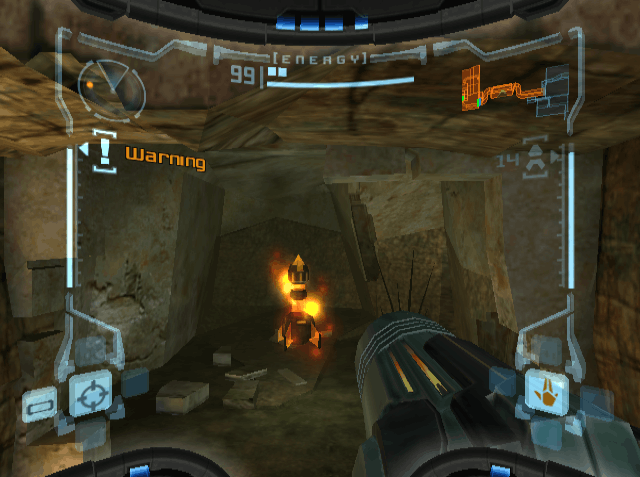
| Hive Mecha (SCAN NOW) |
| Ram War Wasp (SCAN NOW) |
| Missile Door Lock |
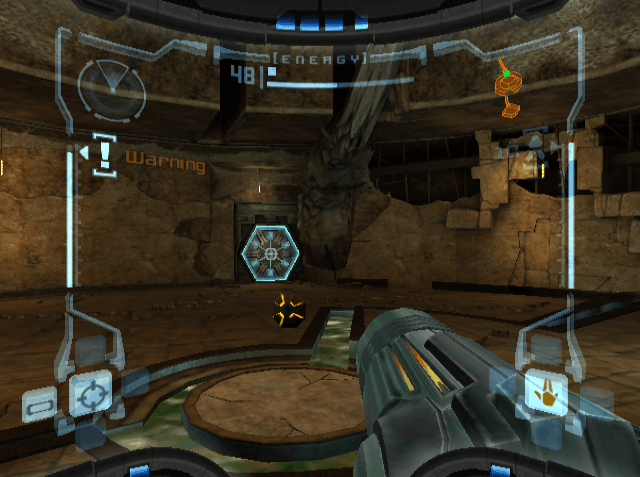
Proceed to Hive Totem. Jump on the central pillar to begin a mini boss. As soon as the battle begins, scan the Hive Mecha, which must be scanned now. Also scan one of the Ram War Wasps, which must be scanned now. There are 3 waves of wasps that appear. After you defeat all the wasps of a wave, you need to shoot the red sensor on the Hive Mecha. After it's defeated, grab the Missile Launcher. Then scan the Missile Door Lock before destroying it.
Energy Tank #1
Scans
| Missile Ammo |
After destroying the missile door lock, head through the door to find an Energy Tank. Destroy the boxes for Missile Ammo and scan it.
Missile Expansion #1
Return back to the Ruined Gallery. Fall down to the lower level. Use a missile to shoot the wall beneath the door you just entered through and find a Missile Expansion. The door on the lower level can used to get the area's map.

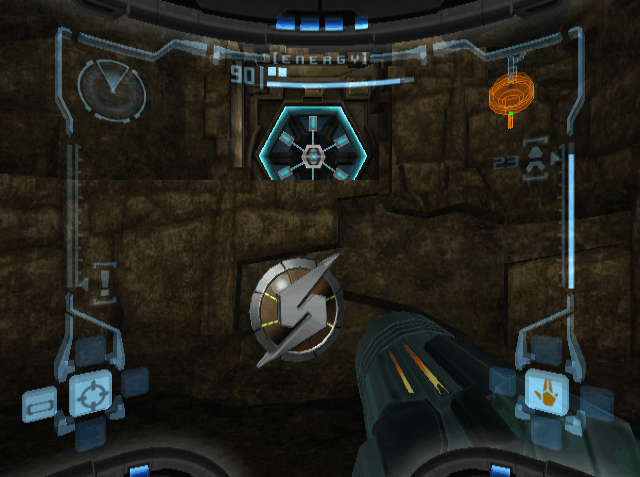
Morph Ball
Scans
| Plated Beetle |
Continue all the way to the Main Plaza and head through the missile door here. Proceed to the Ruined Shrine to encounter the next mini boss. Defeat all the Beetles to encounter the Plated Beetle, which needs to be scanned. Let it get close to you, then jump out of the way when it dashes at you. Shoot its behind to deal damage. After defeating it, grab the Morph Ball.
Scans
| Hatchling |
Return to the Main Plaza. Use the platforms to go around the edge of the room, across the bridge, and through the door on the upper level. Proceed to the Ruined Fountain. Scan the chozo lore on the wall for the Hatchling entry. Head through the door on the left to enter Arboretum Access.
Scans
| Shriekbat |
Scan the Shriekbats that hang from the ceiling and proceed to the Arboretum.
Scans
| Reaper Vine |
Scan the Reaper Vines that are in the wall. Shoot them to make them retreat. Use the platforms to cross the room and head through the door on the other side.
Scans
| Locked Door |
In the Gathering Hall, a Save Station can be found in the missile door. Then use the platforms to go to the top of the room, head through the door, and proceed to the Energy Core. Scan the door on the far side of the room for the Locked Door entry. Take the path to the left and follow it until you reach the Burn Dome.
Morph Ball Bomb
Missile Expansion #2
Scans
| Incinerator Drone |
| Barbed War Wasp |
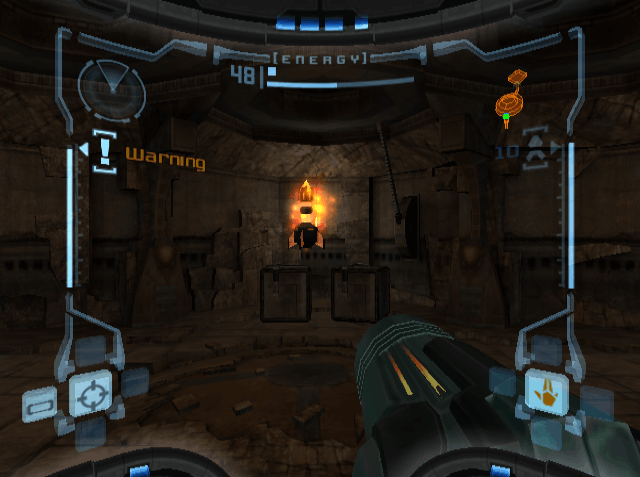
Here you'll encounter the next mini boss. Scan the Incinerator Drone, which must be scanned now. When the red sensors at the top are exposed, shoot it to deal damage. Scan the Barbed War Wasps that appear, they must be scanned now. Defeat the wasps and repeat the process until the drone is defeated. Then grab the Morph Ball Bomb. Use a bomb on the wall opposite of the door. Head through the small space to find a Missile Expansion.
Scans
| Stone Toad |
| Morph Ball Slot |
Return through the 2 small spaces in Burn Dome Access. Take the path to the left. Scan the Stone Toad. Go into morph ball mode and let it swallow you, then use a bomb to destroy it. Scan the Morph Ball Slot on the right wall. Then use a bomb to activate it. Bomb the other 2 slots to raise all of the platforms.
Energy Tank #2
Head through the newly unlocked door. In the Furnace, take the small space on the right to find an Energy Tank.
Missile Expansion #3
Backtrack to the Gathering Hall. Head through the last unvisited door to enter Watery Hall Access. At the bottom of the room, shoot the left wall with a missile to find a Missile Expansion.
Charge Beam
Scans
| Meteor Strike |
In the Watery Hall, there are 4 emblems that need to be scanned. One is next to the door, one is on a platform on the lower level covered by Blastcaps, one is on the wall on the lower level on the far side of the room, and the last one is next to the gate at the top of the room. Then scan the emblem that appears on the middle of the gate to lower it. Scan the chozo lore on the wall for the Meteor Strike entry. Then grab the Charge Beam.
Missile Expansion #4
Use the charge beam to destroy the Eyons. Then use a bomb on the left wall to go through the small space. In the Dynamo, shoot the gate on the wall with a missile to get a Missile Expansion.
Scans
| Venom Weed |
Return all the way back to the Arboretum. There are 4 emblems that need to be scanned in this room. One is on the lower level, covered by Venom Weed, one is on the tree trunk (by the bridge that is just above the Venom Weed), one is further up the room, on the wall after you go through the first small space, the last one is on the tree trunk near the gate at the top of the room (scan the Venom Weed that's in the second small space). Use a bomb to go through the small space and proceed to the Sunchamber.
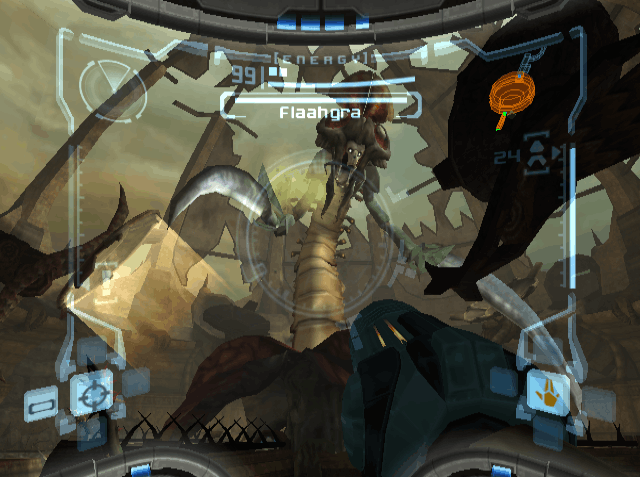
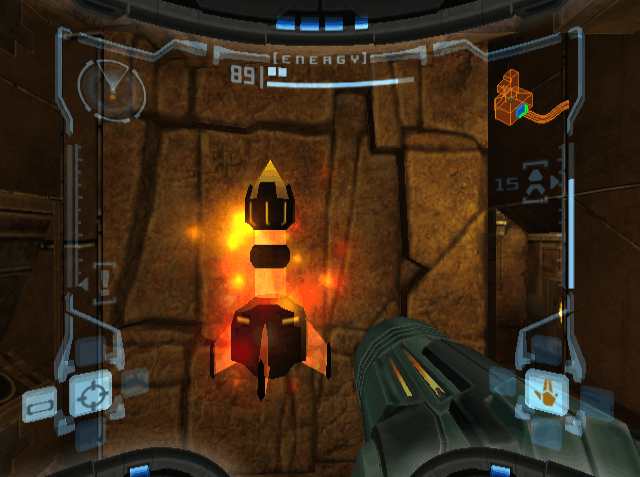
Varia Suit
Scans
| Flaahgra (SCAN NOW) |
| Flaahgra Tentacles (SCAN NOW) |
After the cutscene, scan Flaahgra and one of its tentacles, both must be scanned now. To deal damage, all of the solar panels that are shining light must be tilted up. Then you must go through a small space and use a bomb to damage Flaahgra. Use the power beam on Flaahgra can stun him for long enough to do this. After the battle, grab the Varia Suit.